
When your Celestron GPS telescope will not get GPS fix for a long time, or the GPS will not work at all, it is time to replace the battery on the GPS receiver board. Another symtom is when the telescope may get a fix, but it is incorrect, the time or location no where close.
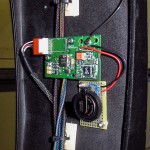
The GPS board is found in the main section on the oldest telescopes, but located in the arm in later ‘scopes. Our is located in the arm, a small circuit card just under the inside plastic panel connected to an antenna by a cable. Simply remove the four screws holding the plastic panel and you have access. The antenna cable can be disconnected with some gentle tugging, two screws for the board, one more connector and the board comes out. The battery is found hidden on the underside of the PCB.
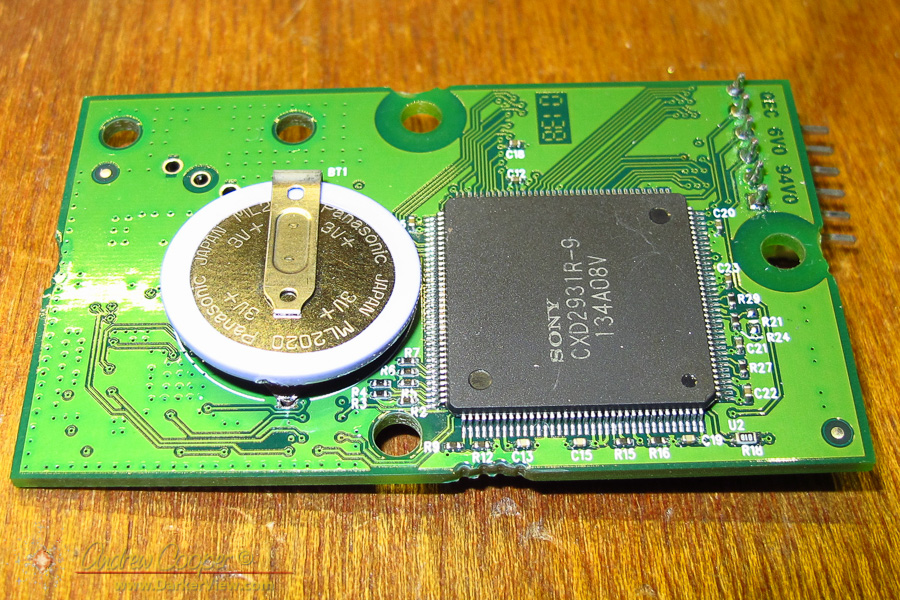
What I found gave me pause. The battery is fairly easy to remove from the board, but the hole in the board for the negative tab is not easy to clear of solder to make way for the replacement. The reason is that the negative tab is connected to ground and the board designer did not provide any thermal relief on the pad. The hole is connected to large ground planes on both sides of the board, thus it is difficult to fully melt the solder in order to suck it away or wick it away. These copper layers carry away the heat quite efficiently. The hole is also in close proximity to several very small surface mount parts.

I fully expect there will be a next time. I hope to use this ‘scope for many more years. I could simply solder a new battery in, but the battery pads on the PCB may only last a time or two before the heat and abuse of solder removal damages something.
It is important to note that the battery must be a lithium rechargeable cell. The standard coin cells that are commonly available, cells with numbers like CRxxxx, should not be used as these are not rechargeable. The original cell is the ML2020, the ML prefix indicating a rechargeable lithium cell 20mm in diameter and 2mm thick. I used an ML2032, a slightly larger cell with more capacity as it is 3.2mm thick with more internal volume for the chemistry.
The result? The GPS on the ‘scope links up accurately and quickly again. Plus I can easily replace the cell in the future without damaging the PCB. You might note the odd cabling in the telescope seen in the photos, this telescope has been entirely rewired.
