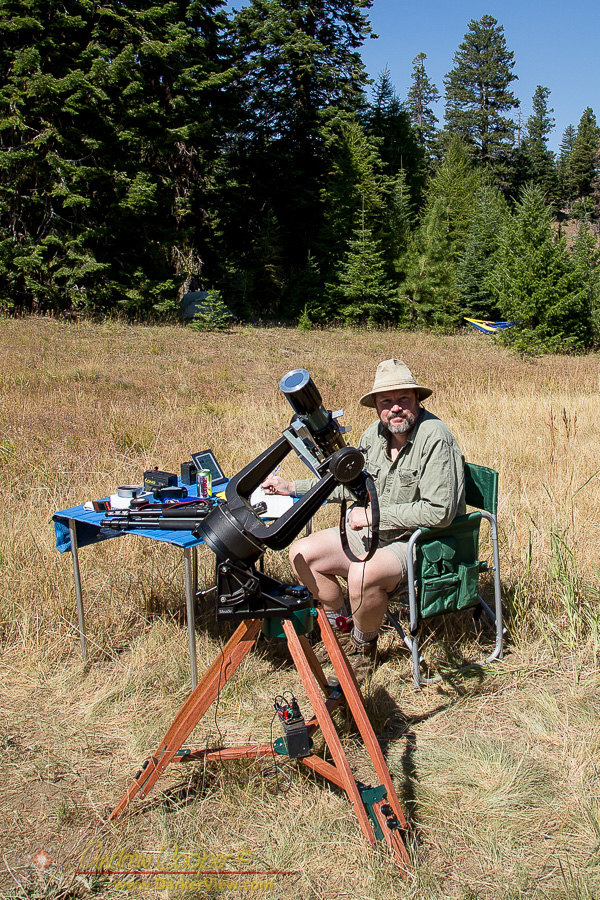
I have previously published a description of Hodgepodge, the mish-mash mount I used for the solar eclipse. While I wrote about the mount, and posted some photos, I did not really cover the construction. Now for some details…
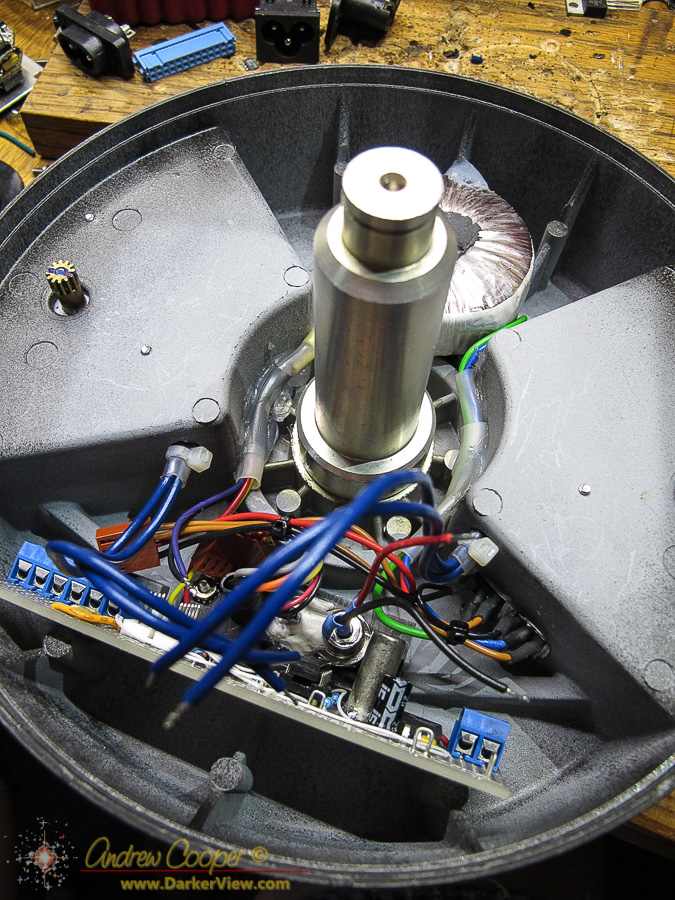
A few months back I rebuilt the drive unit of an old Celestron mount, installing a drive corrector into the base unit in the process. I have used this sidereal drive for time lapse, but it can also be used to mount a telescope again. Better yet, with a few minutes reconfiguration, it can do either.
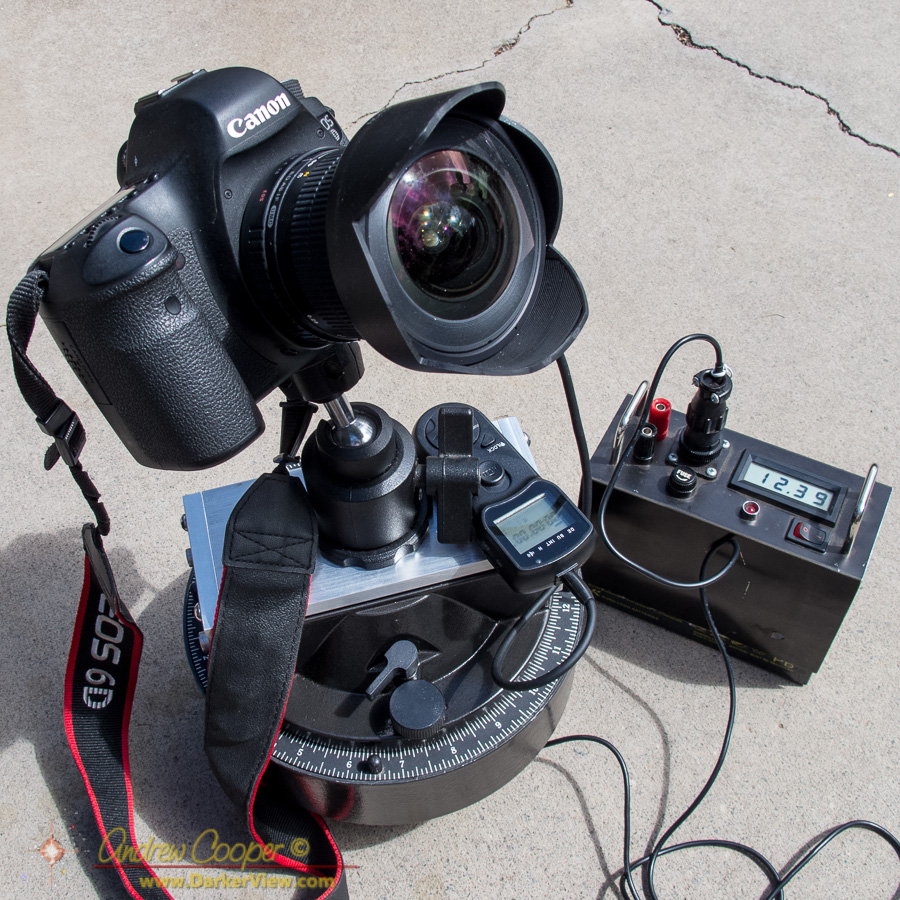
With the solar eclipse looming on the calendar I realized I needed a tracking mount to allow photography. Tracking would allow me to keep the Sun and Moon in the field without wasting precious seconds framing the image during the eclipse. It would also enable longer exposures without motion blurring the image.
With the clock drive operating I realized I had most of the bits sitting around that I would need to setup a proper mount for the job. I just needed to weave and few things together from the bits I already had with a new part or two.
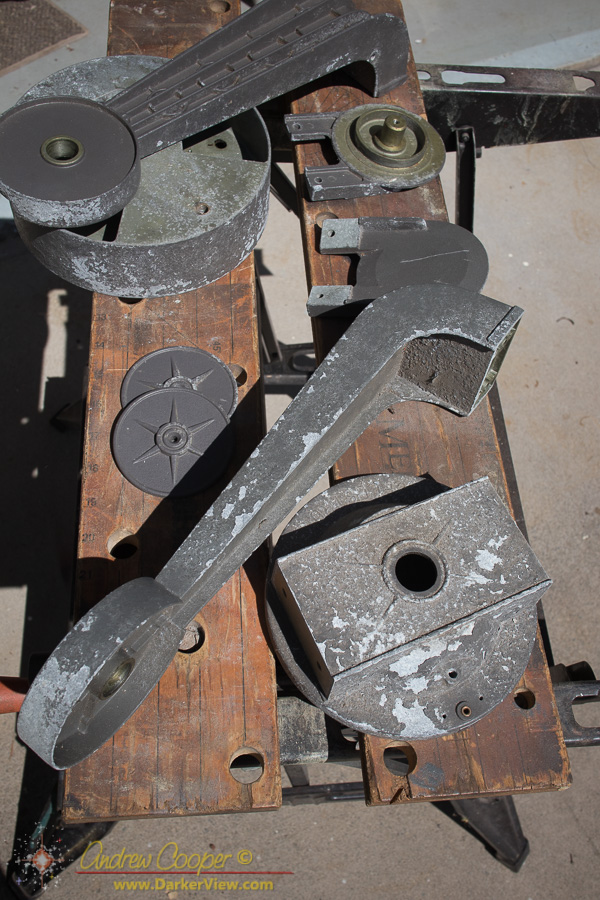
Actually I needed to do two things… Rebuild the field tripod, there were no legs for it. I also needed to machine a base plate for mounting something in the forks. All of this work is pretty straightforward, no real difficulty. Just a bunch of parts to manufacture and assemble, what I love to do.
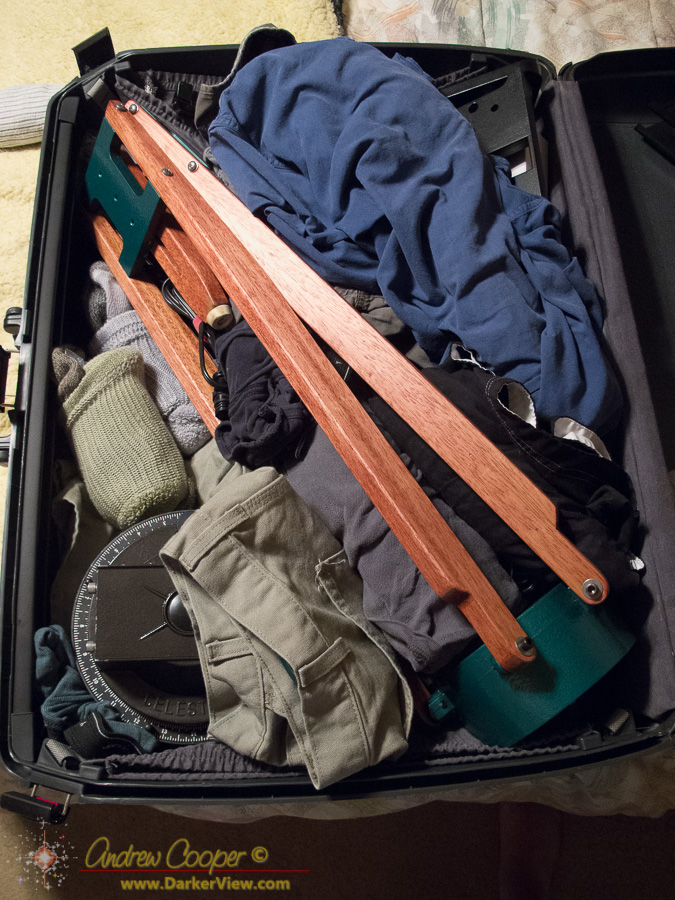
To this end I pulled out an old hard sided suitcase that I had used for transporting telescopes in the past, and made some measurements before cutting parts.
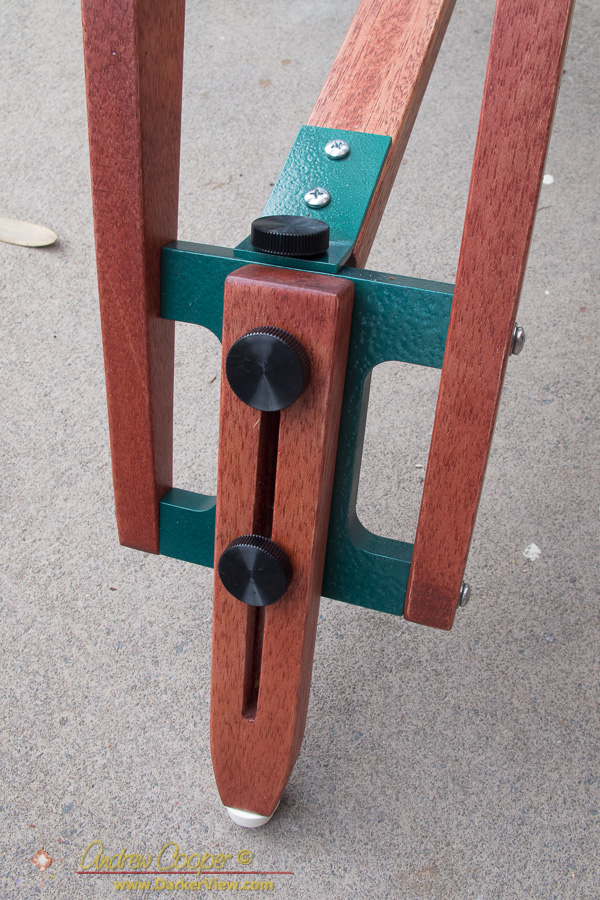
A simple design sufficed, a couple rails from the tripod head to a metal lower bracket. Going to my local HPM lumber yard I asked for 1×2 oak trim, no luck. They had some nice mahogany 1×2’s, thus mahogany it is. Twenty two feet of mahogany 1×2 for about $15, time to cut wood.
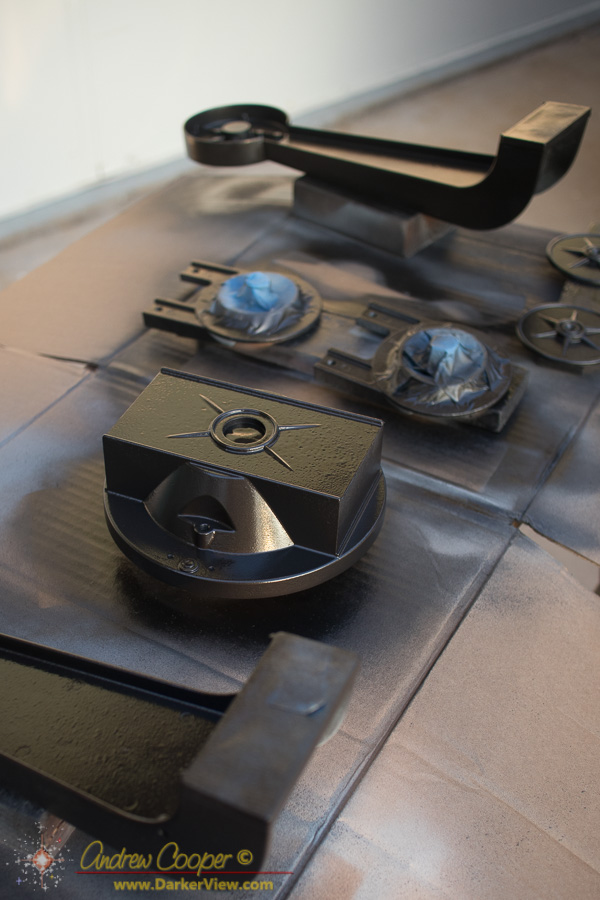
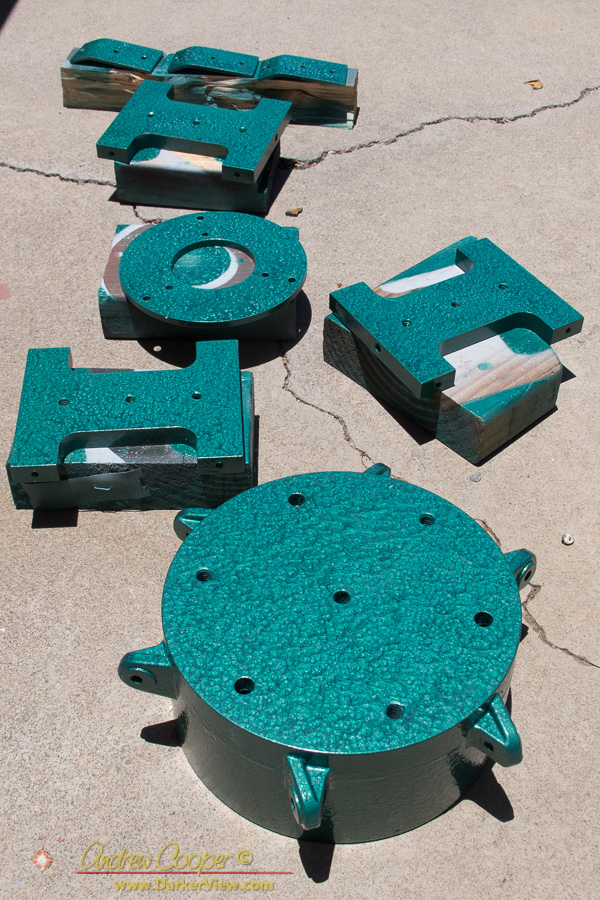
The lower brackets and a few other bits were manufactured in the machine shop, along with some precision drilling of the wooden parts. A weekend of sanding, staining, and finishing had the tripod parts ready for assembly.
The only real issue was the Rustoleum hammered finish paint that takes forever to harden fully. I like the stuff, a hard coating that is ideal for portable gear. I put the drying parts in the tropical sunlight of the driveway where they baked nicely. Still I would wait a few days before assembly of the painted parts.
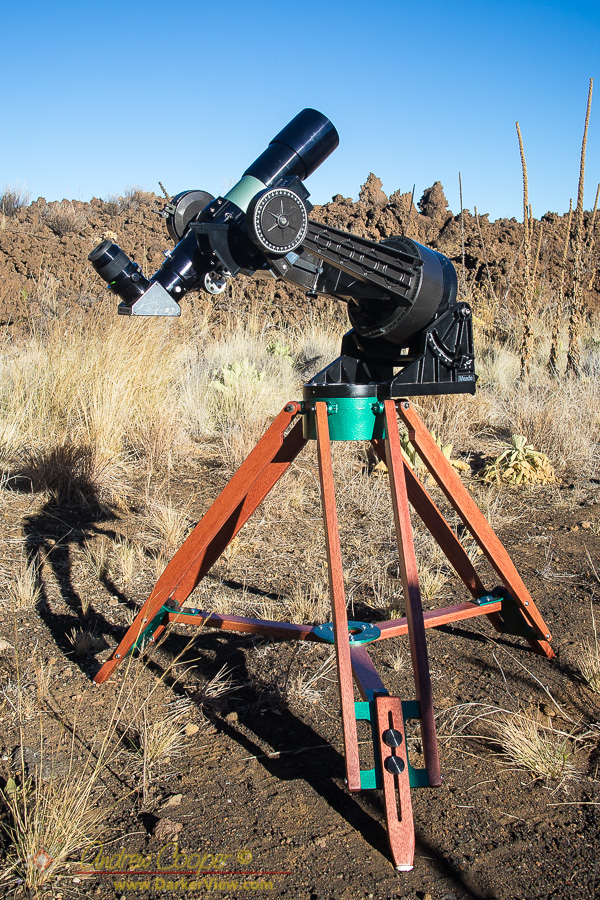
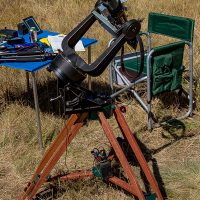
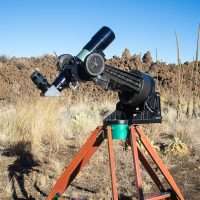
The lower extensions are adjustable for leveling the tripod. The finished height will be fairly low to the ground, suitable for sitting at the telescope as long as the OTA is short. it should also be very stable, with a wide stance to the legs.
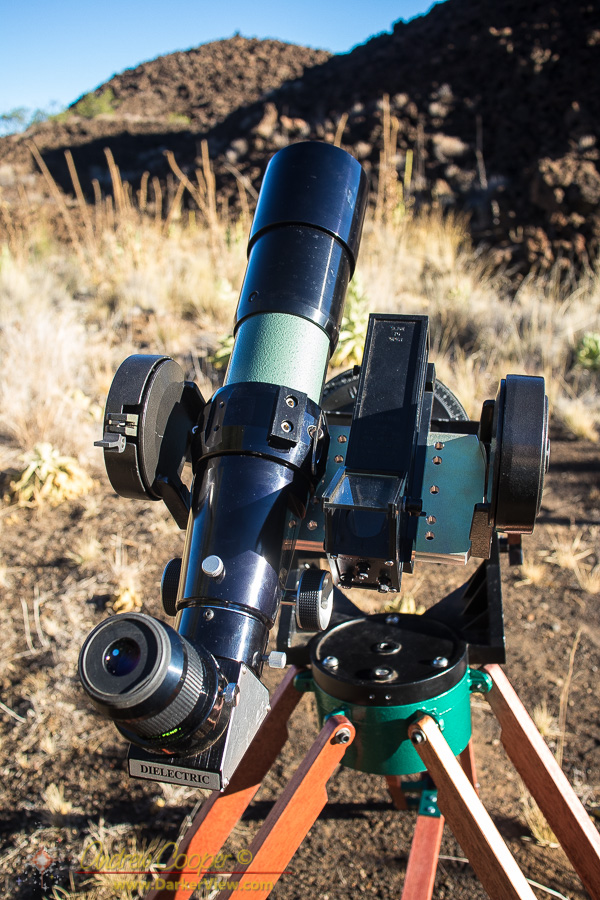
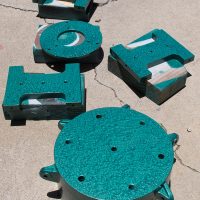
The base plate is fairly simple as well. A flat aluminum plate that mounts to the same bolt holes that once held the 8″ optical tube. To properly balance the plate will sit below the camera or telescope in an underslung arrangement.
A grid of holes was drilled to allow mounting of a wide range of possible cameras or OTA’s in the mount. I also ordered a Vixen style saddle clamp off eBay to allow use of small telescopes using a Vixen compatible rail. The rail also allows front to back balancing with heavy eyepieces or cameras.
In addition to cameras I have two optical tubes that are quite suitable for use with this mount. The Televue 76mm and the AT6RC are both short and small, fitting nicely on the base plate between the forks.
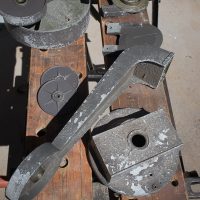
A tracking mount like this needs a wedge to set the angle of the polar axis and allow sidereal tracking. I did not have a wedge on-hand. But I might know where to find one! I called Chris, he has a garage full of telescope parts that puts mine to shame. He indeed have a wedge, a Meade wedge from a dead LX-90.
A Meade wedge mounts to a Celestron tripod head without modification, same bolts, same pattern. The mount does not fit the wedge plate, the bolt pattern has different spacing. Luckily the Meade LX-90 does not fit the standard Meade wedge either. The ‘scope comes with an adapter plate to allow use of the wedge.
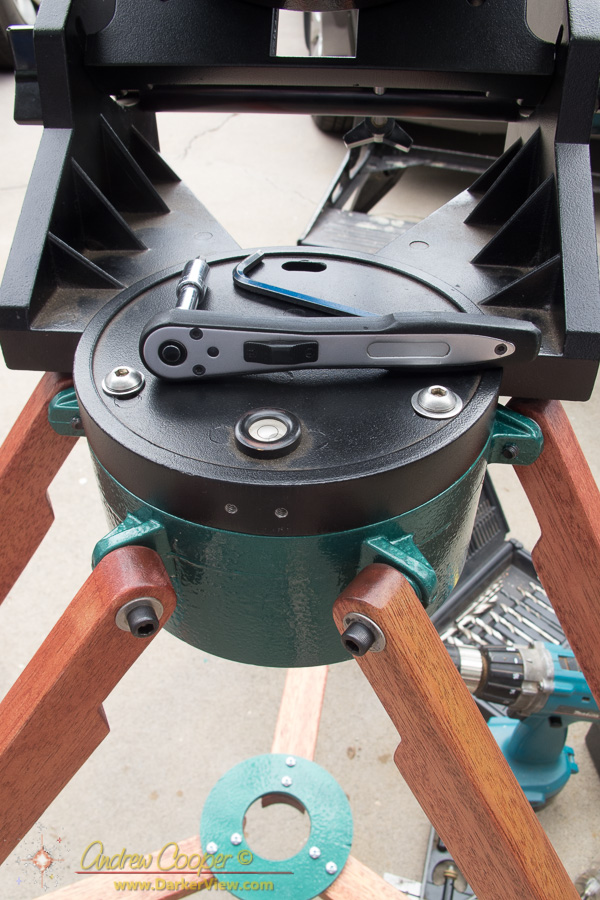
Some careful measuring and some precision drilling with a milling machine allows the LX-90 adapter plate to be bolted to the Celestron base. The entire unit now mounts to the wedge neatly, so neatly that it looks like it was designed for it.
It was necessary to rotate the base by roughly 20 degrees to fit to find clear spots to drill the bolt holes, but you do not notice that on the otherwise round base. A clearance hole was also machined to allow access to the power connector on the bottom of the mount.
The result? It may look a little odd, a hybrid of familiar parts juxtaposed into an unfamiliar arrangement. It is however quite functional, testing proved it worked quite well indeed.
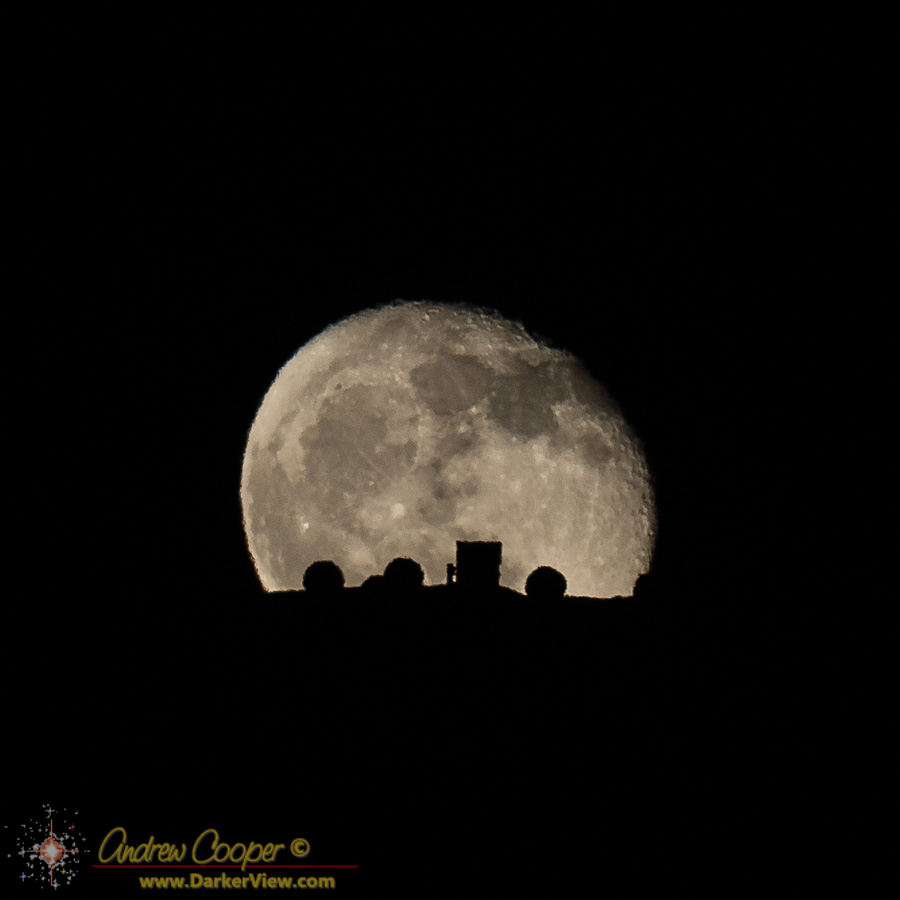
The mount was assembled with a little time to spare before it needed to be packed up for a hop to the mainland. I was able to get several evenings in the driveway. The mount proved to be easy to use and tracked quite well. I took a few 15 and 30 second exposures using the TV-76mm telescope. The resulting images show no discernable tracking error.
The only real issue? The eyepiece is a bit low when the mount is adjusted for 20 degrees latitude. Adjusting for 45 degrees and the eyepiece comes up quite a bit higher for observing at most declinations. I may make some adjustments to the tripod stance to raise the mount a couple inches… Later.
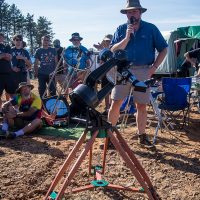
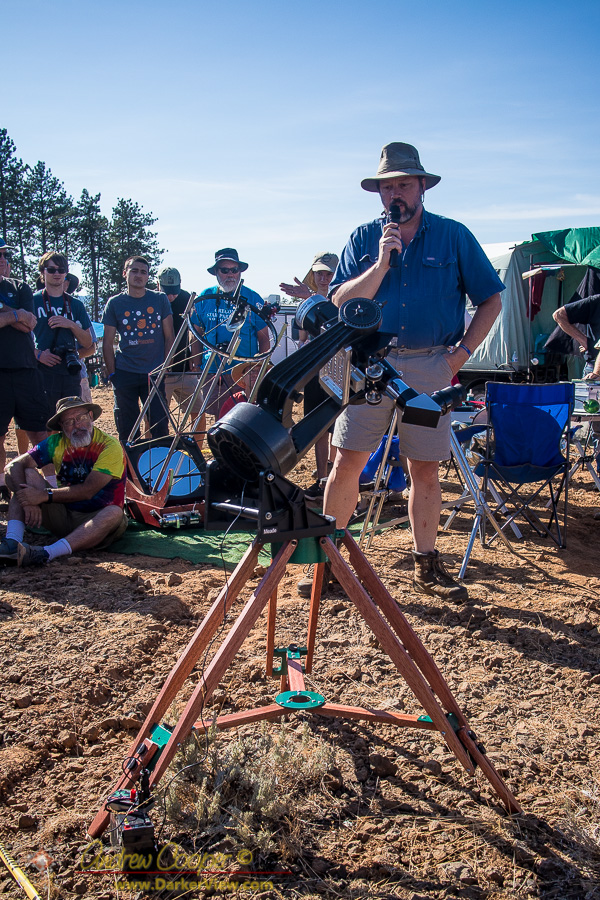
I did display Hodgepodge for the Oregon Star Party 2017 Telescope Walkabout. While not a truly hand made telescope, it does offer a few interesting stories on weaving a telescope mount together from the junkpile.
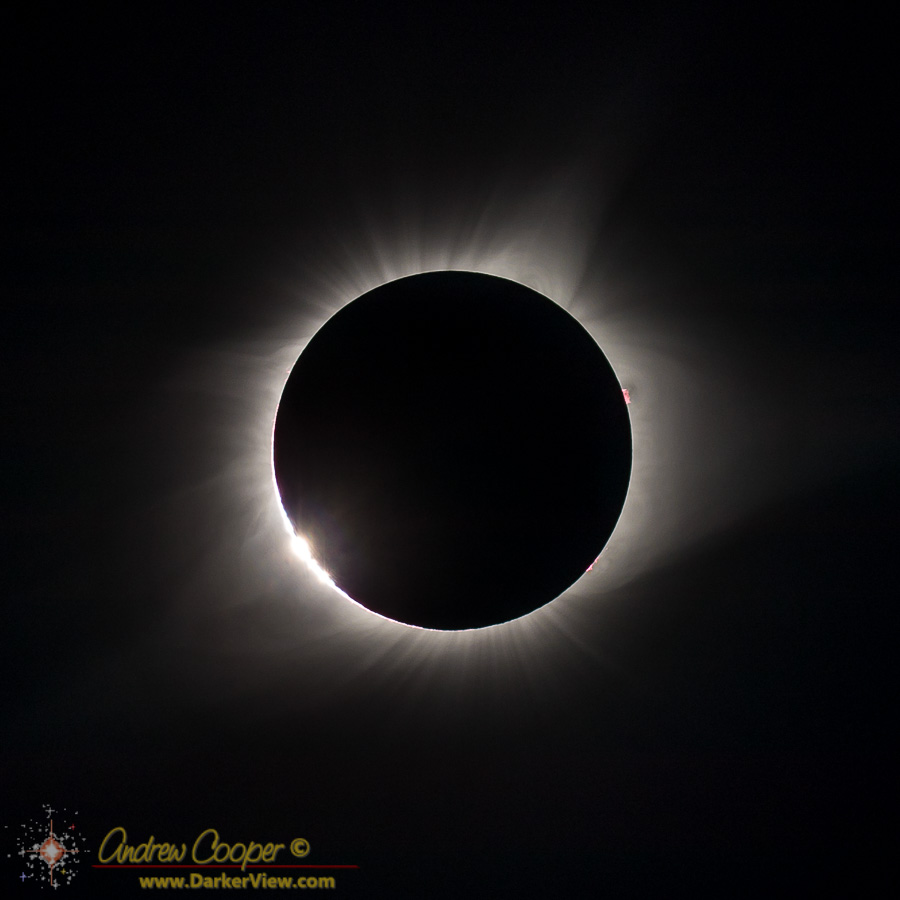
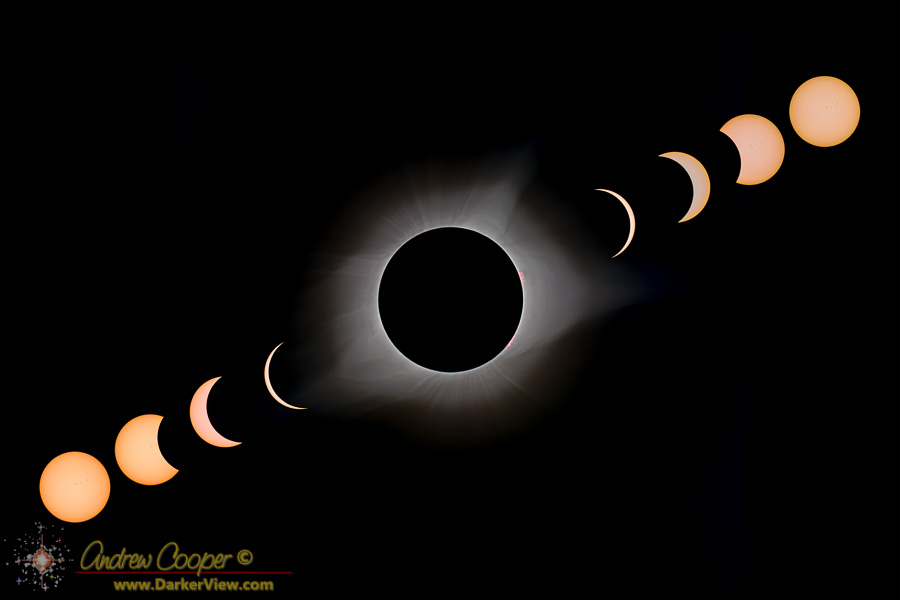
For the eclipse the mount functioned flawlessly. I polar aligned the mount the night before, a simple spin and go, with offset from Polaris. You can see some tracking error over the two hours of the eclipse, the Sun drifted slightly in the frame. But the error is small, the Sun remaining within the middle section of the field for the entire event.
As a result I was able to obtain a number of very nice images of the eclipse fulfilling a primary goal of the expedition. Not bad for a piece of equipment resurrected from the junkpile. I look forward to further nights spent with this little mount.