Sentinel
When you want to see the stars, find someplace dark

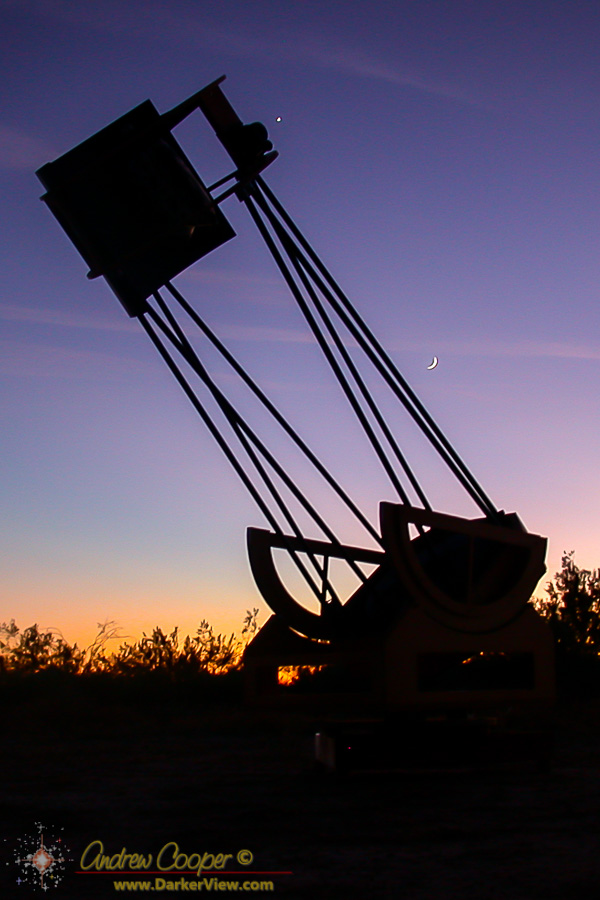
A six-inch f/5 telescope designed to allow maximum portability. A simple travel telescope that can go anywhere, small enough to fit in an airline carry-on bag while leaving room for clothing. Large enough to provide good views of celestial targets.
I call the design Travel6, for obvious reasons. The actual telescope I have dubbed Makaʻiki, or simply “little eye” in Hawaiian. While 6″ may seem big to some, by the standards of amateur telescopes it is quite small. By the standards of the telescopes I work on it is downright miniscule.
Still, a 6″ telescope is quite capable in the right hands, able to give pleasing views of many celestial objects. The design is an RFT, or rich field telescope. A low power, wide angle eyepiece will result in a field rich in stars.
Like all good telescopes the design is based on ideas borrowed from other telescopes I have seen. In this case the basic design is from a very similar telescope by Brett Schaerer he named WikiKea, a telescope I had a chance to examine at Oregon Star Party a couple years ago. He incorporated a clever focus mechanism into that ‘scope that got my attention. This is a design I liked, I would have to build one for myself sometime.
Of course I had no plans for the ‘scope, just a couple photos. The first task was to draw up a complete set of plans, only then would I be able to understand all of the design issues. I have posted the full mechanical plans for the telescope at the link above. These plans should be enough for anyone with a little workshop savvy to duplicate the telescope.
The design shown could be notably simplified if one chose to do so. I have enough parts left over to build a second scope, and may consider a refined design the second time through based on the lessons of the first pass.
Continue reading “Makaʻiki – A 6-inch Travel Telescope”First light is complete… It works very nicely, the images of rich star fields and sweeping nebulae are worth the hours of work it takes to complete the fabrication of a telescope.
As usual the most difficult part of assembly is the last. Installing and aligning the optics. Adjustment of the secondary mirror for the correct position takes an hour of mucking about with allen keys, a Cheshire eyepiece, and a laser collimator. Get it centered, get the tilt right, correct placement of the secondary is critical for good performance of the telescope.
The final step is first light, the traditional ceremony when a new telescope is aimed at the sky for the first time. My traditional first light target is M42, the Great Orion Nebula. An old friend and telescope maker, Bob Goff, often stated he would like to tour this nebula in spirit after he died. I do not know if he made it, but I remember him each time I commission a new telescope and peer at the beauty of this nebula.
Given the time of year I had to get up before dawn for a view of this nebula. Driving uphill from the village I could see Orion rising above the dark shadow of Mauna Kea. In the predawn darkness I set up near Hale Pohaku for my first light checks. Set up is a bit grandiose for this telescope, there is not much to it. Open the tripod, set the scope on top, take the covers off and aim at the sky.
The first object to focus in the telescope was M42, the nebula appearing quite nice at low power. The 40mm eyepiece gives a 3.3° field at about 19x, wide enough to comfortably fit the entire nebula region in the field, from NGC1980 to NGC1981. From there I wandered about the sky… M1, M78, M79, M41, M35 made for a nice sampling of objects.
Higher powers shows that collimation can be a bit touchy in the ‘scope, not a surprise given the single strut design.
There were also three bright planets in the dawn. The brilliant Venus is shining near its maximum brightness right now, showing a nice crescent in the telescope. Mars is still too far away to show much of anything and Jupiter was still quite low in the brightening dawn, the moons barely visible.
First Light complete I knew that the effort to create a new telescope was worth it. Makaʻiki performs as designed. With a sense of satisfaction I headed uphill for breakfast and to join the crew for a day on the summit.
The secondary mount is often one of the most complex pieces of a telescope build.
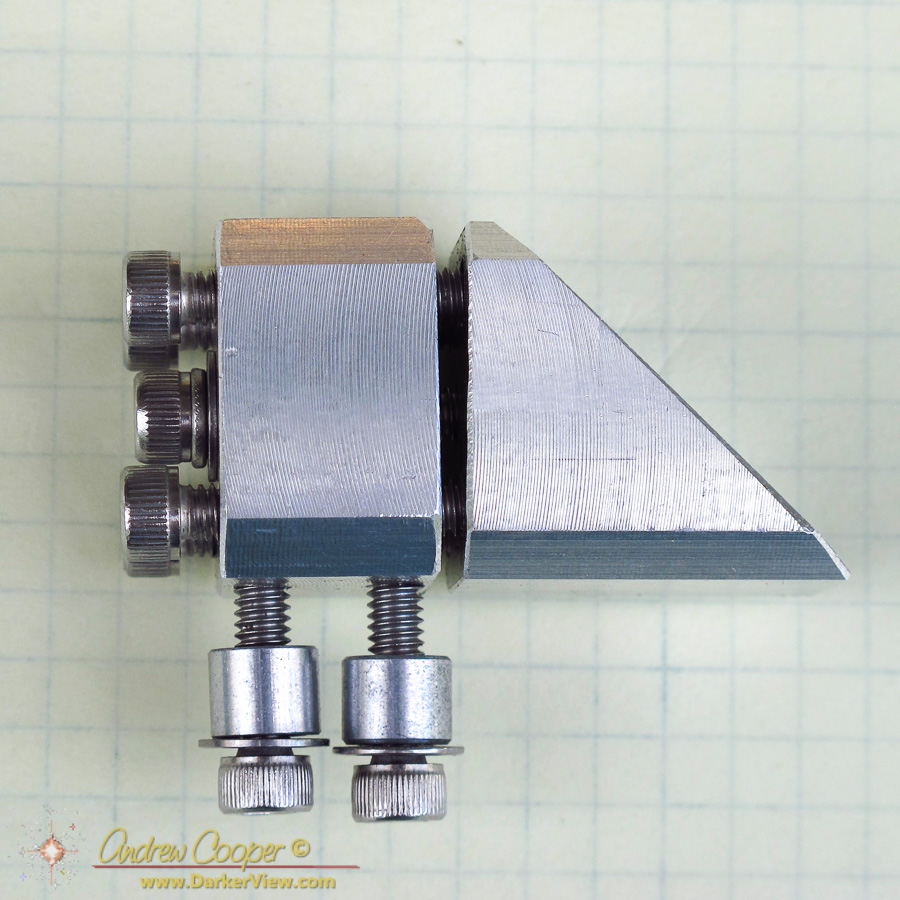
The mount must be small, not blocking any more light than the secondary mirror. It must be adjustable to allow tip, tilt, and centering of the secondary mirror. it must be rigid, able to hold the adjustment precisely once the telescope optical alignments are made.
Thus I have put together a new design for myself, to be used in the 6″ travel ‘scope under construction. The design is simple and robust, a pretty solid little device using the lessons I have learned across the years. It draws upon ideas from many other secondary mounts I have seen.
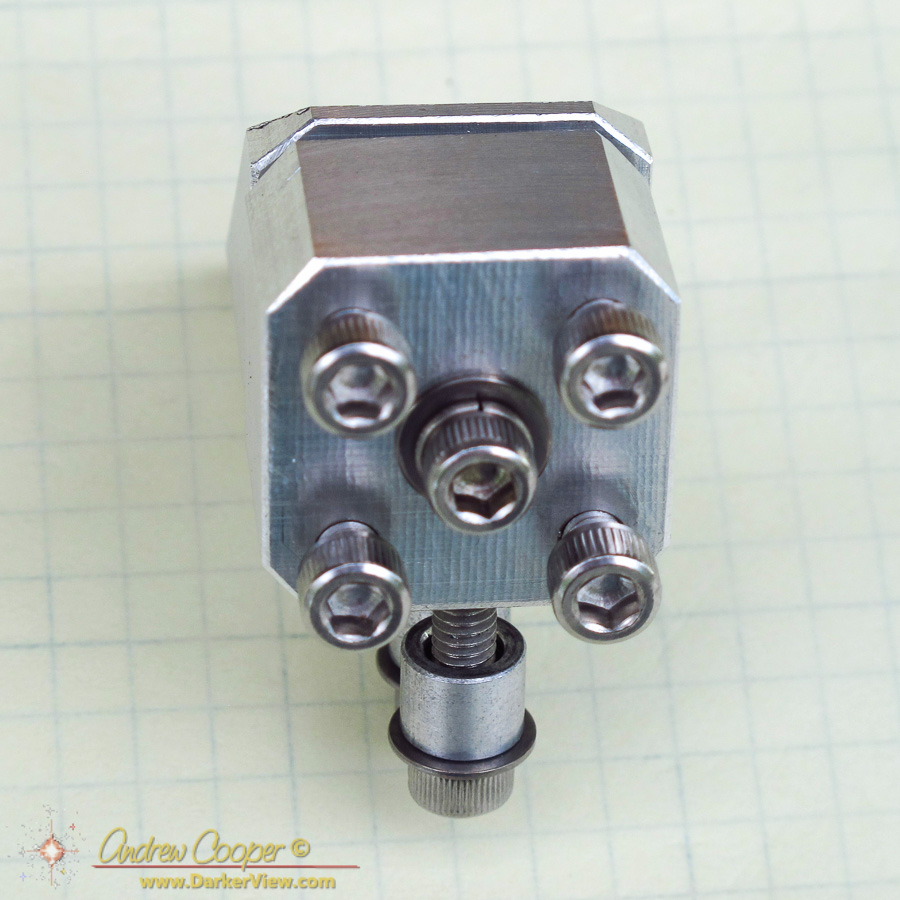
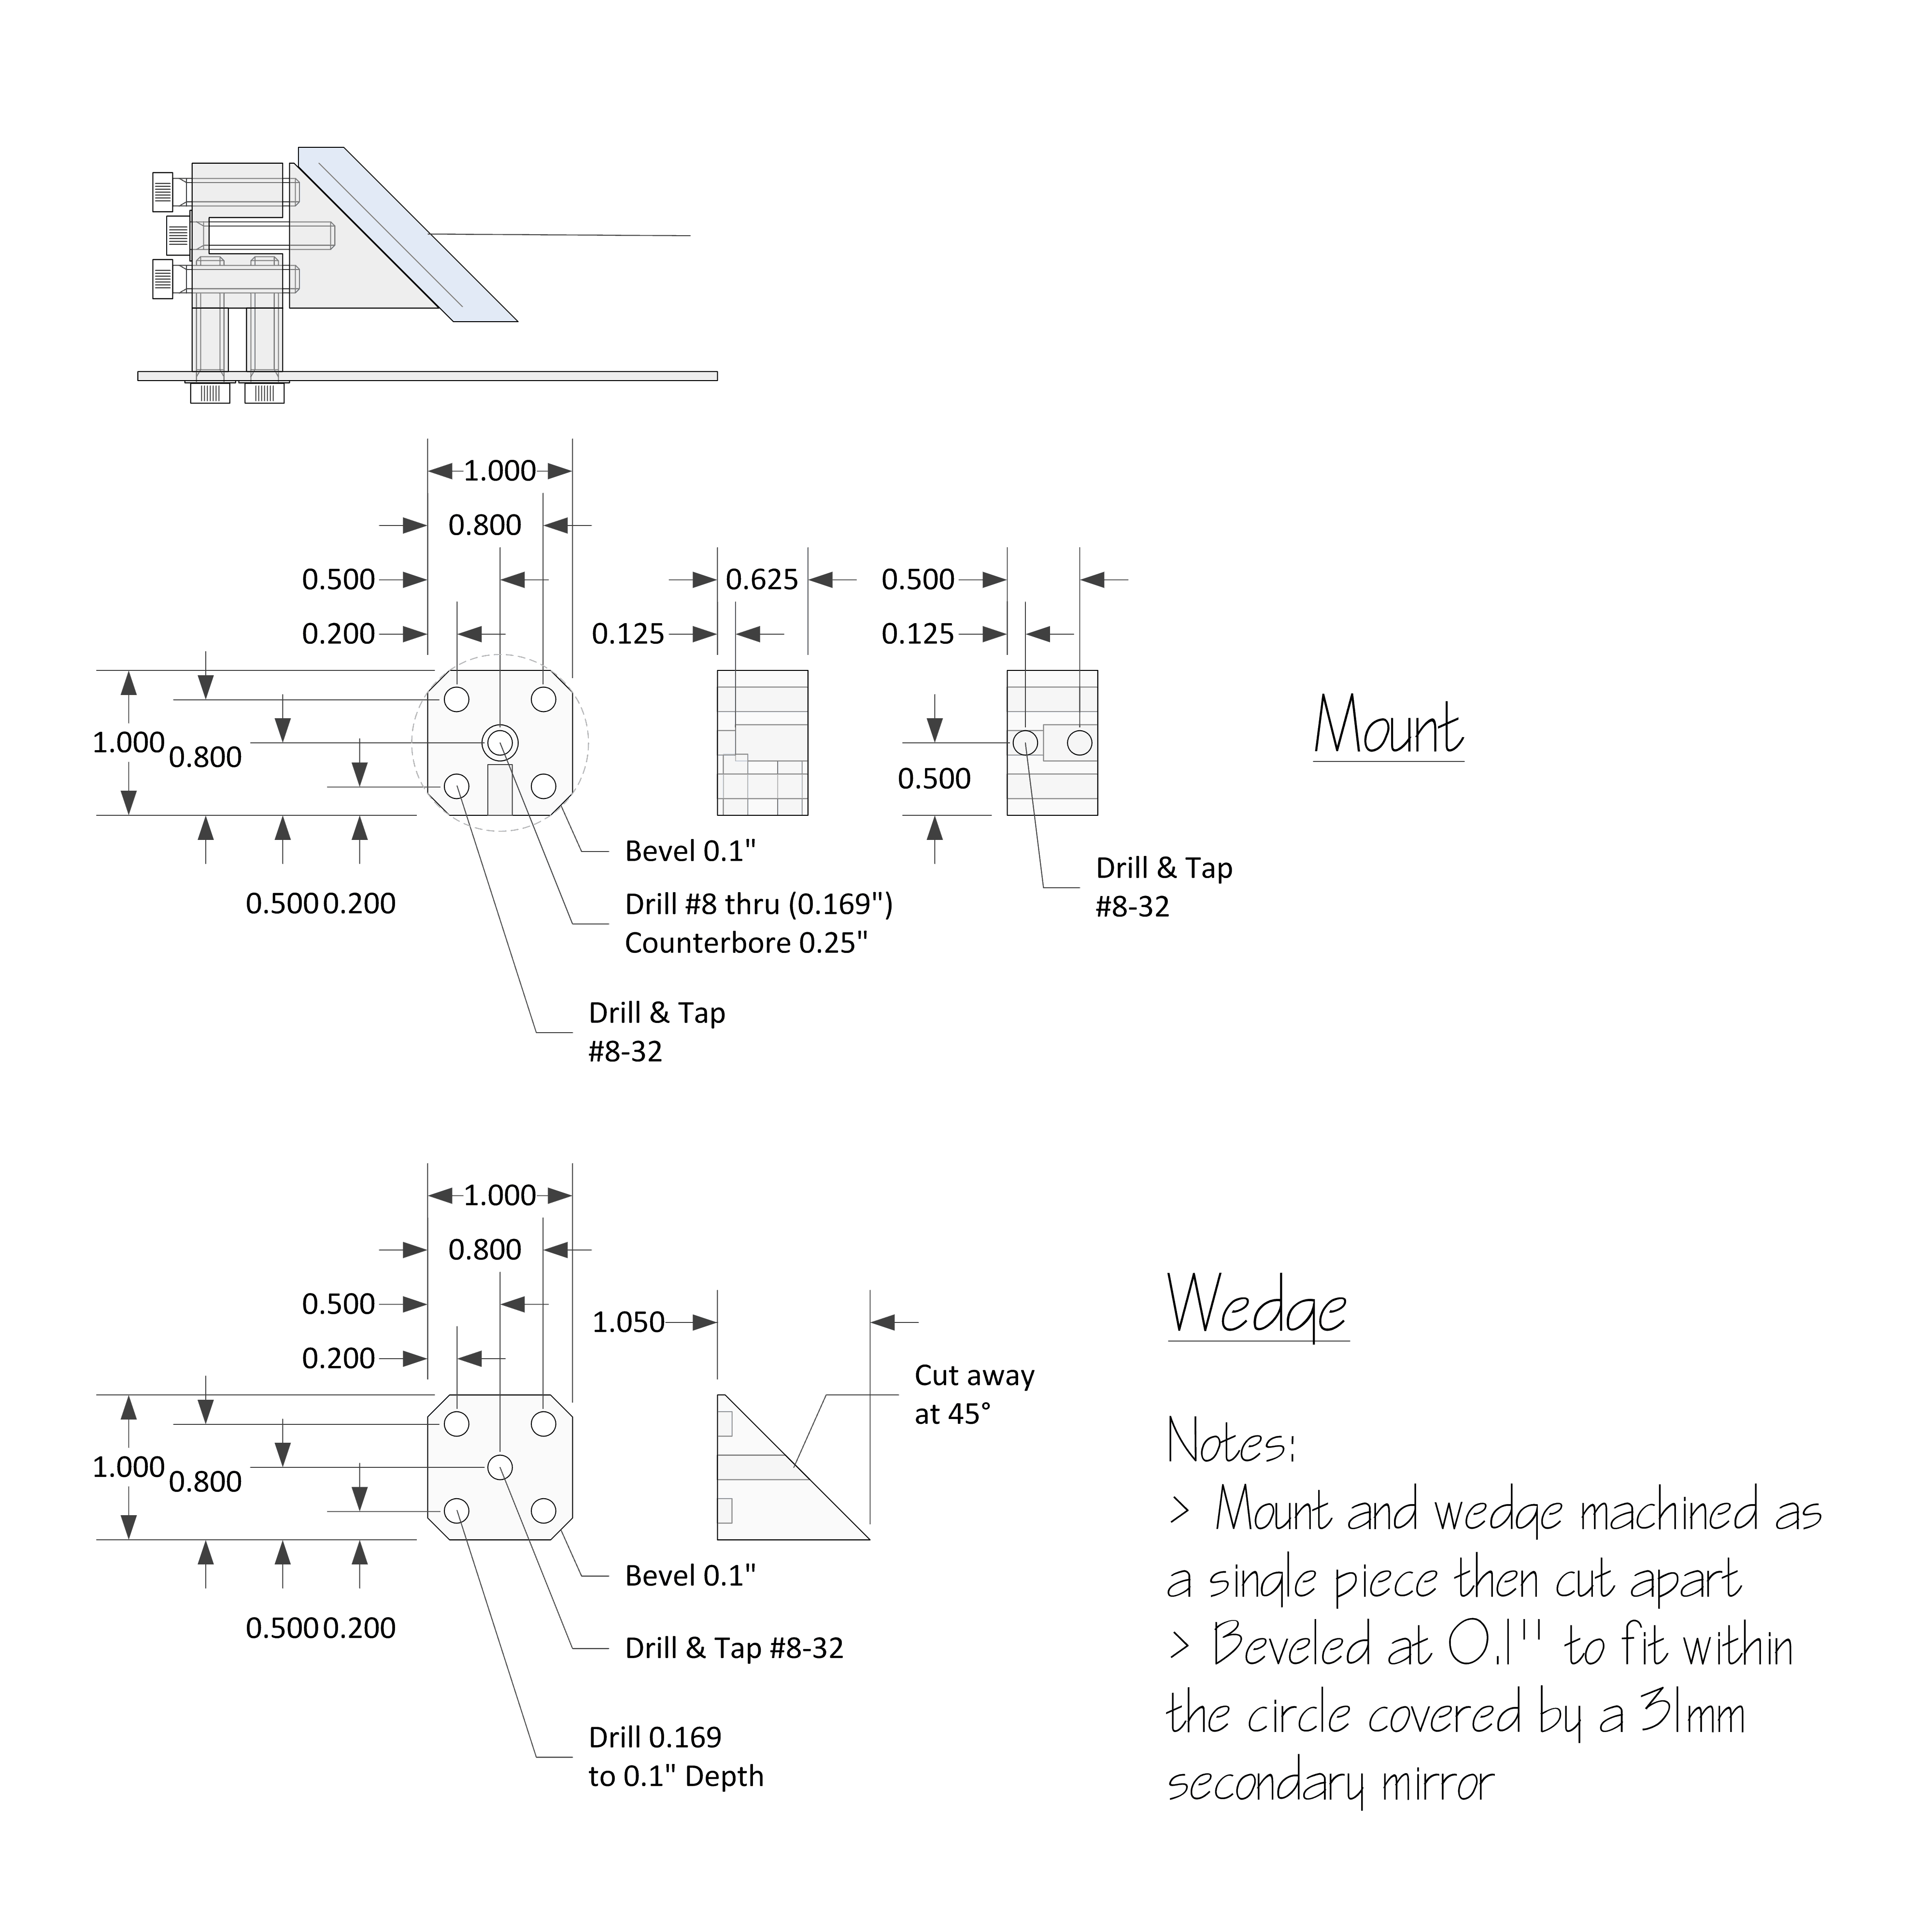
The body is square as this is easier to clamp during each of the manufacturing operations. The square is as large as possible to provide a stable mount, with the corners beveled just enough to stay behind the secondary.
The mount shown here is designed for a 31mm minor axis diagonal mirror. Thus the body of the mount is one inch square with 0.1″ beveled off each edge. This could be scaled up or down for another size diagonal mirror. The overall length of the entire mount is as short as possible. A bar of aluminum was cut to size and beveled first. A four inch bar yielded two complete mounts. I left the machined surfaces a bit rough to break up the smooth surfaces, better to hold paint and to avoid reflections.
There are four adjustment screws here. This allows for a simpler adjustment scheme than a three screw arrangement. With three screws adjustments are often made using all three screws at once. A four screw scheme allows the screws to be adjusted in pairs to effect moves in one axis at a time.
I have made mounts with spring loaded screws in the past. They are easier to adjust, no need to loosen and tighten opposing screws. But they are not as rigid, the careful adjustment more likely to drift. This mount uses pusher screws that must be loosened and tightened in pairs.
Shallow pockets are drilled into the rear of the wedge for the tip of each adjustment bolt. this prevents any rotation of the wedge as long as the adjustment bolts are tight.
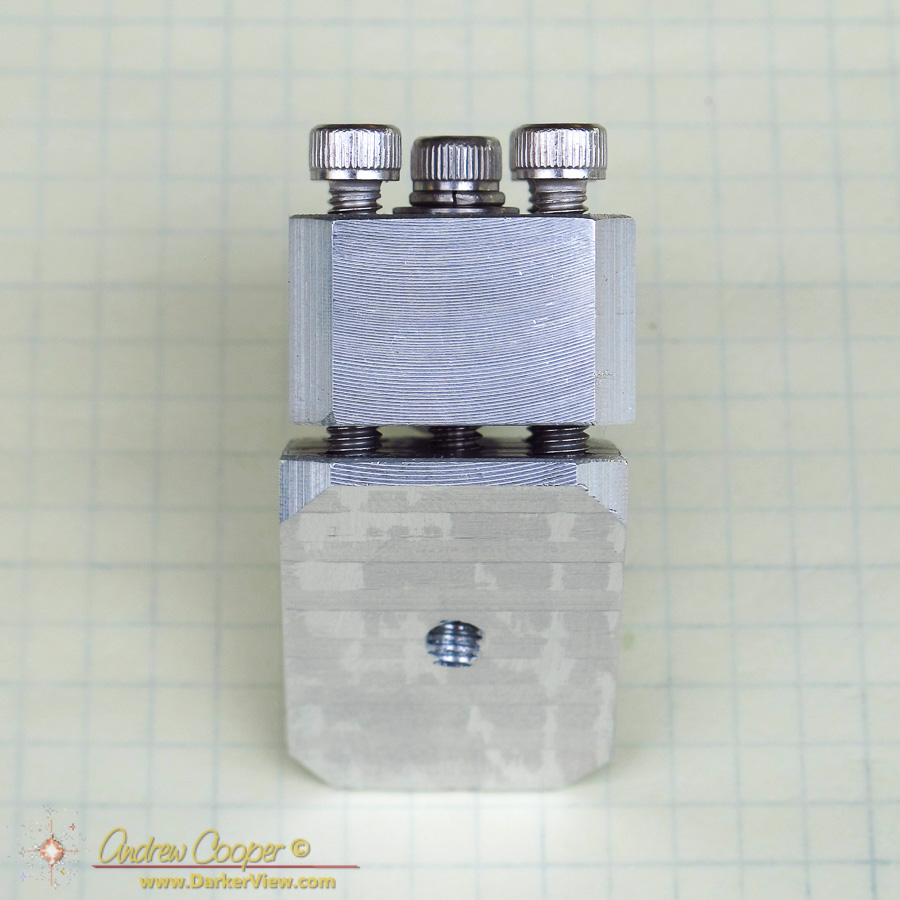
Vertical adjustments will be made by adjusting the height of the standoffs used to mount the secondary, or perhaps by shimming with a washer or two. The two mounting screws will sit in slotted holes allowing the secondary to be aligned with the focuser.
The center screw sits in a counterbored hole, only a small section of the shaft near the head is constrained. This allows it to tip slightly and allow the adjustments. A split lockwasher keeps some back tension during adjustments.
The secondary will be attached with RTV adhesive. The corners of the mount line up with the edges of the secondary making alignment quick and simple. All that is needed is a coat of flat black paint on the sides to prevent odd reflections in the optical path.
No, I am not talking about TMT. I have something a bit smaller in process. For the first time in many years I am building a telescope. Just a little one.
It has been a while, my cred as an ATM is in jeopardy of being revoked.
When I say a little one I am being serious, a 6″ f/5 is the design specification. This is the same optical specification as Primero, my first telescope. The difference here is in building a travel telescope, something that will fit in carry-on baggage with room for clothing.
I am modelling the telescope off a small telescope built by Brett Schaerer he named WikiKea, a telescope I had a chance to examine at Oregon Star Party a couple years ago. He incorporated a clever focus mechanism into that ‘scope that got my attention.
Brett built his telescope for a trip to Hawaiʻi, thus the Hawaiian influence in the name. I will follow suit and have decided that I am building Makaʻiki, which translates as little eye.
I have generated a full set of plans based on a couple photographs of the original telescope. That exercise itself was fun, I love designing things like this. When these plans are complete, a few details are to be settled during building, I will publish them here on DV.
I have manufactured many of the mechanical parts over the last week. A couple more days will be required to make the remainder. I have sourced many of the materials from my stash in the garage, including the plywood, scraps left over from building other telescopes including Deep Violet. I have found that the selection of stainless steel hardware at the Waimea ACE truly sucks, they are out of stock on everything.
Other parts are coming in from eBay merchants, like knobs and HDPE tape. The optics will likewise be from the eBay, most likely GSO. Later today there will be a stop at Home Depot, I am out of wood glue, the last bit thrown out as it had hardened in the bottle. And unlike the local ACE, their hardware selection is pretty good.
Update! The new ‘scope is complete, you can read more about it here.
You might recall a post from back in May describing a night spent on the summit with Jason Chu. He has been accumulating time lapse material for a significant project, capturing the telescopes of Mauna Kea under the beauty of the night sky.
Jason has published a preview of the work. Nice to see it come to life with a decent soundtrack and good editing…
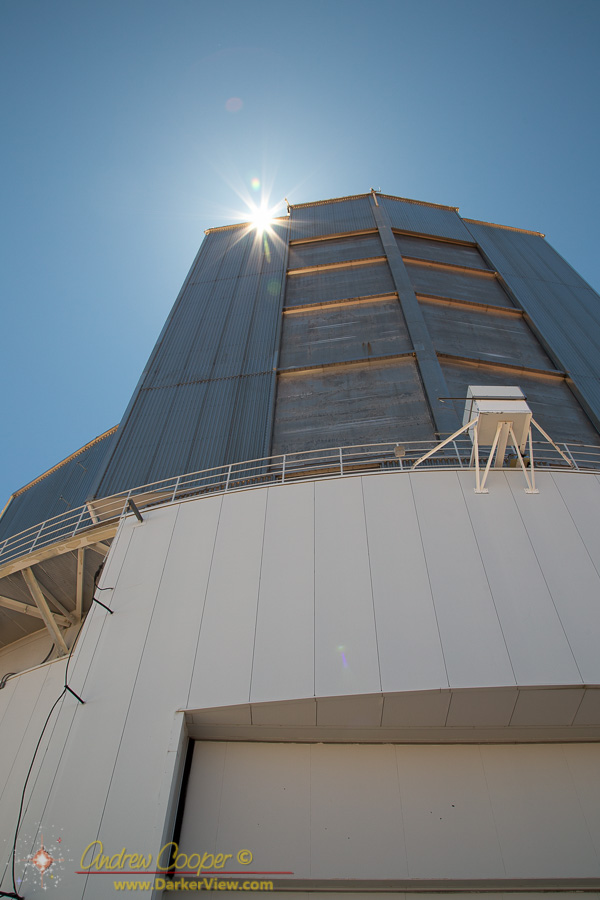
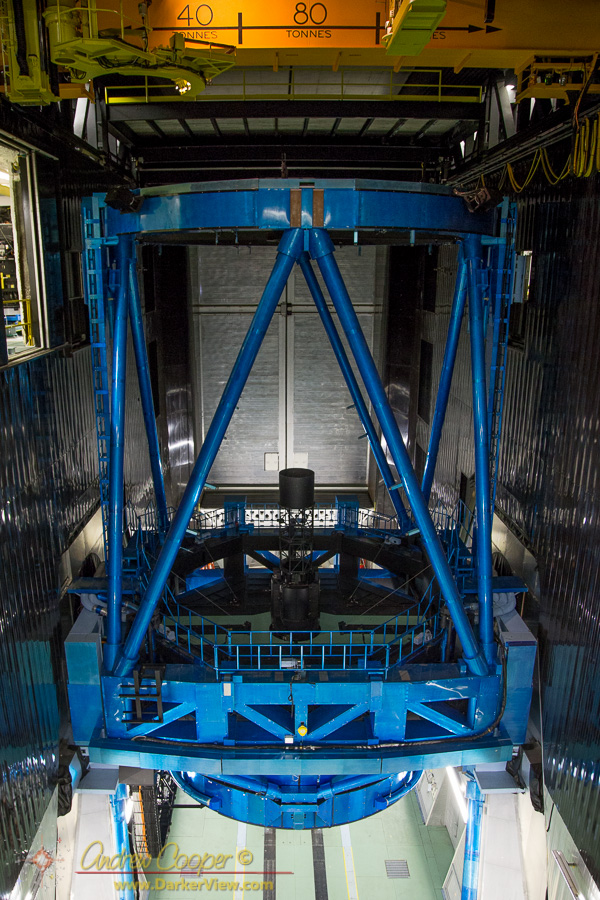
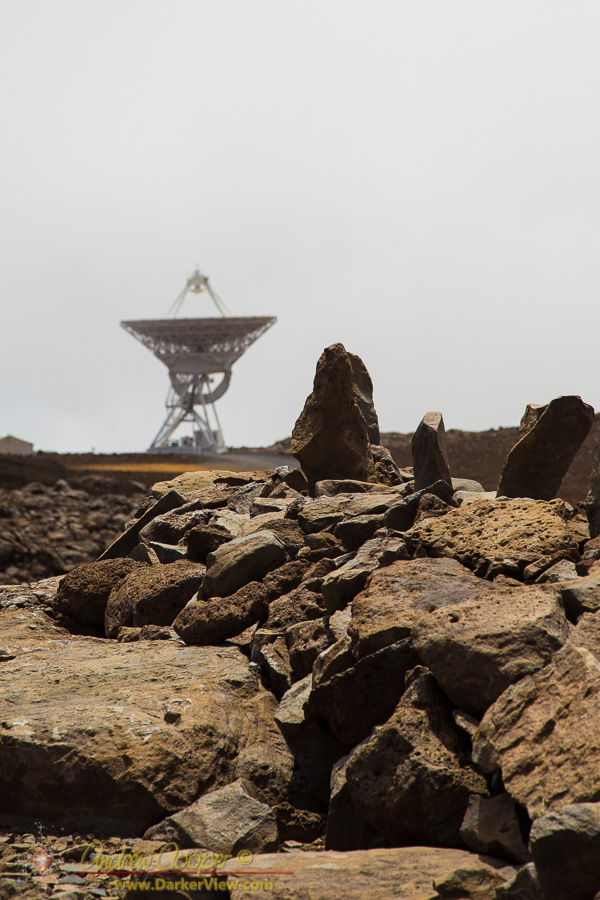
Over the past few years the West Hawaii Astronomy Club has visited nearly every telescope on Mauna Kea. One glaring exception to this is Subaru, the 8.2 meter telescope belonging to NAOJ.
Subaru is the only telescope with an active tour program. By making reservations ahead of time you can visit the interior of the facility with a guide. This made making the arrangements for a tour quite simple, even when the observatories are worried about events on the mountain. We did quite well for tour guides, Rieko Murai and Josh Walawender made the tour a bit better than the usual tour. Josh is well known to the local amateur community, bringing his own small telescopes to observe at the VIS.
The limit for any group visiting the telescope is eight due to practical considerations such as safety. Thus I had set up two tours, using both the 10:30 and 11:30 slots. This allowed most of the club an opportunity to visit the telescope. This did mean we were unable to enjoy the experience together. While we waited for our later tour I led a short walk to some interesting geologic features and one of the ancient ahu that are near the road.