Living in the islands provides excellent observing for an amateur astronomer such as myself, but there are drawbacks. I do miss the large star parties, getting together with hundreds of other observers to see other telescope setups, to learn, and to share the sky.
Thus I have made a habit of traveling to the mainland once in a while to attend one of the larger star parties. This year I will again attend Oregon Star Party. It has been a while, the last time was 2017, the year of the total solar eclipse.
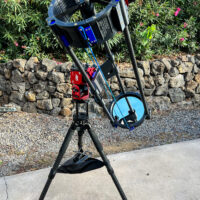
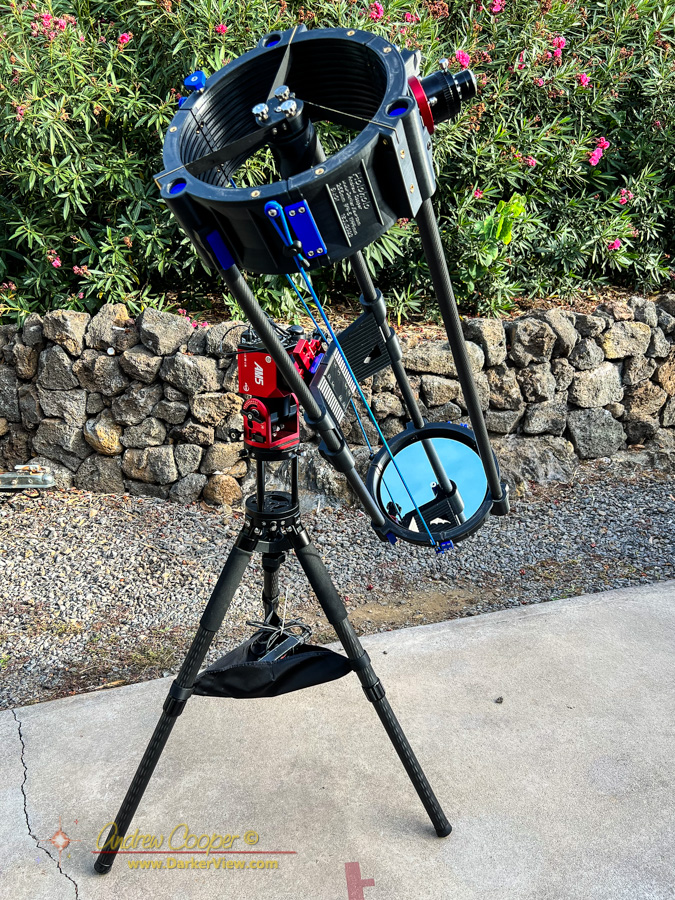
Traveling from the islands to a star party makes it a challenge to bring a large telescope. Last time I borrowed an 11”, not a bad solution, it worked, but it was not my ‘scope. This time I was determined to realize a long considered idea, to build a substantially sized travel telescope. Thus Holoholo was designed and built, a 10.1” f/4.5 travel ‘scope.
The first challenge is to source a mirror. To this end I had been keeping my eye out for something in the size range I wanted…. 10 or 11 inches and short focal length, preferably f4/ or f/5. Thus when an old Coulter Optical 10.1” f/4.5 appeared on Astromart I bought it. The price was quite reasonable and the secondary was included. These Coulter mirrors could be mixed in quality, but I was ready to gamble a bit.
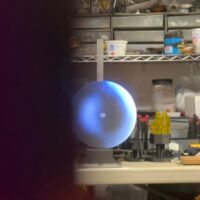
Getting the mirror on a test stand showed that there was nothing grossly wrong with it. No turned edge, no substantial astigmatism, it looked reasonably well corrected. It was at least OK, whether it was a good mirror or not would be seen on stars, but I would go ahead and build a telescope to hold this mirror.
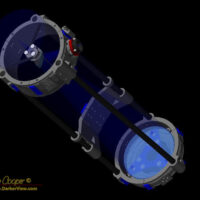
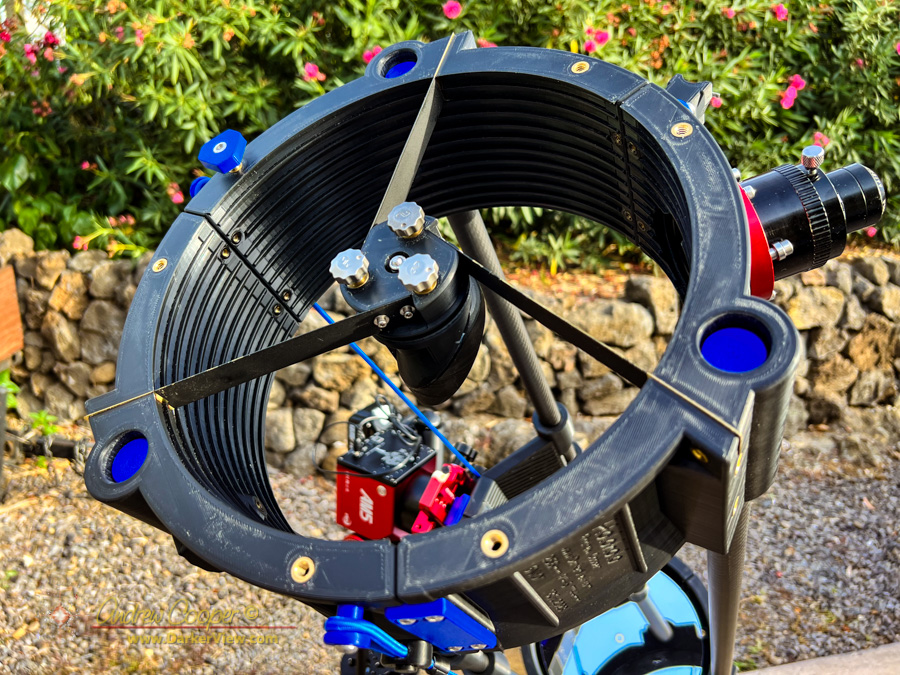
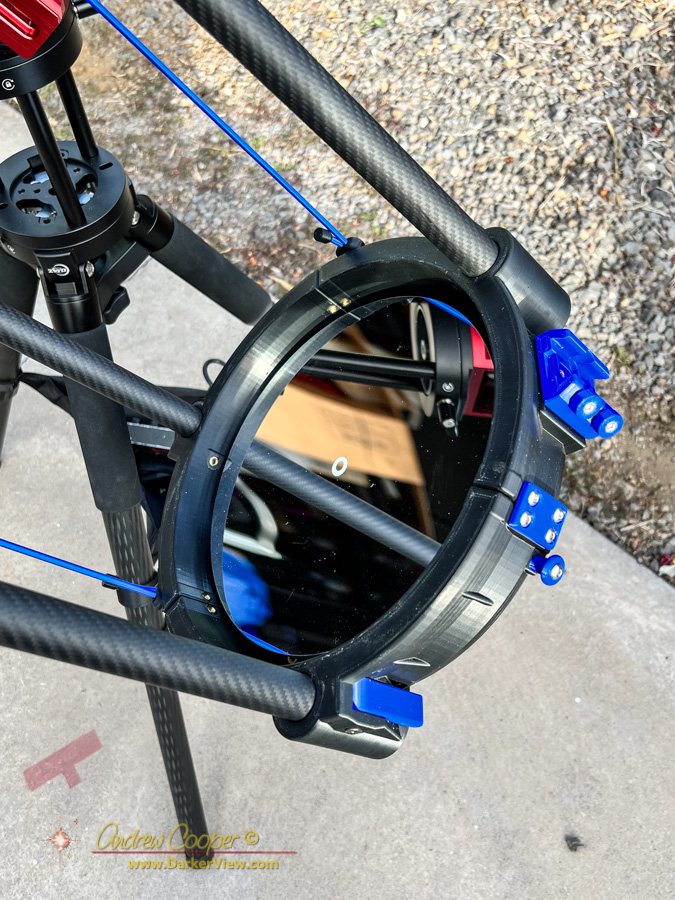
This telescope is almost entirely 3D printed…. The cell, the cage, all of the little fittings. I drew upon my experience and ideas of two previous, though smaller, telescopes and designed everything.
3D design of such a structure takes an incredible amount of work, hours and hours were absorbed into the effort, endlessly spinning the model on the screen checking for errors or considering other ideas. I can celebrate some sucess here, almost no re-printing or redesign of parts needed, and no re-printing of any of the major parts needed.
Good thing I got it in the first try… The larger parts took well over twenty hours to print each. Three large parts for the cell, three for the cage, two for the saddle… Eight parts just as large as my 3D printer can print.
Assembly was also pretty easy. There was some hand work necessary to post process some of the parts. A little cleaning up of the truss tube sockets with a file to smooth the surface, quite a few brass threaded inserts to melt into place, a touch more file work here and there to clean up the usual print issues. After that it just bolted together.
One part that worked out satisfyingly well was the secondary mount and adjustment arrangement. The use of 100 thread-per-inch optical adjusters resulted in a design that works very well indeed. Collimation adjustment of the secondary is smooth and solid.
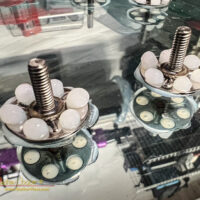
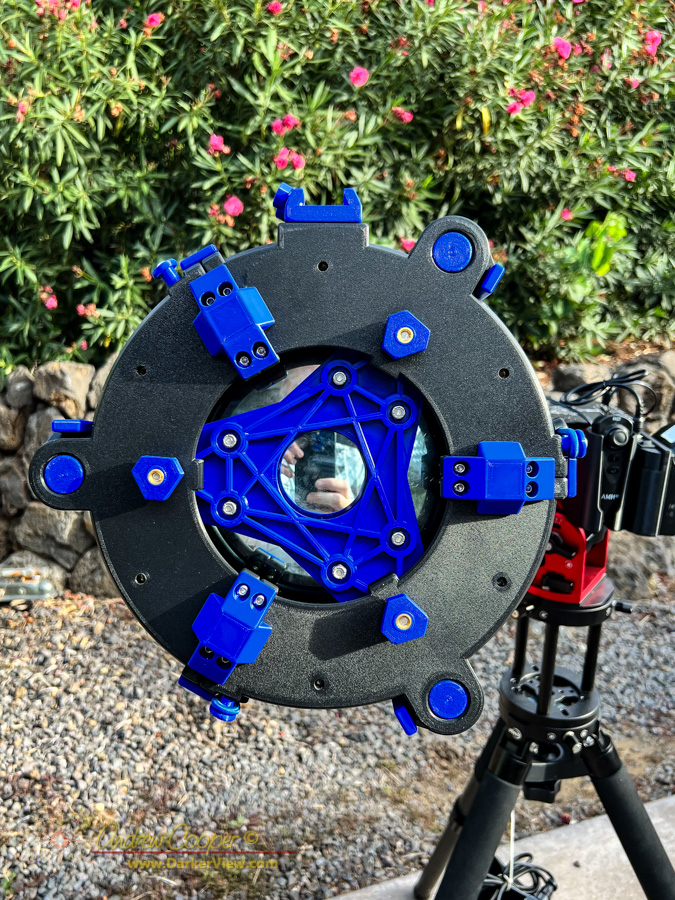
Another part of the design that was a bit of a risk was the primary mirror mounting. I used bonded studs glued to the rear surface of the primary mirror. These are loosely secured to the mounting plate. The key here being loosely, the stud goes through the plate while the nylock nut is not fully tightened to allow a little float. This is designed to hold the mirror in position while not holding it too tightly in any aspect to avoid distorting the mirror’s shape.
This mirror mount design was something new, I had never seen a mount done like this, and worried it might not work in some ugly way. It was inspired by my work on Keck Observatory primary mirror segments, where likewise the mirror supports are glued, if notably differently. Pleasantly this novel arrangement seems to work quite well, no obvious distortion of the optics visible in the image.
At the moment the ‘scope rides on a ZWO AM5 mount. The mount works well, carrying the light ‘scope, there is more vibration than I would like, mostly in the stock tripod. I roughed out a design and added mounting points to the cell to convert the telescope to a Dobsonian mount at some future date. This would provide an even more compact travel solution.
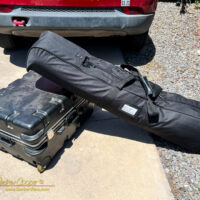
The ‘scope traveled quite well, the hard plastic case protecting the ‘scope without trouble. The truss tubes traveled in a soft case normally used for fishing rods or camera tripods. The soft case also carried the AM5 tripod while the mount head unit was included in the hardcase.
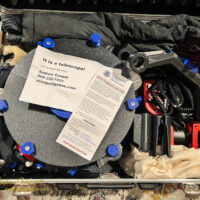
For padding I used my jacket and other warm clothing as well as the telescope cover and shroud. On the way back a little dirty laundry served as well.
Yes, TSA did open the case and inspect it, no surprise there. When they did they must have found the note from me on top of the telescope left there just for the TSA inspector I knew would look… “It is a telescope”!
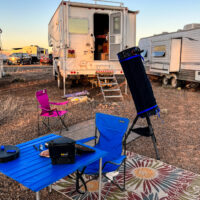
Thus the first real outing of a new telescope was five solid nights under the dark skies of Central Oregon at Oregon Star Party. With 10″ of aperture available I was able to make the best of those dark skies, working my way through the observing lists I had prepared with little difficulty, including some fairly faint objects.
I fought some issues with the AM5 mount, notably miserable GOTO accuracy, while the telescope itself performed very nicely. Is the mirror a great mirror? No. But neither is it a bad mirror.
I was able to track down and observe several hundred objects over the five nights of the star party, including completing the internedate observing list with some challenge objects. Split close doubles? Can do. Observe some structure in galaxies? Yes. The ‘scope does the job.
I do look forward to having this ‘scope available for travel in the future. Though perhaps with another mounting arrangement. Southern hemisphere sometime?

