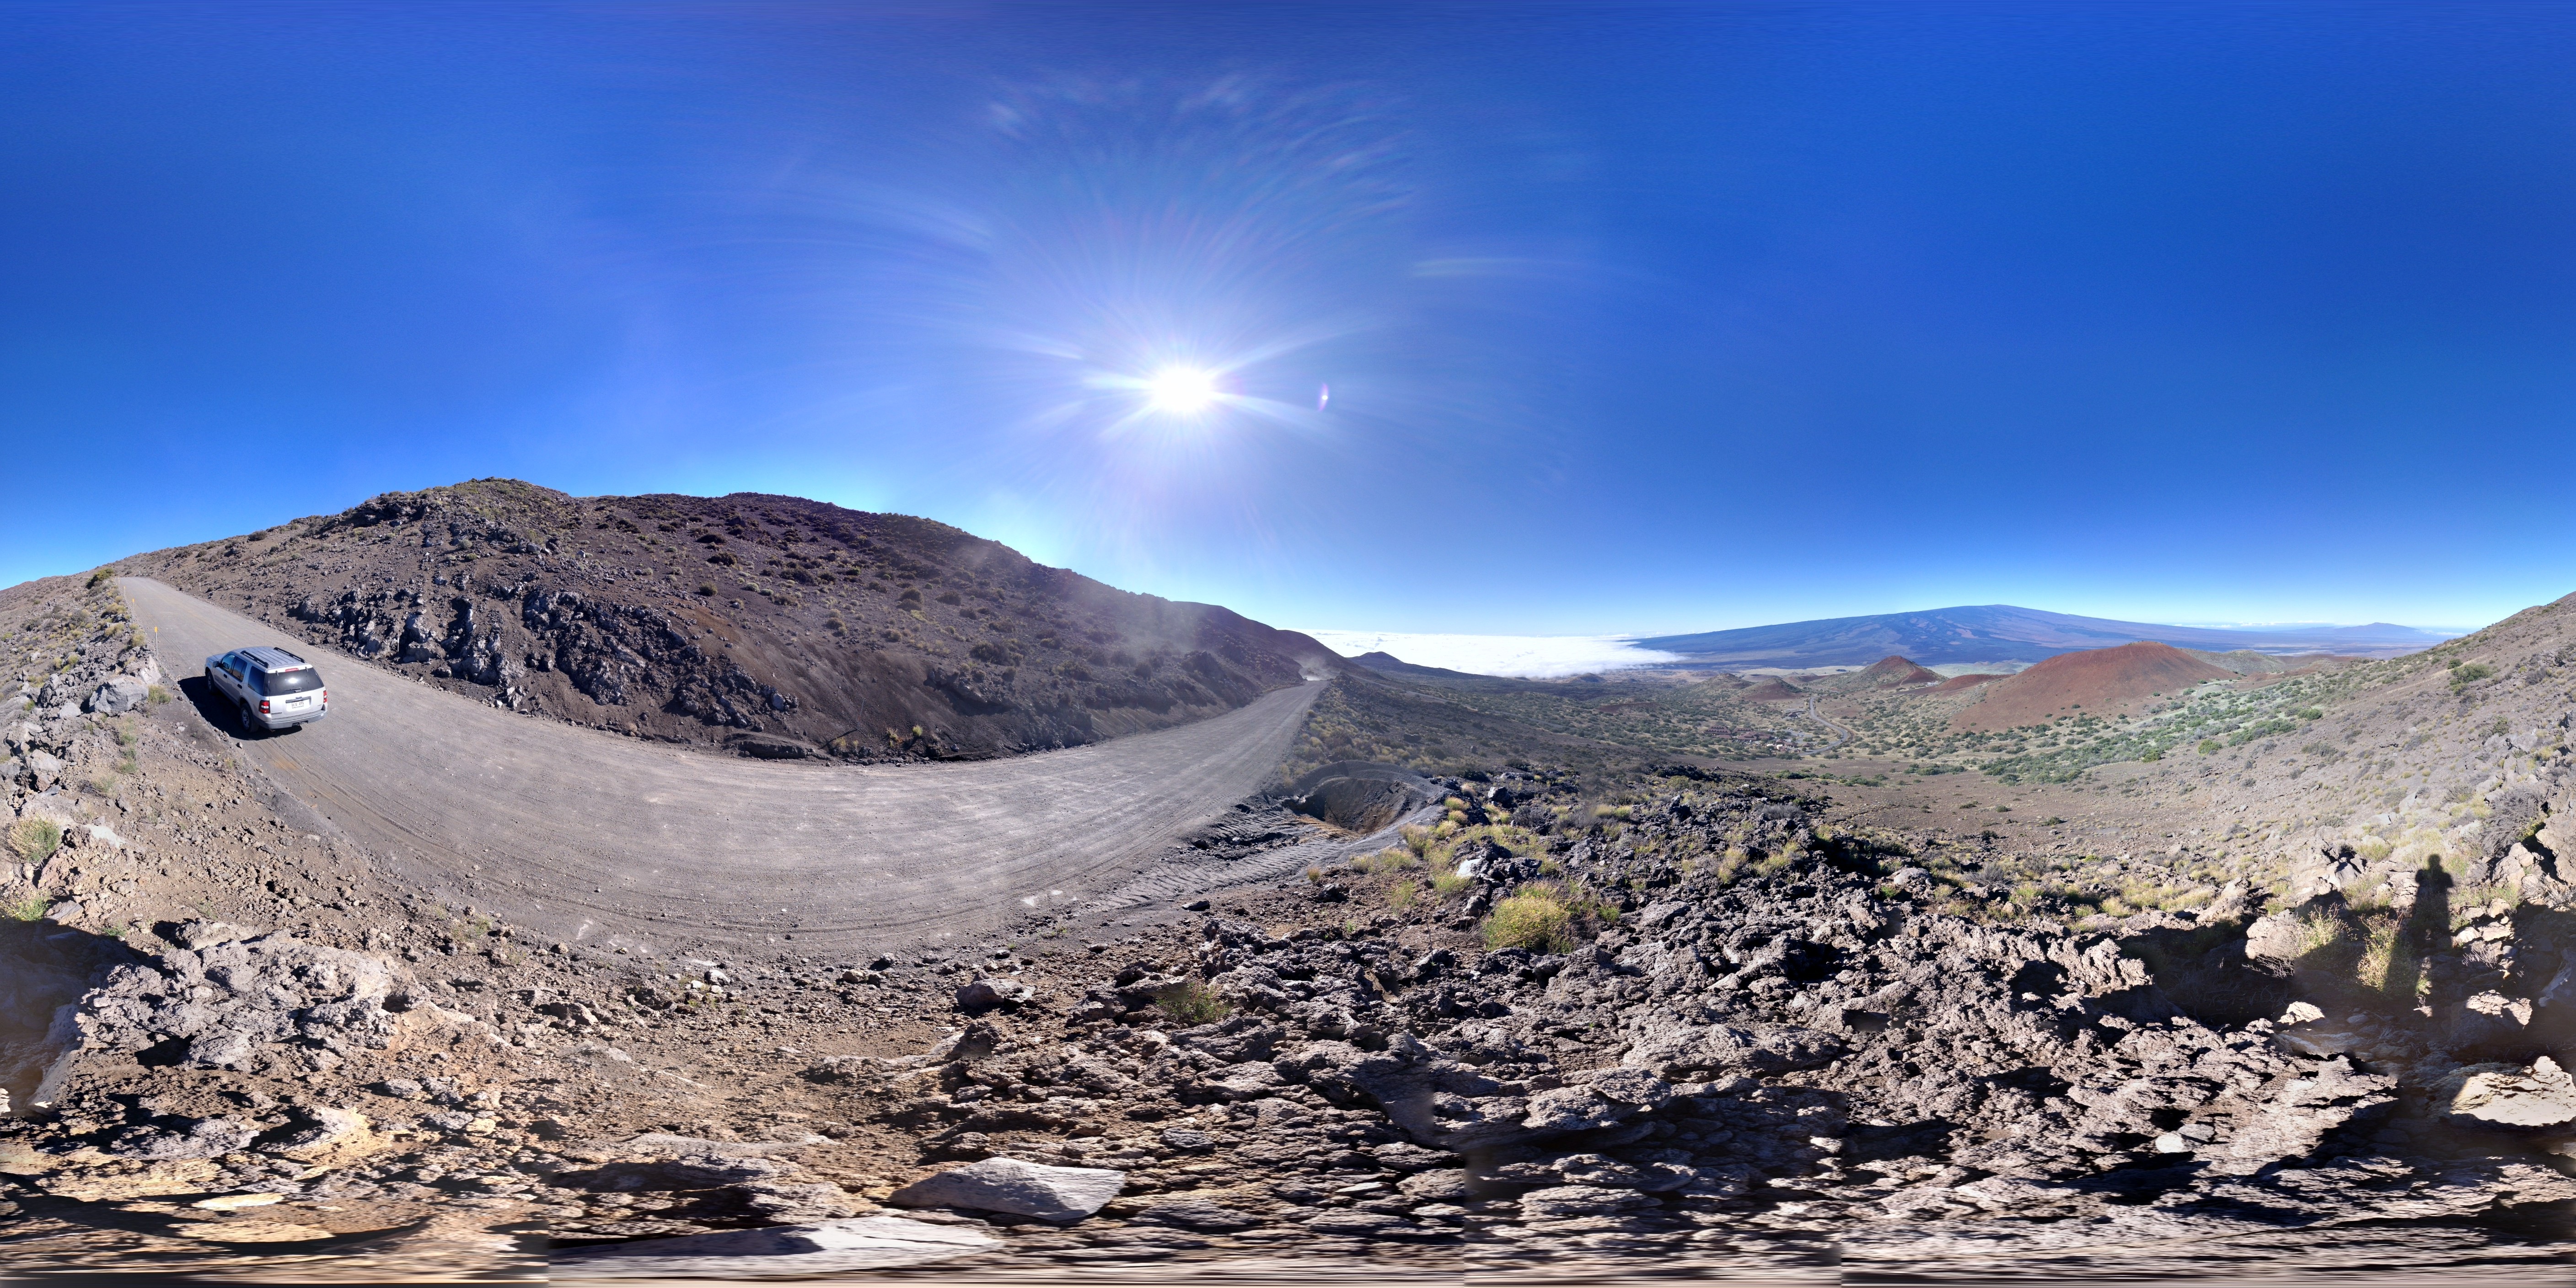
Sometime you need to watch for the interesting photo simply walking from the front door to the car…

When you want to see the stars, find someplace dark

Sometime you need to watch for the interesting photo simply walking from the front door to the car…
Yes, I meant to do that… Not.
Sometimes you download the SD card and find photos you had no idea you took, an accidental actuation of the shutter. Most of the time they totally worthless, a photo of blurred gravel, or a hand across the lens. But on occasion they are a bit more interesting, properly exposed and in focus…

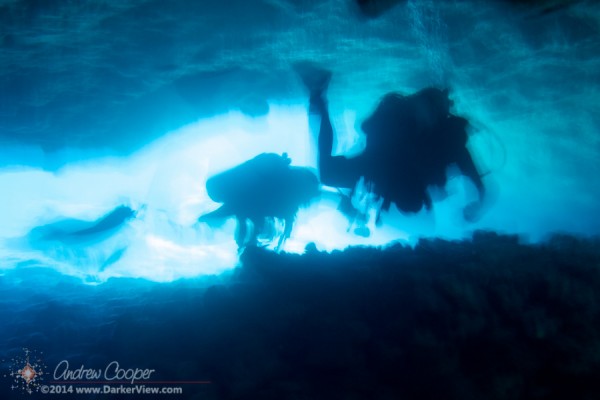
Sometimes the photo does not quite work as planned. Turn to shoot the guys following me into a cave, except that the flash does not fire… It helps to turn it on. Expecting the result to be a discard, I am surprised to see a rather interesting photo…



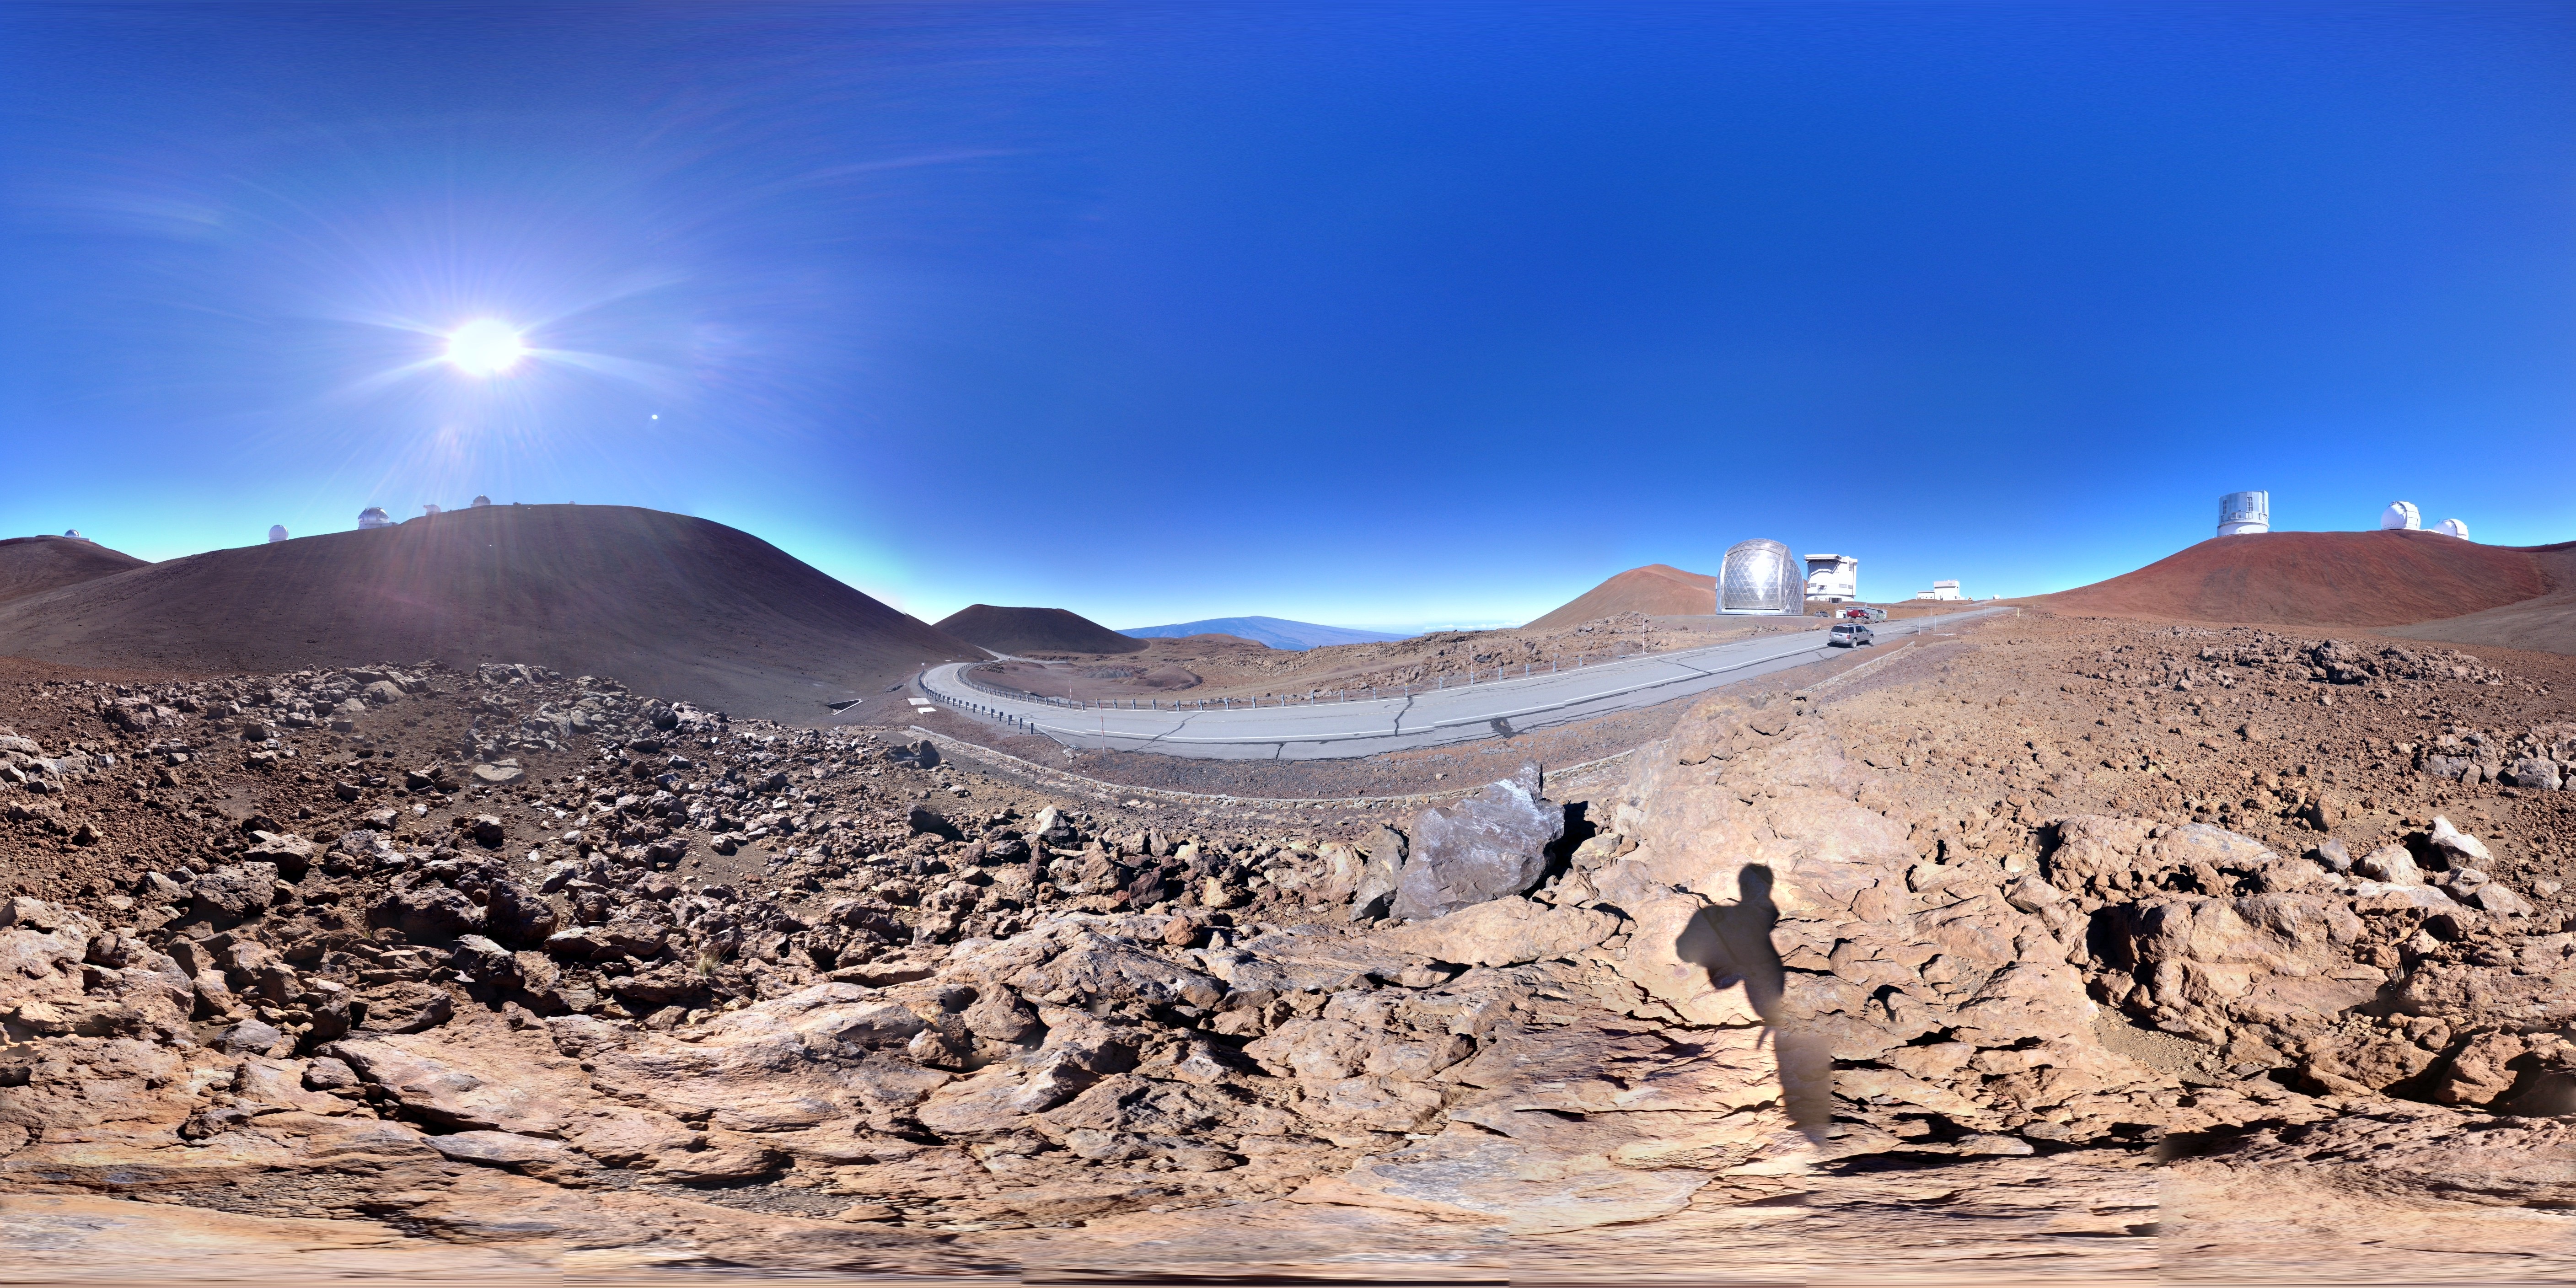
It may look small, but this image is anything but small, click on it to find out. The panorama is assembled from seven frames, with final dimensions of over 12,000 x 2,000 pixels. The version posted here is a bit smaller, only 4,000 pixels wide. While it is a big image it does not really come close to the effect of actually standing there beside the camera. Also missing from the photo? The biting cold wind.
The image includes ten telescopes, two planets, two galaxies, two meteors, four volcanoes, and innumerable stars.
It helps that I now have an iPhone 4S in place of my ancient 3GS. Yes, I was nearly three models behind. I was in no rush to update as long as the phone did the job. The phone is a hand-me-down from Deb, who just updated to a 5S. It is not all one-sided, I recently updated to an iPad Air, while she gets by with the old iPad 2.
With the new iPad I had downloaded PhotoSynth from Microsoft, a free panorama application. My experiments with this software were far from successful, I have never achieved a satisfactory result. It is sufficient if all you want is a once around pano, but if you start to add a little vertical the stitching suffers. There are terrible stitching errors in every attempt I made to capture more than a single pass.
A few days later I learned that Google’s Photo Sphere app had been released for iOS I quickly headed to the app store to get it and give it a try. I shot a couple panoramas on my way up to the summit. The results? Much better, the program does assemble decent 360°x360° spheres.
There are some conditions that will give the software trouble. Dramatic lighting around sunrise or sunset will cause trouble. The varying exposures are not handled well, over-exposing the ground and other large areas of shadow. I have gotten the best results at mid-day with the Sun high overhead and even lighting as you spin. Alternately I have seen decent twilight results when the lighting is again fairly even over the entire scene.Some stitching errors will be visible if there are a lot of straight lines visible. This will be most apparent in a built up environment, with large structures in the image. In natural surroundings it becomes more difficult to pick out the stitch lines between frames.
It takes two to three minutes to shoot a complete sphere. You spin in place, moving the camera from image to image as you shoot. Positioning of the camera is performed by simply aligning the camera at each aim point provided in the software. It appears that the software uses the phone accelerometer to detect the correct orientation of the camera. It is a bit like a shooting video game, aim and shoot, aim and shoot, each shot is fired automatically when you get the aim right. A progress bar surrounding the button at the bottom of the screen lets you know how much you have yet to do.
The app is designed to upload the images to Google Maps, making it appear as if the free app is designed as a way to create more content in Maps. While you do not have to upload your images, I have uploaded a few anyway. I do not mind contributing to a tool I have found enormously useful.
The full spheres are a lot of fun. Easy to take with the one camera you will have with you at all times. Given the half-decent photo quality of the later iPhone cameras the results are pretty good.
It works! We now have a CloudCam at Keck. It is not quite ready for full active service, but it is alive and taking images. I got the network connection running yesterday, after mounting the camera and running the various cables over the last couple weeks. A little time for commissioning and getting the software setup and the camera will be available to everyone.
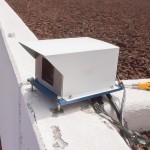
Our camera was built by Kanoa over at the Canada France Hawaii Telescope. Kanoa built the first CloudCam that has served CFHT so well. In service for a couple years now, the CFHT CloudCam gives our telescope operators an unparalleled view of the weather. This is critically important as heavy fog, rain or snow can damage the telescope optical coatings.
Post Update… The Keck CloudCam Link!
Video Archive
To secure and protect the enclosure Kanoa built I fabricated a solid mount. A heavy machined plate and an aluminum cover should shield the camera from the worst that Mauna Kea Weather can dish out. The camera electronics warm the box nicely and a heater is installed to warm and deice the window. We shall see how it fares, the summit weather can be amazing.
With the original CloudCam pointing east, over Hilo, our CloudCam points west, a complementary view of the weather approaching the summit from either direction. The imagery will be closely monitored by all of the telescope operators on the summit during marginal weather.
The imagery will be available to the public as well. Expect live images as well as compiled movies of each night. The first CloudCam has quite a following, quite a few people check the camera constantly. This includes quite a few UFO consipracists. If anything odd shows up on the camera the video quickly shows up on YouTube and linked to postings on the UFO sites.
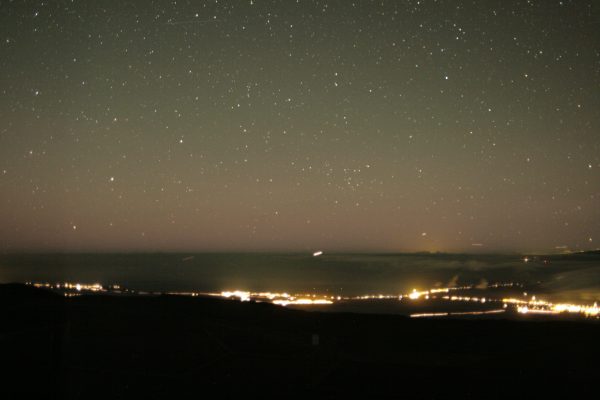
Yes, the focus needs to be adjusted (I expected that), but the scene covers a nice range from the Waikoloa resorts on the left, past Kawaihae, to Waimea on the right.
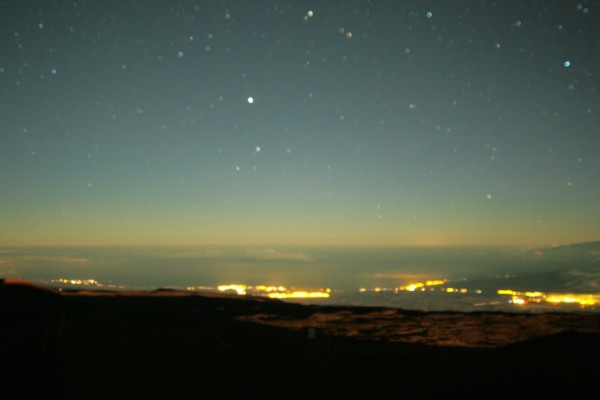
And after focus adjustment we get much nicer stars…
It has been a long time since I shot a full frame 35mm camera. Not since I shot film have I used a camera with a full 35mm image size. My older DSLR cameras have use APS-C sized sensors. The Canon 6D is a full frame camera with a 36x24mm sensor, something that has quite an impact on the camera’s capabilities.

Taking star trails is one of the easiest forms of nighttime photography. it requires less equipment than full out astrophotography, only a camera that can take a long exposure and a tripod. In a pinch you can do without the tripod.
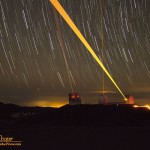
For a number of reasons taking one very long exposure is a problem with digital cameras. Without getting into a technical discussion of noise, dark current and hot pixels we will simply advise taking short exposures. You can always try a twenty minute or half hour exposure and see for yourself. Thus the technique is to take a series of short exposures, usually one to five minutes long, and add these together in processing. By taking a series of short exposures, the final exposure length is limited only by the camera battery or the arrival of dawn.
If the camera is sensitive enough, and you have a fast lens, you might try starscape photography, where the stars are not trailed by the motion of the Earth. In contrast, star trail photography can be done by almost any camera that can take a long exposure. The difference is in the length of the exposures, long versus short, star trail or starscape.