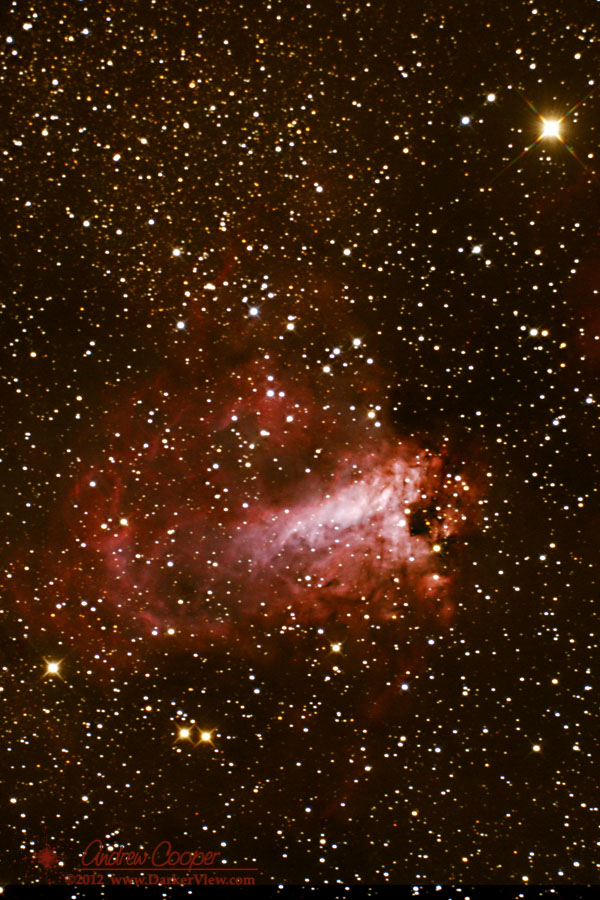
Postcard from the Universe – The Swan
When you want to see the stars, find someplace dark

A box in shipping and receiving with my name on it. A much awaited box. The new SBIG ST-i autoguider!
For those who are uninitiated into the mysteries of astrophotography, an autoguider is the secret to taking hours of exposures without having the manually correct the telescope position constantly. For almost two centuries, from the first time a camera was attached to a telescope, through the invention of auto-guiders, guiding was a supremely tedious task. The photographer would spend hours on end, peering through an eyepiece watching a single star, if the position of the star started to drift, he would press a button to correct the position of the telescope during the exposure. This was necessary to achieve any sort of long exposure, as the telescope, no matter how precisely made, would drift a little during the night, leaving streaks in place of pinpoint stars.
I have done this, it is no fun at all.
Then came the autoguider. A small digital camera that could take a picture of the star, then check the image for drift in the star’s position and, if necessary, send a command to the telescope to correct the position automatically. The first commercially available autoguider appeared in 1989, the Santa Barbara Instrument Group model ST-4. This little device revolutionized astrophotography, allowing far longer exposures with much less effort and much better precision.
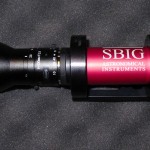
No more, I have broken down and purchased the new ST-i from SBIG.
The newest, latest and greatest, just released model.
Unpacking the box I am happy with what I see. Everything looks good.
It does seem like a small device for the $595, smaller than most of my eyepeices. Fit and finish looks good. A nice small package that will be easy to mount to any of my telescopes.
I setup the software and drivers on the laptop with no issues, simply following the provided instructions. The SBIG software for the camera , CCDOps ran first time, connecting to the camera and taking a frame. You can hear the soft click of the mechanical shutter in the camera. The bias frames look quite nice, a smooth field of salt and pepper noise with no gradients or other artifacts.
Attaching the lens from the accessory kit I take a few images of wood-grain on the kitchen cabinets across from the table I am working at. Another task will be to properly evaluate the imaging performance of the camera. It does have a decent CCD in it, the specifications indicate a proper 16-bit A/D system. A real photon transfer test will reveal if that system lives up to the specifications. A subject for another post!
The package offers a nice solution, on paper at least. With the included 100mm lens the camera should provide a 165 x 123 arcminute field of view, or a 2.7 x 2.0 degree field of view. The literature promises sub-arcsecond guiding accuracy with this setup, with the ability to use 7th magnitude stars with one second exposures. These are claims that will have to be checked as well. I intend to do a proper job of verifying these numbers, I expect to get many years of service out of the guider. The new camera has quite an act to follow, replacing my classic ST-4!
I also hope to be able to guide on the Sun for the Transit of Venus. I will be trying the included software as well as Dave Solar System Recorder in the coming week. I wonder if either package will be able to guide on a large, non-stellar object like the Sun, perhaps with a shorter focal length lens.
This leaves only one real question… How well does it work? Unfortunately that will have to wait for another day. In true astronomical tradition, the receipt of new astro toys invariably occurs when the weather precludes their use. In other words… I have clouds!
A writeup of the operation of the new autoguider will be another post, when the skies provide me a chance to use it.
Over the next week Venus will be lost to the Sun’s glare. It is currently about 15° east of the Sun, but getting closer quite quickly now and becoming tough to spot in the sunset. The planet will pass through inferior conjunction on June 5th. The planet will appear in the dawn sky around mid June. When it does appear, it will again be in the company of Jupiter which passed through superior conjunction on May 5th. The two will again dance with each other and the Moon in mid to late June.
Of course, this upcoming inferior conjunction is just a bit special as Venus will pass directly in front creating the Venus Transit.
Even when low in the sunset, Venus is worth picking up in a telescope. As the planet approaches inferior conjunction it shows an ever more crescent appearance to our earthbound vantage point. During the last days of visibility it will be a razor thin crescent, worth the effort to look.
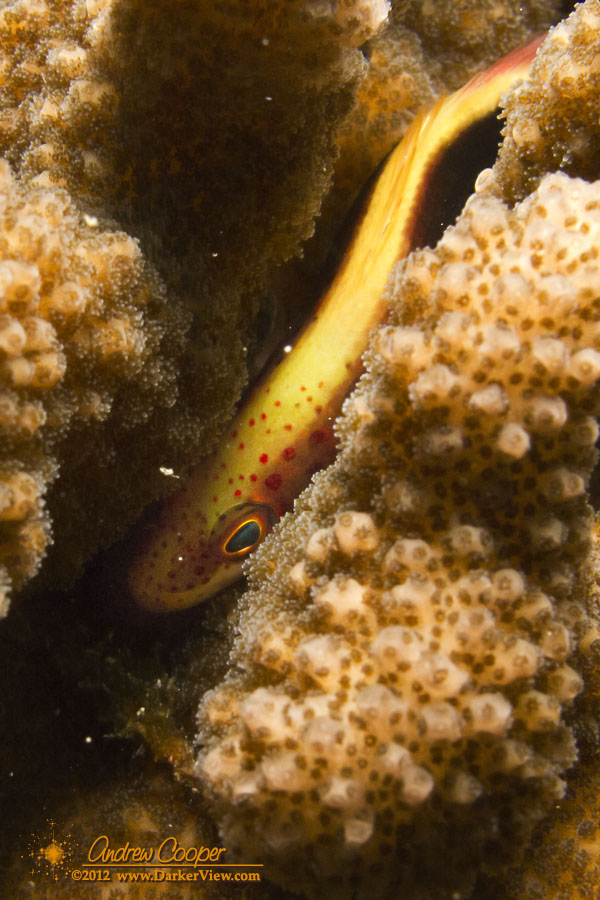
Another new Moon weekend, another observing outing to Mauna Kea. With some shiny new astro equipment to play with I decided to load for photography instead of visual. Disassembling the photographic mount I realized it had not been taken apart in over two years, setup in the garage and used in the driveway. I did not expect to be alone, a few other local observers had indicated plans to get out this night.
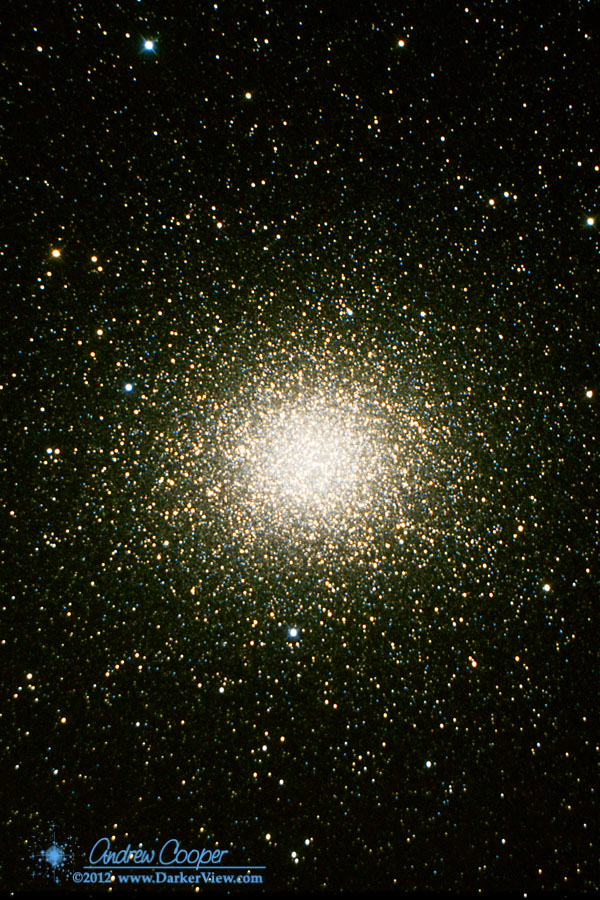
As expected the Mauna Kea Visitor Information Station was a zoo. A dozen summit tour buses added to a heavy Saturday night crowd. The parking lot was full with even more cars parked along the road. Not a real problem, the tour buses use reserved spaces right in front of the building. They pull out about an hour before sunset, headed for the summit with their customers. We swoop in on the vacated parking spaces and set up our gear.

In addition to the VIS telescopes, there were quite a few local amateurs taking advantage of a moonless Saturday night. Cliff and Tony brought Cliff’s 24″ Dob, a two person job to move that ‘scope. Wayne brought photography gear. Mike was likewise set up for photography, planets instead of deep sky, using a Flea 3 and an ancient 10″ Celestron. Olivier brought his 19″ Pricilla, providing plenty of glass for visual astronomy while the cameras exposed for hours.
It was Malalo o Ka Po Lani, cultural night at the VIS, with a special lecture. This meant a large crowd, most of whom stayed to enjoy the perfect skies the mountain provided this night. They wandered around the telescopes asking lots of questions. While the photographic ‘scopes did not offer views through the eyepiece, there was still a lot of interest in the process. I chatted with many folks as I worked, fiddling with the complex equipment necessary to take photos of the sky.
It was quite the gathering of Losmandy G-11’s! Wayne brought two, Mike brought one to carry the old 10″ Celestron, I had mine setup for photography with the AT6RC. Add the three that the Mauna Kea VIS uses! A testament to these well-built mounts, some of which are two decades old.
The astrophoto gear was working nicely. There were a few issues to deal with at the beginning of the night, the usual new gear stuff. A few things I need to fix before next time… need to remount the guider so I can co-align it with the imaging ‘scope. I need to mount a real finder, and make it easier to hunt down the targets. But overall I was pleased, the new setup worked as I hoped it would.
Another pleasant surprise was the ease of focusing with the AT6RC with a Bahtinov mask. I have been wondering about the stock focuser on the new ‘scope, how well does it handle the heavy DSLR camera. One lesson is that it locks the focus quite well, I noticed no drift each time I checked focus. Indeed, at one point I pulled out the 60D, swapped the focal reducer and adapter onto the 20Da and checked focus again, it was still perfect.
While my camera took exposure after exposure, I took in the views that big glass can produce. Bouncing back and forth between Cliff 24″ and Olivier’s 19″. No surprise for a spring session, galaxies were in rich supply. We viewed a lot of the showpiece objects, from Ursa Major to Virgo and Corvus.
This night was the type of night we hope for when planning an observing outing… Not too cold, no strong wind, and no clouds. Just a dark sky to delight the imagination all night long.
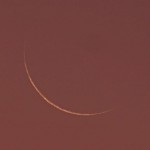
A very thin crescent Moon will join Venus low in the evening sky tonight. The Moon will be a mere 4.3% illuminated. Both will be about 20% above the setting Sun and about 6%deg; apart. As Venus approaches inferior conjunction and transit, it too will be a thin crescent, about 6.5% illuminated. You will need a telescope to see the phase of Venus, but the beautiful pairing can be appreciated with the eye alone.
I love it when everything actually works. As I have often stated… Astrophotography is an art of details. After dealing with each detail, one by one, sometimes it works…
With this new Moon, an annular solar eclipse will sweep across the North Pacific from China and Japan to the west coast of the United States. In Hawai’i this will be seen as a minor partial eclipse with only a few percent of the Sun obscured by the Moon.
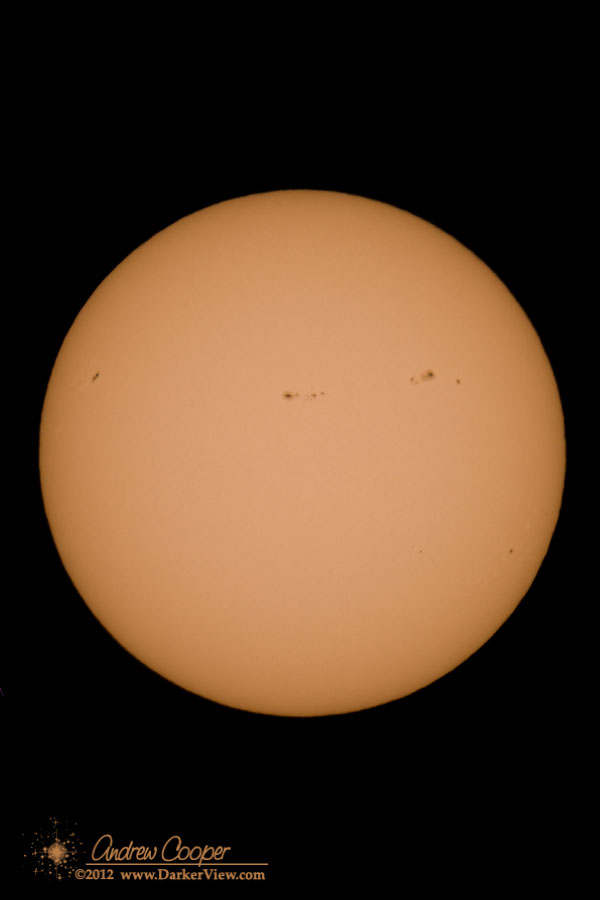
With the Transit of Venus looming on the calendar, a discussion of solar photography is in order. Taking good photos of the Sun is not that difficult, but can be aided with a little information. There are some unique challenges in solar photography.
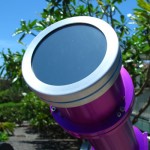
A solar filter will also produce the most pleasing images of the Sun. Indirect techniques like projection can be used. But for good solar photos, a proper filter in front of your optics is the single best method.
Solar filters for optics are constructed with a thin film of metal such as aluminum or stainless steel vacuum deposited on a substrate. This substrate is usually glass or a thin mylar film. The resulting filter allows only a small fraction of the light through, about 0.01% or 1/10,000 of the unfiltered value. Importantly, the filter blocks the ultraviolet and near infrared part of the spectrum as well. The result is a safe filter than can be used on a telescope or telephoto camera lens.
Sufficient magnification is needed if details of the Sun’s surface are to be well recorded. A few hundred millimeters focal length, found in common telephoto lenses will produce a reasonable solar image. The image will still be fairly small. To fill the sensor requires more. For an APS-C sized sensor (Canon T2i, 60D, 7D, Nikon D5000, D3200 or similar) a telescope with 1,000mm focal length will create an image filling a good portion of the image.
| Image sizes for APC-C Sensors
|
||
| Focal Length | Image Size (arcmin) | |
| 100mm | 760×510 | |
| 400mm | 190×128 | |
| 800mm | 95×64 | |
| 1000mm | 76×51 | |
| 1500mm | 51×34 | |
| 2000mm | 38×25 | |
The table to the left shows the resulting images sizes, in arc-minutes, given various focal length lenses, on an APC-C sized sensor. Recall that the Sun is about 30 arcminutes across as seen in our sky. With 100mm the resulting image is 510 arcminutes from top to bottom in the frame. This is 17 times the width of the solar image, a pretty small image indeed. With 400mm this improves to about 4, thus the Sun will reach about 1/4 the height of the image. At 1000mm this is about ideal, the Sun will reach more than halfway across the frame.
1500mm will just fit the solar image. While this may seem ideal, there is an issue. A small amount of drift will put part of the Sun out of the image, cutting off part of the disk. Sizing the image to fit in the frame with a good margin will allow some drift, while still giving a good image scale.
If you have a full frame camera (Canon 5DMkII, Nikon D800, etc.) a larger image can be used to fill the larger sensor, thus a longer focal length can be used. A telescope with 2000mm focal length will produce an image 17mm across, neatly fitting in the area of a full frame sensor.
Few compact cameras can boast a lens that will zoom far enough to produce an image of the Sun filling the frame. For these cameras another technique can be used, afocal photography. This can also produce good images, but will require experimentation to find the right combination of telescope, eyepiece and camera to produce a correctly sized image.
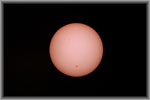
Another issue is resolution. Our atmosphere usually limits the practical resolution to about one or two arcseconds, blurring any finer detail through atmospheric distortion. This can be much worse in the daytime with solar heating of the ground and air around the telescope. Thus the limit for resolution will be reached with about 1000mm focal length and a modern 10-15 megapixel camera. Any further magnification beyond about 1000mm will simply result in magnifying the blur. There are techniques for overcoming this (image selection and stacking), but if you know how to do that, you already know what you are doing.
Just a bit of summing up… You need a proper solar filter or other method of safely reducing the solar intensity. A long telephoto (400mm or more) will produce a reasonable solar image. A small telescope with about 1000mm of focal length is ideal for photographing the entire disk of the Sun with a DSLR camera.
Set up the gear again to get ready for Venus Transit. Attempting to autoguide on the Sun. No luck with the guiding, the software just does not like a non-pinpoint target. I did take a few photos in the process of messing about…