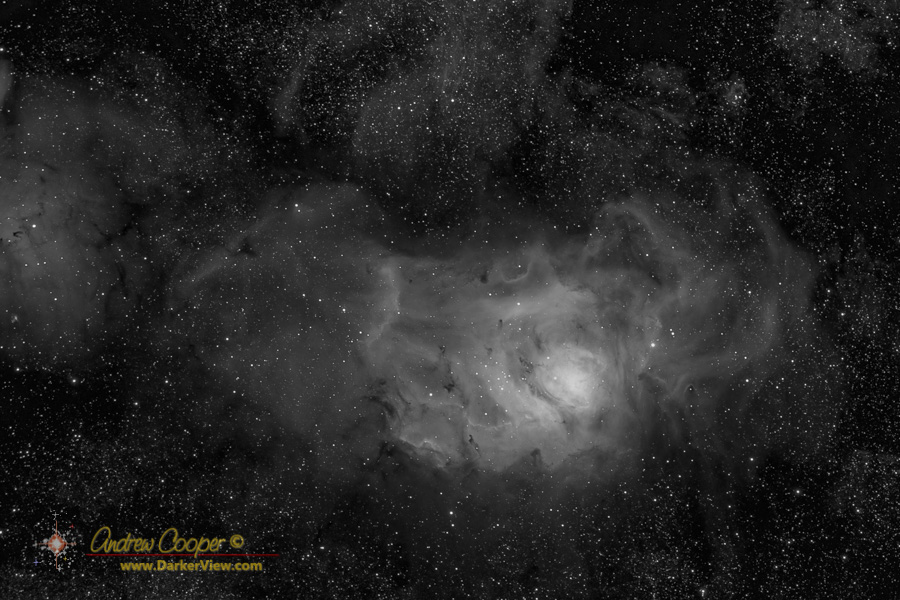
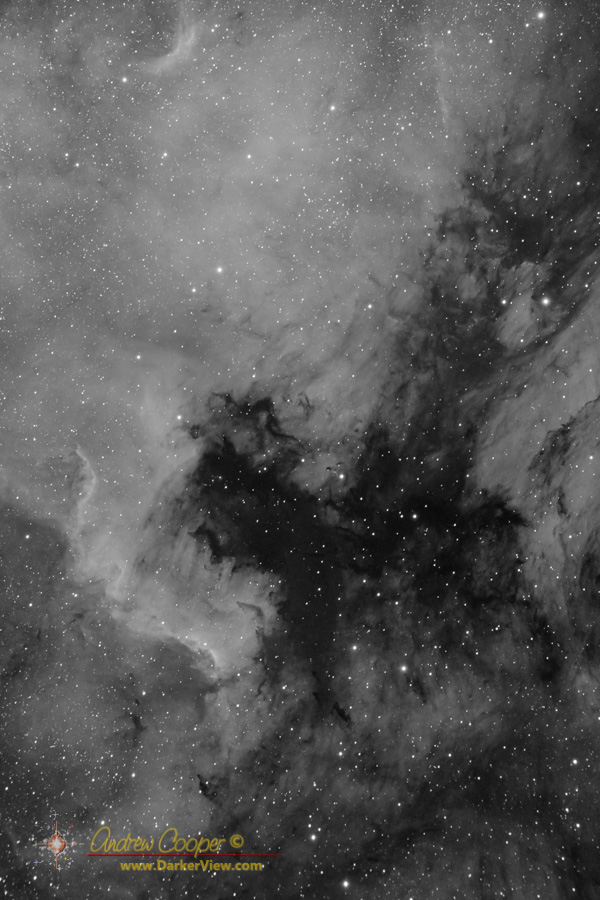
The ZWO AM5 telescope mount is a great piece of kit… It integrates very well with software allowing easy computer control, just click and go. The mount tracks wonderfully allowing excellent astrophotos. It is small, does not require a counterweight for smaller ‘scopes, and precise polar alignment is a breeze.
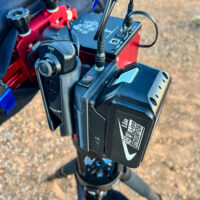
The mount is not without issues… Without a camera integrated into the system the GOTO accuracy is awful, using the mount as a visual mount is frustrating. You really need to have at least a guide camera and the ASI Air computer connected to allow to plate solving and automatic correction of the position at the end of each slew to a new target.
Another issue is that the mount has no concept of cord wrap. It will happily spin around and around as you wander across the sky. In equatorial mode this is not an issue, in alt-azimuth mode this runs the risk of damaging your equipment if you do not notice the power cord getting wrapped up on the mount in the dark.
Yes, I did that.
Continue reading “A Battery Caddy for the AM5”