
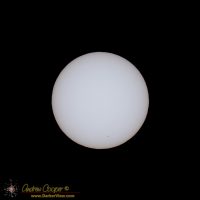
Take a photo with a thin film solar filter and you get a blue-white image of the Sun. Correcting this to a yellow gold image is fairly simple in most any photo processing package.
Color is a fluid subject, simply our interpretation of frequency across a very small slice of the electromagnetic spectrum. As such there is no absolute right and wrong, just a set of conventions we normally use.
The issue is that people expect the Sun to be yellow-gold. Present an image of the Sun in any other hue and it is rejected as fake, or false color. We are accustomed to certain visual cues to identify and interpret our world, color is a major part of that. Unless you want to argue with a million people or two, you are better off making your Sun photos yellow-gold.
You may need to find your own adjustment values as the scaling will be different, Lightroom is often fairly modest in the effect of sliders.
I assume the image was taken in raw and no other white balance was previously applied. You should be shooting in raw for images like this. If not raw? Good luck.
- Crop and rotate the image to taste. If you want to make the image north up, check the imagery from source like SOHO or SDO and rotate to match.
- Move the white balance temperature to 8200K
- Move the saturation to +100
- Adjust the exposure to avoid a blown-out center of the solar disk, usually darkening the image by half a stop
- Move the blacks tone curve slider down -50 or so to insure the background is black
- Apply fairly heavy unsharp-mask sharpening to taste
- Bump up the contrast to taste
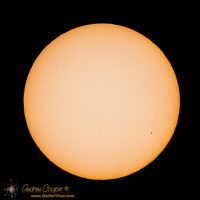
The result is a modestly yellow-orange image, not as dark or deeply orange as many astrophotographers will push the color. Much of the adjustment such as contrast and sharpening depends on the conditions under which you took the photo, what telescope and camera, how good or bad the seeing was.
