Venus Approaching Transit
As we approach the Transit of Venus I decided to attempt to photograph Venus as a very thin crescent. I do not normally pay much attention to the planet, it is pretty when seen in the sunset. But when you turn a telescope to Venus it is quite boring, a white ball with no detail to be seen. I find I have been paying a bit more attention with the transit looming close on the calendar.
I could photograph the planet after sunset, but as Venus is quite near the Sun it would be very low in the sky and I would be shooting through a lot of air to get the imagery. Atmospheric distortion would be a major problem. The other method is to try something I had not done before, photograph the planet in the daytime, high in the sky and quite near the Sun.
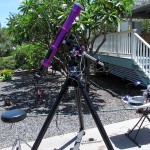
Yeah, This will be a tricky operation. Venus will be only 12°44′ from the Sun, meaning I will have to be quite careful to avoid roasting my equipment, or my eyes.
I chose to use the 90mm APO refractor. With the optics at the front there will be some sunlight splashed down the interior of the tube. It should not be a focused image as it will hit the tube not even halfway down. There the heavy aluminum tube walls should dissipate the heat efficiently. The fully baffled tube should also stop much of this light before it reaches the camera. I may not have designed and built the optical tube with this sort of abuse in mind, but I did build it heavy, it will take it.
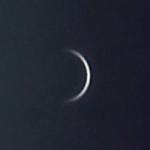
The results? The final image can bee seen to the left. Not horrible, but it could have been better. The seeing at 11am was already starting to degrade, I am always amazed at how well the software can extract a half decent image from such distorted original material. The magic of sorting through and averaging a thousand frames. I wonder what I could do with better seeing.
Another try? Probably not, Venus is quickly getting closer to the Sun as we approach transit in nine days. The next time I photograph Venus it will most likely be silhouetted against the solar disk. Maybe an attempt after transit? I could shoot earlier in the morning with possibly better seeing.
Postcard from the Universe – Sol
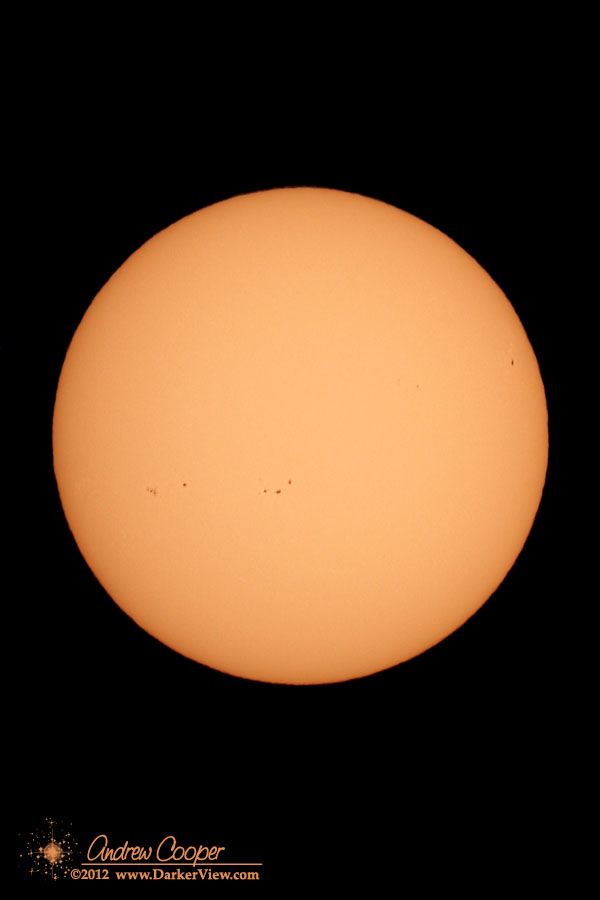
A Memorial Day Sun from Hawai’i. Another run at setting up and testing gear for the upcoming Transit of Venus. The seeing was not great, but I shot the Sun and some material of a thin crescent Venus just 12°44′ from the Sun.
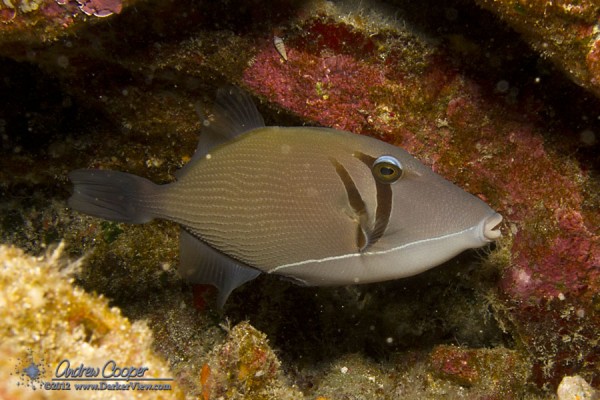
Postcard from the Reef – Lei Triggerfish
Jupiter in the Dawn
The coming week will see Jupiter emerge from the Sun’s glare into the dawn sky. Throughout June, Jupiter will climb higher in the dawn. Towards the end of June the planet Venus will emerge from the Sun’s glare to race after Jupiter. The two will meetup for a brilliant conjunction during the first week of July.
Mercury at Superior Conjunction
Today Mercury passes through superior conjunction, passing behind the Sun as seen from the Earth. It will appear in the sunset later in the month, reaching maximum elongation on June 30th.
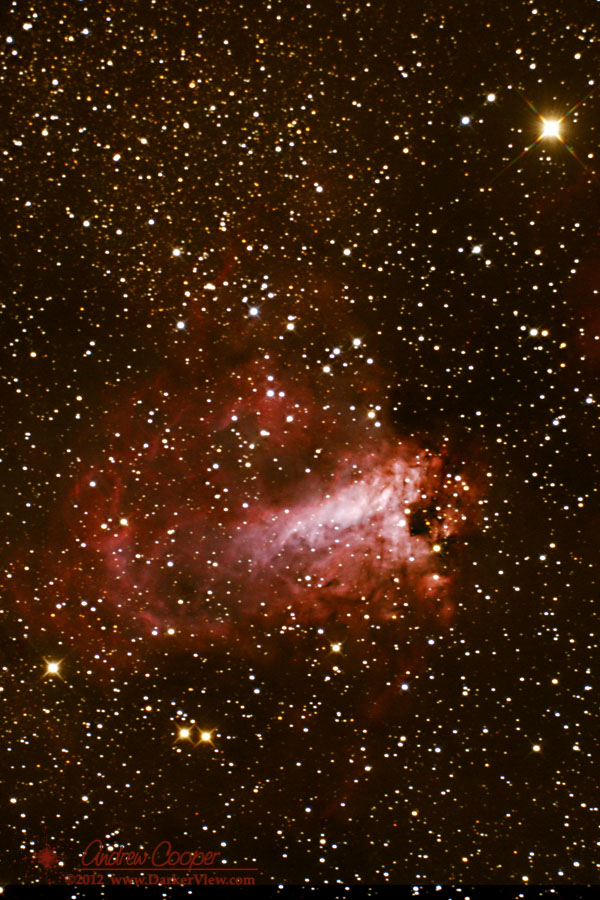
Postcard from the Universe – The Swan
SBIG ST-i Autoguider
A box in shipping and receiving with my name on it. A much awaited box. The new SBIG ST-i autoguider!
For those who are uninitiated into the mysteries of astrophotography, an autoguider is the secret to taking hours of exposures without having the manually correct the telescope position constantly. For almost two centuries, from the first time a camera was attached to a telescope, through the invention of auto-guiders, guiding was a supremely tedious task. The photographer would spend hours on end, peering through an eyepiece watching a single star, if the position of the star started to drift, he would press a button to correct the position of the telescope during the exposure. This was necessary to achieve any sort of long exposure, as the telescope, no matter how precisely made, would drift a little during the night, leaving streaks in place of pinpoint stars.
I have done this, it is no fun at all.
Then came the autoguider. A small digital camera that could take a picture of the star, then check the image for drift in the star’s position and, if necessary, send a command to the telescope to correct the position automatically. The first commercially available autoguider appeared in 1989, the Santa Barbara Instrument Group model ST-4. This little device revolutionized astrophotography, allowing far longer exposures with much less effort and much better precision.
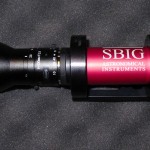
No more, I have broken down and purchased the new ST-i from SBIG.
The newest, latest and greatest, just released model.
Unpacking the box I am happy with what I see. Everything looks good.
It does seem like a small device for the $595, smaller than most of my eyepeices. Fit and finish looks good. A nice small package that will be easy to mount to any of my telescopes.
I setup the software and drivers on the laptop with no issues, simply following the provided instructions. The SBIG software for the camera , CCDOps ran first time, connecting to the camera and taking a frame. You can hear the soft click of the mechanical shutter in the camera. The bias frames look quite nice, a smooth field of salt and pepper noise with no gradients or other artifacts.
Attaching the lens from the accessory kit I take a few images of wood-grain on the kitchen cabinets across from the table I am working at. Another task will be to properly evaluate the imaging performance of the camera. It does have a decent CCD in it, the specifications indicate a proper 16-bit A/D system. A real photon transfer test will reveal if that system lives up to the specifications. A subject for another post!
The package offers a nice solution, on paper at least. With the included 100mm lens the camera should provide a 165 x 123 arcminute field of view, or a 2.7 x 2.0 degree field of view. The literature promises sub-arcsecond guiding accuracy with this setup, with the ability to use 7th magnitude stars with one second exposures. These are claims that will have to be checked as well. I intend to do a proper job of verifying these numbers, I expect to get many years of service out of the guider. The new camera has quite an act to follow, replacing my classic ST-4!
I also hope to be able to guide on the Sun for the Transit of Venus. I will be trying the included software as well as Dave Solar System Recorder in the coming week. I wonder if either package will be able to guide on a large, non-stellar object like the Sun, perhaps with a shorter focal length lens.
This leaves only one real question… How well does it work? Unfortunately that will have to wait for another day. In true astronomical tradition, the receipt of new astro toys invariably occurs when the weather precludes their use. In other words… I have clouds!
A writeup of the operation of the new autoguider will be another post, when the skies provide me a chance to use it.
Venus Exits the Evening Sky
Over the next week Venus will be lost to the Sun’s glare. It is currently about 15° east of the Sun, but getting closer quite quickly now and becoming tough to spot in the sunset. The planet will pass through inferior conjunction on June 5th. The planet will appear in the dawn sky around mid June. When it does appear, it will again be in the company of Jupiter which passed through superior conjunction on May 5th. The two will again dance with each other and the Moon in mid to late June.
Of course, this upcoming inferior conjunction is just a bit special as Venus will pass directly in front creating the Venus Transit.
Even when low in the sunset, Venus is worth picking up in a telescope. As the planet approaches inferior conjunction it shows an ever more crescent appearance to our earthbound vantage point. During the last days of visibility it will be a razor thin crescent, worth the effort to look.

