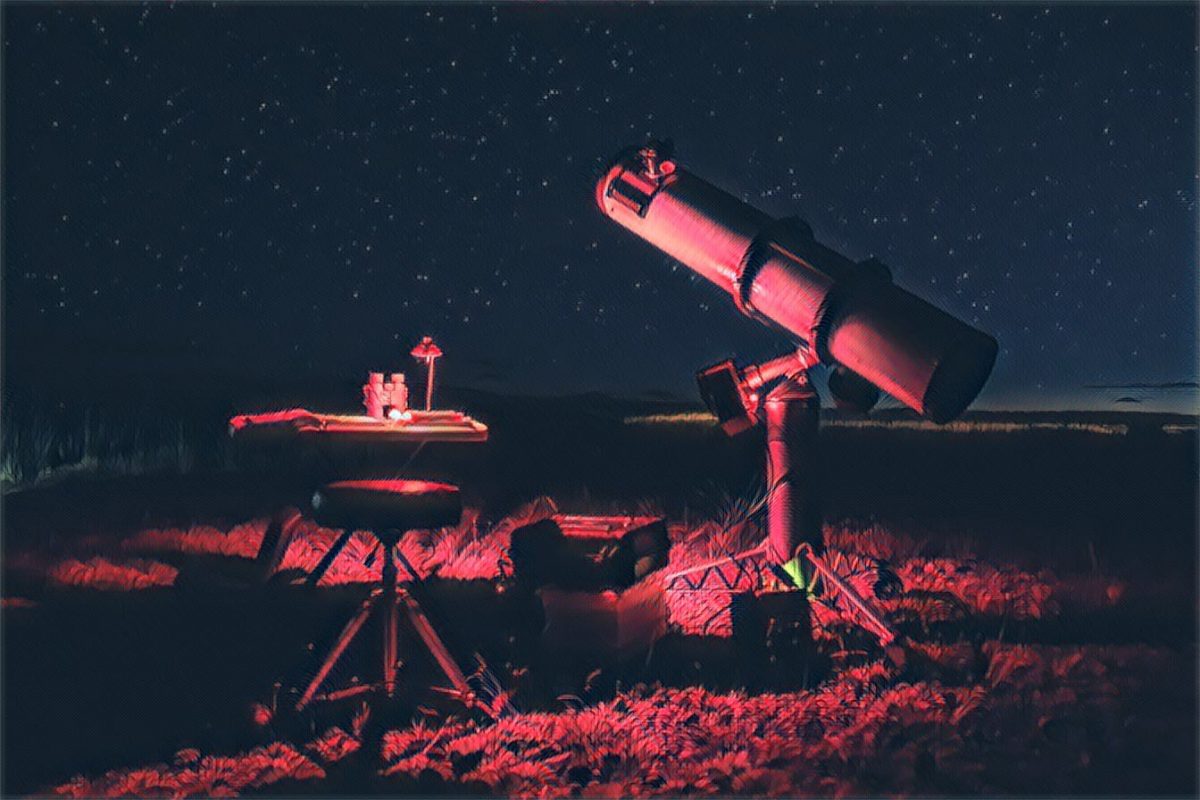
Light at the End of the Tube
When you want to see the stars, find someplace dark

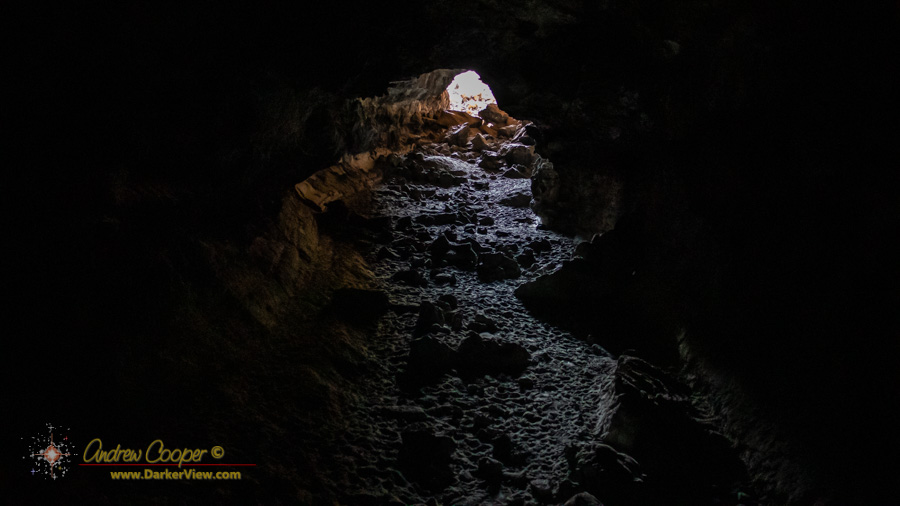
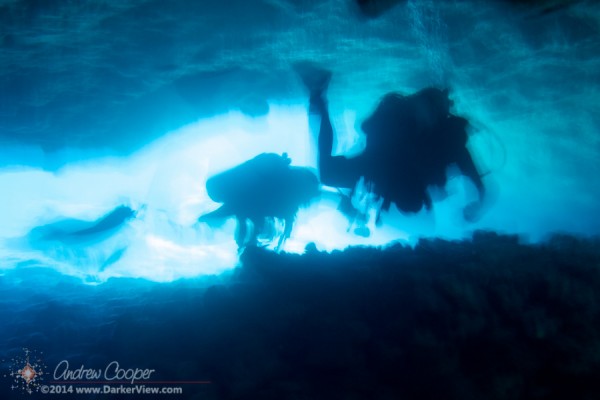
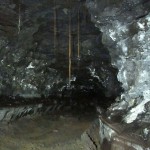
Sometimes the photo does not quite work as planned. Turn to shoot the guys following me into a cave, except that the flash does not fire… It helps to turn it on. Expecting the result to be a discard, I am surprised to see a rather interesting photo…
When Dennis let me know he was heading south for ʻAuʻau Crater and that I was invited I didn’t even think about it… I’m in! When do we go?
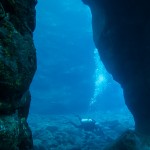
It is a long drive past Kealakekua Bay to the ʻAuʻau Point area. As such we left Honokohau much earlier than usual, ready for a long day of diving. ʻAuʻau crater itself is visible on the shore, a classic littoral cone formed where lava met water and created an edifice much like a cinder cone from the resulting hydrothermal explosions. The cliffs are pocked with sea caves, many small, and some huge, large enough for us to drive the boat into on a calmer day.
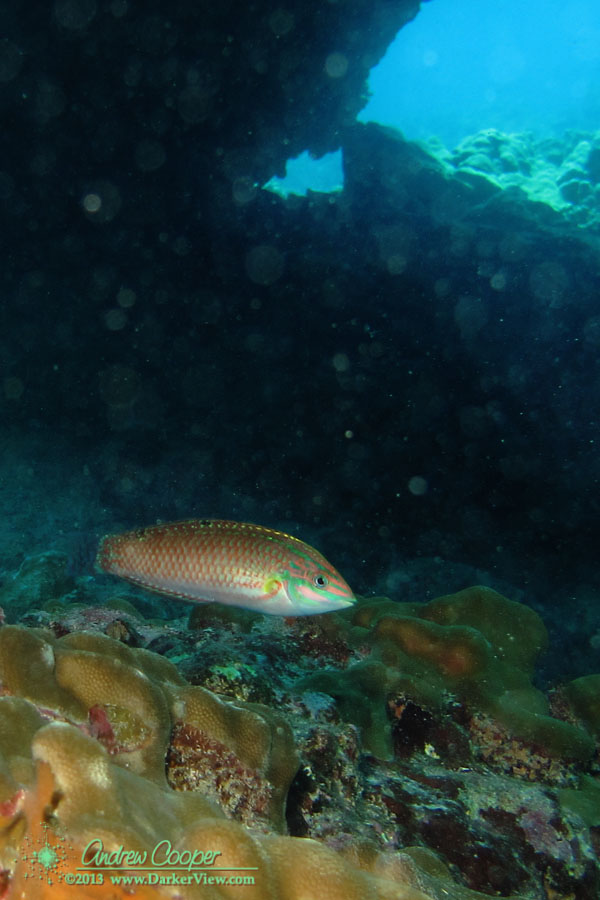
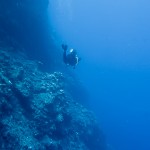
The first hint about the site was the amazing glimpses of the terrain you could see from the surface as we crossed the area looking for the mooring. Boulders and coral 30 feet below us one moment, then nothing but deep blue the next. This site has a wall! Not just a little twenty foot wall as you see along the Kohala Coast. A sheer wall that we could not see the bottom of while we hovered at 100 feet. The wall just drops into the depths, inviting you ever further down into oblivion. On 32% EAN nitrox we dared not venture any deeper. This thing is at least 200 feet high, probably much more.
The wall is a mix of volcanic rubble, in places you can see layers, but mostly it is remnants of thousands of years of lava flows hitting the sea and creating sand and fragments of rock. On the ledges and in the little cavities life flourishes. Urchins and sea stars roam, but there is relatively little coral. This unstable surface is a poor place for the hard corals to colonize. One exception is wire coral, meter long specimens protrude here and there.
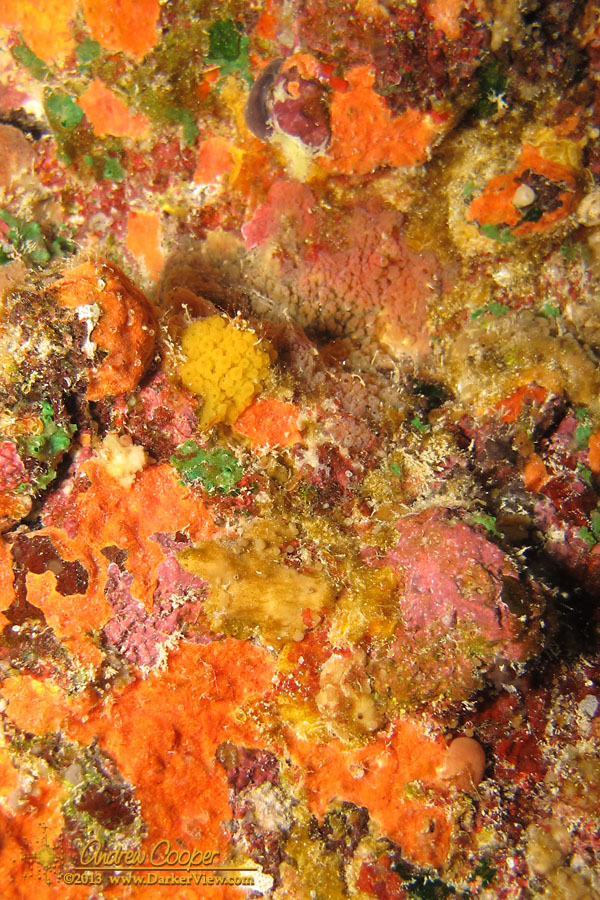
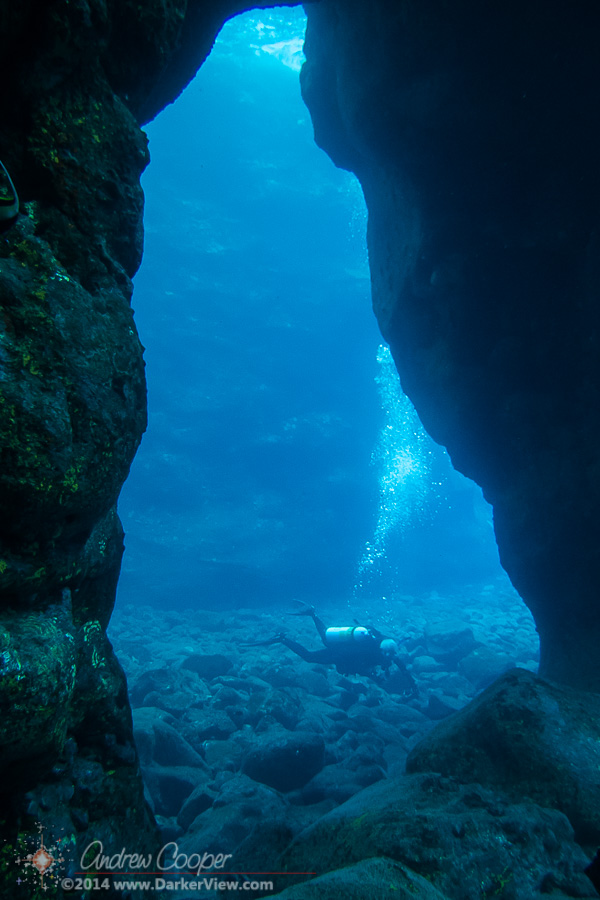
For our second dive the choice was The Hive. Arriving at the site revealed a small sea arch adjacent to the mooring large enough to drive the boat through. We did not know what to expect at the site. Thus the dive plan was to make a sweep out the edge of the reef and then back towards shore to check out the sea arch for possible caves. The sweep was pretty routine, a steep coral covered slope, nothing to hint at why there was a dive mooring here. Coming back to the arch revealed what was special about this spot! A set of great caves hide right under the arch at 25-30 ft depth. There were lobsters, innumerable flat rock-crabs, and several species of nudibranch to be found.
As I thought about leaving the caves after a first sweep I looked at my gauge… Still a thousand PSI in the tank! I turned around and headed back into the cave to find still more.
We surfaced, a set of very happy divers, conversation buzzing as we compared notes. Diving has an interesting complication… Communication is limited underwater, you have to wait until you surface to ask questions and compare notes. We identify critters, sometimes grabbing the ragged and well used books Dennis keeps aboard to identify some rarity. We find out what others saw and what we missed. Through the conversation the dive is extended as we relive it one more time.
These are some of the most fantastic dive sites on the island. Not easy to get to but worth it. There are very few boats that run this far south, most vacation divers are happy with the dive sites near Honokohau and the boats need not venture very far from harbor. Jack’s Dive Locker runs a long range dive if there is sufficient interest. The Kona Agressor live-aboard is the only boat that regularly calls at these sites. The very occasional private boat like us is the only other practical way to get to these fantastic dive sites.
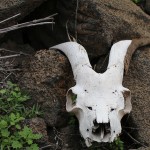
It is not really called Goat House. It is just that I have never heard another name, Goat House is what I have named the cave considering the lack of any better designation. The tube is no great secret, its existence is well known to longtime residents.
This tube is found several miles out the power line road just above the village. The road starts across from the stables and heads straight south. There are side roads that go left and right, just go straight to the cave.
Along the way you find the mauka fence of the Waikoloa Dry Forest Initiative restoration effort. This fence keeps the goats out of a 275 acre area in an effort to preserve native trees like the Wiliwili. With some success it appears, the trees look pretty good. The wiliwili are strikingly beautiful trees, I am happy to see them thriving here.
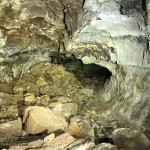
There are a lot of caves on this island. Much of the island of Hawaiʻi is riddled with lava tubes. Hiking or riding the trails or back roads of the island often offers a mysterious opening into darkness. Not that I explore too far, I am not a hard core spelunker. But I do often poke my head in to see what the cave has to offer.
Unless the cave is quite small the camera flash will provide unsatisfactory lighting of the cave. The flash will also tend to light up nearby parts of the cave and leave anything at any distance poorly lit. I generally do not use a flash in a cave unless I am photographing small features close at hand.
The technique is simple… Set the camera on a tripod, or a rock, and open the shutter for as long as the timer will allow, usually 15 or 30 seconds. During the exposure you paint the cave with light. Simply wave the light around in a random pattern, never letting the beam rest too long in a single place to evenly distribute the light. This simple method will allow even a large cave to be illuminated with a relatively modest light.
You will need to do this a few times and adjust your process to suit the situation. You can adjust the camera shutter timer or gain (ISO) to adjust the exposure. You can decide where to spend more or less time with the light if there are dark areas or hotspots in the image.
Focus can be difficult. Set the camera for a smaller focal ratio, perhaps f/5.6 or f/8 to keep a good depth of field. Hold the flashlight on a feature well into the scene and focus on that. Some trial and error may be needed to get a good focus.
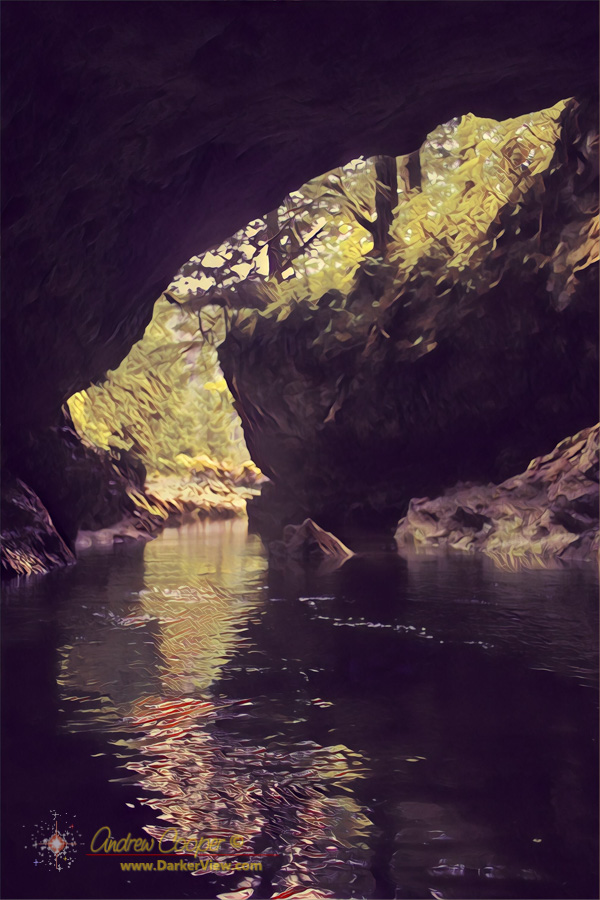
It can be fun too! When exploring the lower end of Thurston Lava Tube I was all set up with the camera and tripod when a group of kids arrived. Curious as to what I was doing I showed them. During the exposure I had the whole group wave their lights around as we all stood behind the camera. The kids were amazed when the photo appeared on the LCD display, they had no idea you could light up a cave and take a photo with a bunch of little flashlights.