I have been getting quite a bit of telescope time in lately, mostly in the driveway, usually using the old 8″ Astrola. I find myself awake at 4am often enough, and can get in a pleasant hour of observing before dawn.
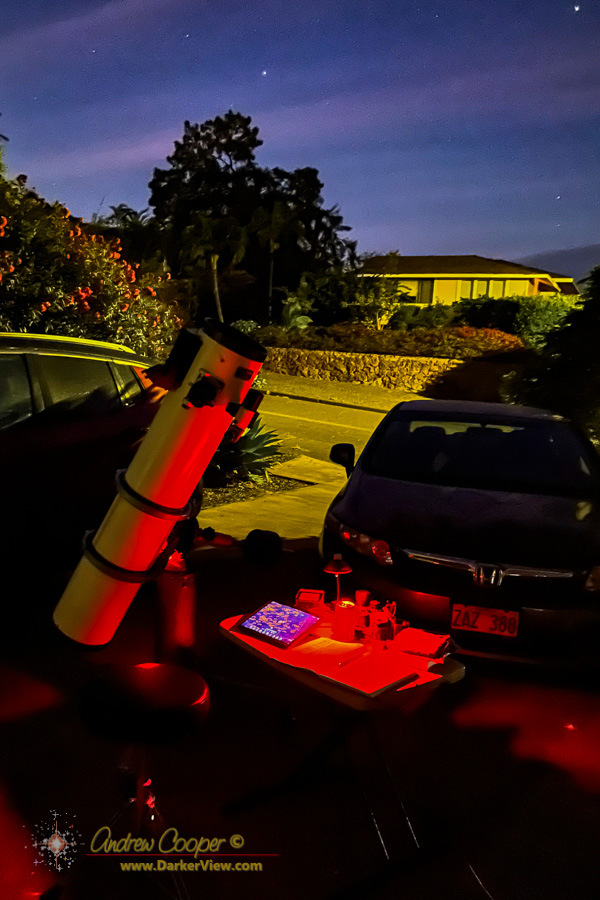
When you want to see the stars, find someplace dark

I have been getting quite a bit of telescope time in lately, mostly in the driveway, usually using the old 8″ Astrola. I find myself awake at 4am often enough, and can get in a pleasant hour of observing before dawn.

Given stay at home orders and a virus haunting our community I have gotten quite a bit of eyepiece time this year. Mostly quick driveway session in the evening, or sometimes the early dawn hours, a solo activity perfect for social distancing.
I usually use my roll-out scope ready in the corner of the garage, a classic 8″ Cave Astrola. Just roll it into the driveway, plug it in using the purpose located power receptacle on the corner of the lanai,. slide an eyepiece in… Ready to go in two minutes.
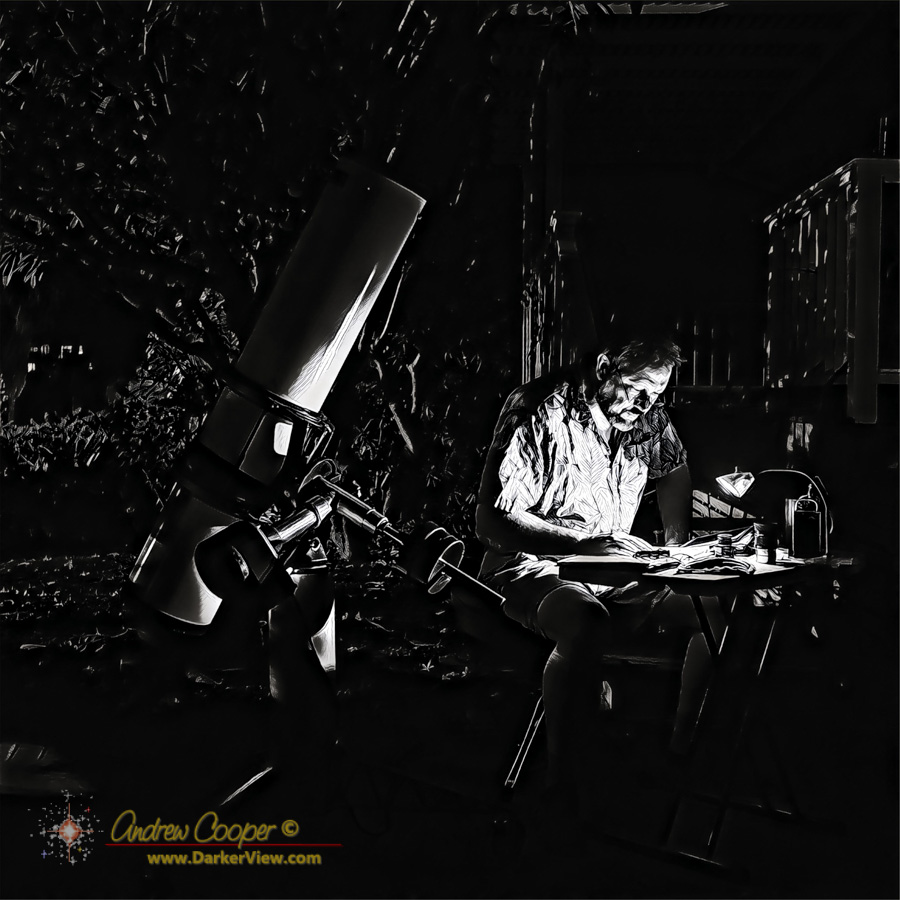
Last night was a perfect example… It was raining at sunset, but an hour later the skies were clear and dark. Better yet the rain had left clear, haze free air overhead with great transparency. I spent an hour hunting down dark nebulae in Aquila, dark clouds of galactic dust best visible with perfect skies.
The pages of the observing notebook fill quickly, a page or two each evening until the Moon comes back. I have so many object I have never viewed, so many easily visible from the driveway with a fairly small 8″ ‘scope.
Often I come across pleasant surprises, a pretty binary or a deep red carbon star, the region surrounding my target rich with stars and wisps of nebulae, so many wonders I have never seen despite years at the eyepiece.
Before the Moon gets too bright, and while we have a few hours of clear skies… Shooting a few photos from the driveway with a new camera. Now if only my guiding were better, the declination was having issues, probably a bad polar alignment… What did I do wrong?

A good night in the driveway last night.
I want to use this combination camera and telescope with a very wide field to work over the dark nebulae of the Summer Milky Way. With 384mm focal length the full frame camera gives me over 5.35° x 3.56° field of view. The beehive also lent itself to the wide field, another large object that was worth a stop to shoot.
Aside from one little equipment issue to start, more an operator education issue, the gear worked great. Note to self… Must turn off camera WiFi before the camera will link to the computer via USB. I am currently using APT to control the camera, a very impressive bit of software. The auto-guider worked perfectly, frame after frame nearly identical. I can slideshow through dozens of sub-frames and not see any difference, no drift!
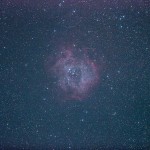
A single sub-frame of the Rosette Nebula is shown to the right. The Rosette is an emission nebula with most of the light emitted at the wavelength of Hα 656.28 nm. My Canon 6D is stock, no astrophoto modifications. Despite an IR cutoff filter that blocks much of the Hα light the camera captures a fair amount of the nebula. Perhaps I should get a 48mm Hα filter for the camera to shoot from the driveway.
With everything working so well I really need to haul the rig up to Hale Pohaku for a night of imaging under darker skies than I get down at 1000ft. Next weekend is dark-of-the-Moon weekend. Need to plan an outing?
It will take a bit to process the results of the night. As usual, keep an eye here on Darker View for the finished photos.
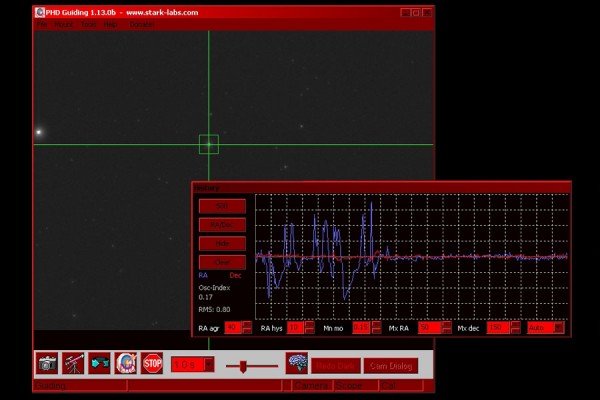
The trade-winds have returned for the evening. And while they are welcome for the comfortable temperatures they bring, the winds are unwelcome for the problems they create at the telescope. I am trying to get in one last exposure sequence for the evening, but the guider graph shows trouble. There are constant errors, not small errors either. The Right Ascension axis seems to be the issue, with errors of +/-3 pixels on the guider. This is just not going to work.
I watch the graph for a while, trying to figure out what I can do. I have had an issue where the guide star was the source of the problem, two stars to close together, a double star I did not notice when selecting my guide star. I stop the guider and select another star… The problem continues.
As I feared, my problem is most likely the wind this evening, a continual issue on this rock I live on. A speck in the middle of a very large ocean, the winds are a fact of life here. I only shoot with small telescopes, less sail area to catch the wind with a short tube. A TeleVue 76mm, an AT6RC, or simply a wide angle camera lens. The smaller scopes provide less loading for the old Losmandy G11 I mount them on.
I decide to try something else, shifting the balance to load the RA gear down. I gently slide the counterweight down the shaft about an inch. There is barely a blip on the guider as I make the adjustment. Better yet the guide error graph settles down! Looks like I will be able to get in a few more exposures before putting the ‘scope away.
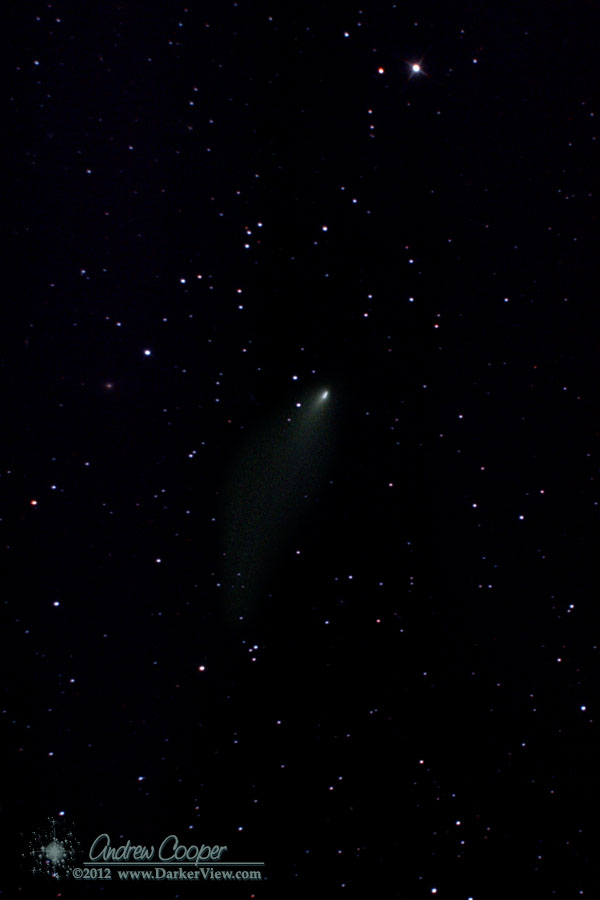
Another product of imaging earlier this week. Comet C/2012 K5 (LINEAR) is fading, but still bright enough to image. Right beside Orion it was well placed to target from my driveway. Just refreshing my comet hunting skills, getting ready for the show over the next few months as C/2011 L4 (PanSTARRS) comes into view.
Astrophoto gear takes a while to setup. A lot of little bits and pieces are required that make up the mount, the telescopes, and the cameras. This is all connected with cords and cables, a computer, an autoguider, extension cords for power and more. Coming up with a way to minimize the setup is a big advantage. The best solution is to build a personal observatory where the telescope can be setup and remain setup. Since I am not likely to have that solution available any time soon I use the next best thing. I assemble all of the gear and simply roll it out of the garage to use and roll it back when I am done. This reduces the setup time to about 10-15min, in place of almost an hour if done from scratch. The computer and support gear sits on a table small enough to pick up and carry out intact. connect an extension cord for power, connect three cables from the table to the telescope, turn it on and go.
