Shooting Film Again

Photography was not always a process of pixels, megabytes, SD cards and Photoshop. Once it was chemicals, paper, darkrooms and something called film. I learned to shoot in another age, when every shot counted, there were only 24 or 36 frames available. When it was a week or at least a few days before you knew if the shot worked.

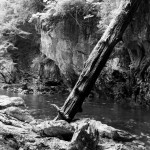
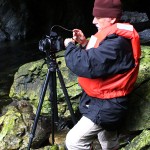
Marble Grotto
The stream flowing into marble Grotto makes a tempting target for a medium format film camera, photo by Randy Zelick
I still have a few relics of those days, cameras kept for the memories they carry. Traveling through Europe or the Desert Southwest, capturing images on celluloid and silver. Several experiences over the last couple months have served to remind me of those days… Walking into a camera store in Portland, a store that is as much a museum to the era of film, shelves filled with beautiful machines from the past. Watching Randy load roll film into a classic Pentax 6×7 on a glacier in Alaska, hearing the soft click of that mechanical masterpiece. Reading blog posts from a friend on Oahu about his adventures in film.

Continue reading “Shooting Film Again”

A Second Try for the EOS-M

My readers may remember that I purchased an EOS-M last fall. For a number of reasons I ended up returning the camera, a failed experiment.

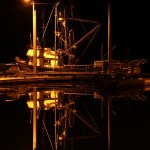
Tenakee Docks at Night
Fishing boats under sodium lamps haunt the Tenakee docks
With the rumors of a new model or two on the horizon the prices on the original EOS-M dropped. Not just a little either, a camera that listed for over $800 was now available for $360 with the 18-55mm lens. Even less if you wanted the 22mm f/2 lens. For this price would I give the camera a second go?

In the interim a new revision of the camera firmware has addressed some of the major complaints about the camera, including the sluggish focusing. Low price, improved focusing, why not give it a try? I still like the idea of a camera with near DLSR capability, that is small enough to be carried at all times. Fine, I will order it again.

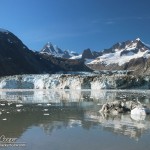
John Hopkins Glacier
John Hopkins Glacier in Glacier Bay National Park
With EOS-M in hand I went on two trips this summer, to Oregon Star Party and a ten day boat trip out from Juneau. On both trips I used the camera extensively, shooting under a huge range of conditions. This includes a fair amount of night shooting under the stars. I also set up the camera on the telescope again.

In Alaska I had four cameras with me… A Canon 60D, the EOS-M, a GoPro Hero 2 HD, and a Canon G12. It was the EOS-M that I used for all of the walkabout shooting on and off the boat.

The only real drawback to the EOS-M is speed, it simply does not shoot fast. As a result I kept the full DLSR ready with the long lens, the 70-200mm L series telephoto. When wildlife appeared I was ready to shoot fast. Whales bubble net feeding, a gizzly on shore, for these it was the Canon 60D I grabbed. For everything else it was the EOS-M in my hand.

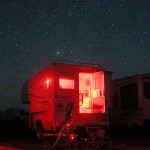
Camping Under the Stars
A camper and telescope set up under a starry sky
One of the features I liked about the camera when first trying it was the touch screen. My first thoughts about this feature were not positive, I wondered just how useful it would be. I have come to really appreciate the touch screen and the ease with which some functions can be used. With my heavy use of an iPad and iPhone, the touch gestures are quite natural. There are drawbacks, inadvertent photos with the touch shutter are common. Plus, it is possible to switch a setting without knowing. Many operations such as selecting the focus point or reviewing exposures are much easier with the touch screen. More than once I have found myself brushing fingers on the LCD of my Canon 60D before remembering it is not a touch screen camera.

I have come to appreciate the EOS-M for the reason I originally wanted the camera. It is a great carry camera, small enough to keep with you at all times, ready to get the shot. It isn’t fast, but it does take beautiful photos, providing better quality than a compact and capable of shooting in a wider range of conditions.

Shooting Film

I was pleasantly surprised to learn that one of my fellow voyagers our annual boat trip was an avid photographer. The wilds of Alaska are simply candy for a camera, spectacular photos can be seen in every direction waiting to be captured. As usual I was ready for photographic effort, with no less than four cameras along, not counting the cameras in my phone and iPad. The Canon 60D, EOS-M, a Canon G12 and a GoPro 2 HD comprised a nice array of capability. I was looking forward to the conversations and maybe a chance to learn a little from another photographer.

There was a surprise when I saw the photo gear Randy was unpacking, it looked a little odd.

Randy was shooting… Umm… How do I put this delicately… Randy was shooting film.

Yes, remember that stuff that came in rolls. For those who might not remember, this is how we took photos before digital sensors, megapixels and SD cards became the language of photography.

Randy Zelick
Randy timing an exposure with a medium format Pentax 6×7 camera.
Randy does it in style, a beautiful old Pentax 6×7 medium format SLR camera.

The setup is not compact, a bulky camera requiring a full backpack to carry with the camera, lenses and light meter. It is around fifteen pounds of gear, quite a contrast to the two or three pounds the EOS-M I used for most of my shooting.

The medium format camera presents difficulties on the boat. Taking long exposures is impossible from a moving and rolling platform. Still, he managed some nice shots when the water was calm, as it was when we visited walls of ice in Glacier Bay. Finding solid ground for the tripod required breaking out the launch and going ashore. We created a couple of great opportunities, landing on algae covered rock, we slip and slide to a place where the beauty of Marble Grotto is fully exposed. Another slippery landing, this time caused by glacial mud, allows us to explore the face of Reid Glacier with cameras and tripods at hand.

Continue reading “Shooting Film”

Too Blue? Make it Black and White

One of the major problems in underwater photography is the loss of color as you descend. The water filters out the red end of the spectrum, creating the blue world all divers are familiar with.

Visually this is a problem, divers are unable to appreciate the beautiful colors of marine life without using an artificial light source. Most divers carry lights, even on daytime dives, for this reason. It can be quite dramatic to turn on a light and watch brilliant reds and yellows appear where there was little color without the light.

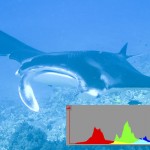
Blue Manta with Histogram
A blue manta photographed at 40ft depth

Photographically it is even more challenging, a strobe can light up nearby objects, revealing the colors. For more expansive scenes even the most powerful strobes fail, resulting in photographs heavy in greens and blue, with very little red. For some photos, the blue works, a “true” representation of what was seen. Often the blue does not work, the resulting photograph is an unattractive blue tinged with green, that no amount of fiddling in Photoshop will salvage.

One method in dealing with the loss of color balance is to simply take the loss further, convert the image to a black and white photograph. This is a technique you will see used in underwater photography quite often. By removing the distraction of color, the viewer is able to focus on the subject. The same reason so many modern photographers eschew color, even in an age when wonderful saturated colors are easily reproduced.

Continue reading “Too Blue? Make it Black and White”

GoPro Fun

What can you do with a little camera? A camera that is rugged and waterproof? A camera that shoots video, stills and timelapse?

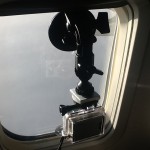
GoPro Timelapse Setup
A GoPro set up with a window mount doing a timelapse of sunset as we cross the Pacific.
That is the challenge of a GoPro.

It is a fun little camera. The video quality is decent as long as there is enough light. I have been using it for diving, I know that the case is good to well over 100 feet. The little camera is a good choice when the mantas show up to dance.

Why not take the camera fishing in Alaska?

For this trip I have set up to find out just what you can do with it. GoPro camera? Check. A variety of mounting methods? Check. My friend Mark has done some fun things with his GoPro lately, providing some inspiration and setting me a bit of a challenge. I may have taught Mark a few things about video editing to get him started, he has taken those lessons and run with them.

One of the intruging features is the WiFi back. This gives me remote control of the camera from my iPad. There is no viewfinder on the back of the camera, but with the WiFi setup my pad becomes the viewfinder allowing the camera setup to be checked.

The remote option also allows me to mount the camera on the boat somewhere and control it with the tablet. Hanging off the bow? On top of the mast? The little suction cup mount should stick to the boat just about anywhere. One of the provided adhesive mounts, designed for a helmet, looks to have just the right curve for the radar mast.

The front ring of the camera case has been replaced with an aluminum ring and a mounting point for a lanyard. A ten dollar EBay purchase that looked to be a wise idea. This should allow a strong safety tether and more freedom in placing the camera in otherwise risky locations. Need to buy some strong cord in Juneau.

What do I come up with? Anything worth watching? Stay tuned to DarkerView to find out…

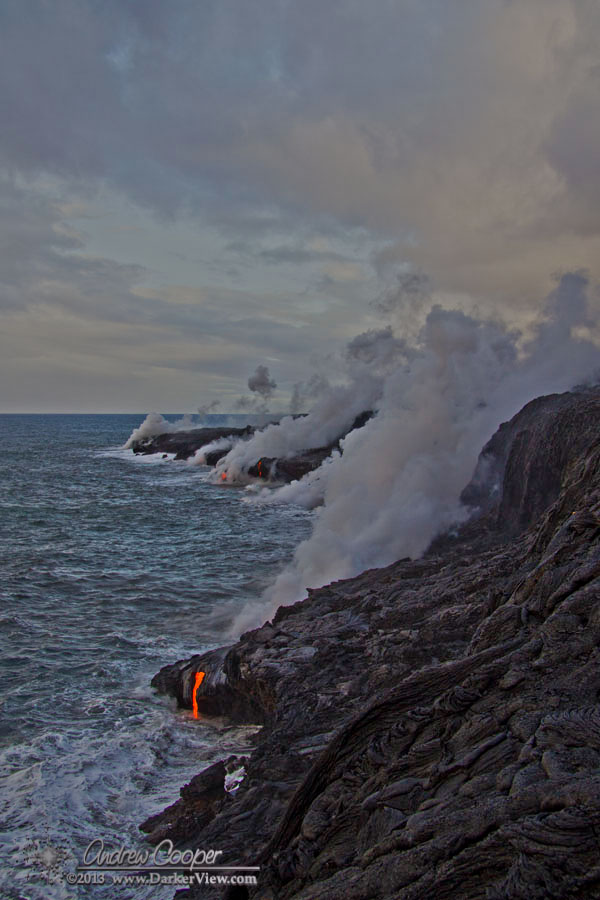
Lava Entry Toned

Same shot as yesterday, but some severe toning put into the mix. Processing this way can reveal a great deal of texture lost in a more realistic processing of the image. The result is a hyper-realistic image. Such images are fun to play about with, but are they real? Are they honest? Are they art?

Ocean Entry Toned
Lava pours into the sea at the Kupapa’u ocean entry

Way Too Much Color

Ever take a photo you think is going to be great, to have it ruined by too much color?

Lobster & Cup Coral
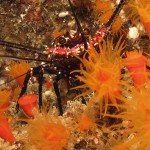
A spiny lobster (Panulirus marginatus) among orange cup coral (Tubastraea coccinea) at 20′ depth, Puakō
I turned the color down in the image, then turned it down again. Even working from the raw data was of little use, the colors in this image are just too much. Not that it is a bad photo, just that given the elements of a pretty lobster and brilliant cup coral, I had expected it to be a great photo.

Some of the best underwater images I have are full of subtle colors and textures. While a splash of bright color can make a photo, too much bold color can take it too far. Another lesson in learning the art.

Cropping Choices

Almost all the photos shown here on Darker View are cropped at a 2:3 ratio. The reason for this? I like it. And perhaps I am used to this ratio. It is very traditional, having been used for many applications for decades, including the venerable 35mm photographic film.

Cropping Ratios
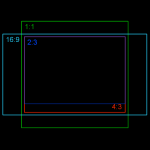
Common cropping ratios
A cropping ratio is simply the ratio of the dimensions in the image, height and width. if the print on the wall is 24 x 36 inches, it has a ratio of 2:3. This is calculated using the smallest common denominator… Remember that term from learning fractions in grade school? The images here on Darker View are usually 600 x 900 pixels, also a 2:3 ratio.

Any number of cameras produce images with a 2:3 ratio, including APS-C sensor DLSR’s like my Canon 60D. The ratio is by no means universal. Many cameras use a 4:3 ratio, most compacts do, including my Canon G12. Other ratios are popular, HD video is 16:9, spurring a rise in popularity of this wider format.

I have read a little about the choice in cropping, the argument regular rages in photographic circles. One article in particular got my attention, the author extolling the virtues of a square crop, a 1:1 ratio. Perhaps I am in a rut, and need to explore the use of other cropping ratios. I use 1:1 on occasion, usually for astrophotos. Perhaps I should experiment with other ratios more often.

Laurent's Hermit Crab
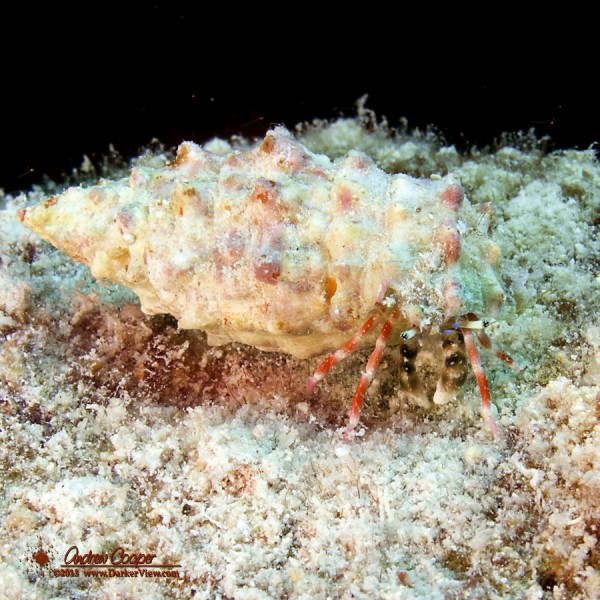
Laurent’s hermit crab (Calcinus laurentae) peers out from under a shell

The GoPro HD Hero 2 for Diving

I know, I am late to this party. Not unusual, I do not often jump on the latest tech. I still use an iPhone 3GS, only three models back. It was, as usual, my wife who bequested this latest toy upon me. Without her I would be hopelessly out of date.

The GoPro HD Hero 2 camera is interesting to us as it comes with a standard waterproof housing good to scuba depths. The price was right, Deb picked it up as a Costco special.

Thus I attached it to the top of my usual rig to give it a try on a dive or two. As it turns out, it is a good thing I had my regular camera along, there are some issues with a stock GoPro underwater.

The first obvious issue is focus, as I had heard the camera will not focus properly underwater with the standard dome port. The solution to this is to get a flat port.

The more concerning issue is the burned out highlights visible in the video below. This is not unusual in a camera using a typical exposure algorithm designed for daylight above water. Underwater the red light is gone, absorbed by the water. This lack of red creates a tendency for the camera to overexpose the green or blue.

The usual solution is to set a slight under exposure in the scene using exposure compensation. However, the Hero 2 has no exposure compensation control. There are a couple possible solutions… Commonly available is a red filter for the flat port camera. Will this solve the burnouts? Another possibility lies in using a less saturated color profile as available in the new firmware.

While there were issues with the image, the sound seems pretty good for being in a case, much the same as what I hear when diving. The real test would be to dive with a few whales around to see how well it records whalesong. Alas, the humpbacks headed north a couple months ago. I miss the whalesong soundtrack on our dives. A pod of dolphins perhaps?

I plan to set up the GoPro as a stand alone camera and video rig for diving. Just the camera, an Ultralight handle and arm I have on-hand, plus a video light, which I also have on-hand. I just need to manufacture a tray for the setup, another hour in the machine shop. This should make a compact, lightweight dive or snorkeling camera rig.

I can think of a few other interesting uses for the camera, it has some nice timelapse facilities I need to test. Just the camera to use on the top of a boat. The camera does not do low light, just too small a sensor and lens. Still, there are quite a few things it should do well, a fun addition to the kit.