Time-Lapse
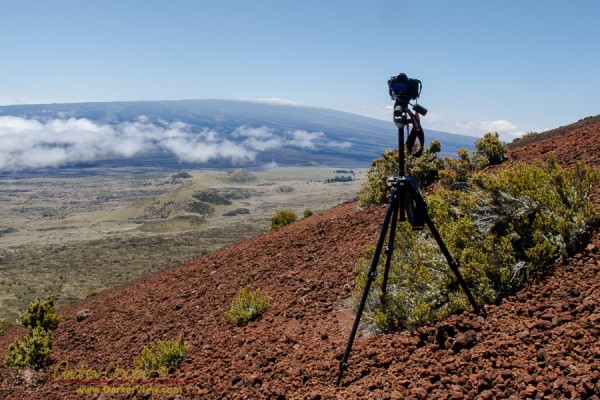
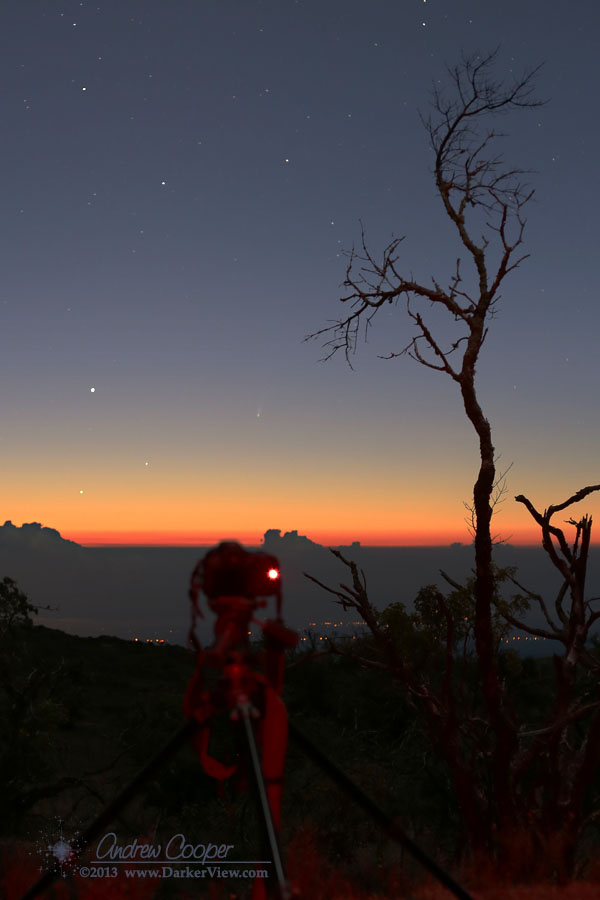
When you want to see the stars, find someplace dark

Another night on the summit for photography, another night of dual lasers working the sky above the Keck telescopes.
It works, and it works very well indeed.
The video below contains 2.5 hours of time-lapse at 15 second for each exposure for 557 frames. Put that together and render at 24fps and you have the following result…
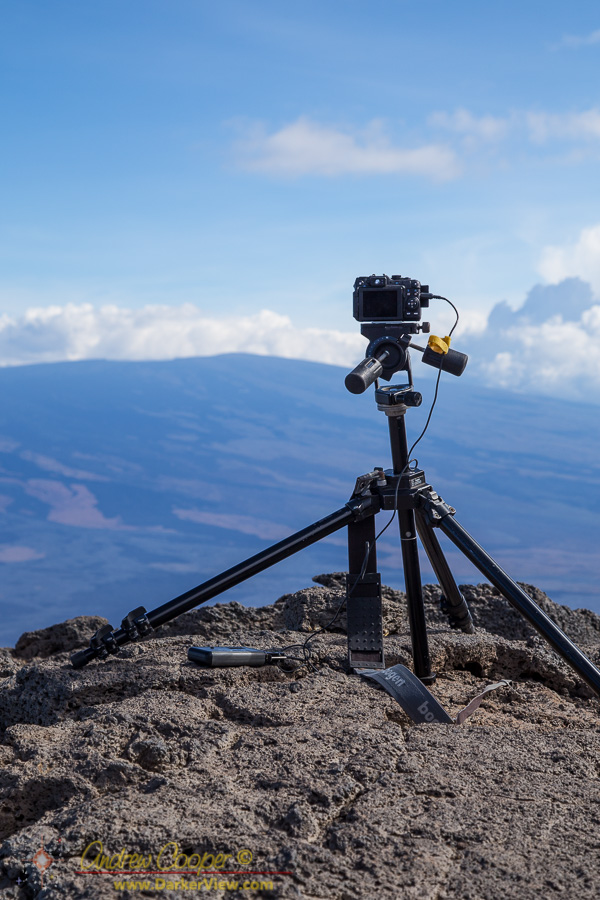
Taking astrophotos or time lapse often involves leaving a camera out in the dark for long periods. Cameras are somewhat more robust than humans, tolerating the cold for a bit longer. As a result often the cameras are unattended while the human seeks shelter in some warmer place. This can result in the theft of the unattended camera.
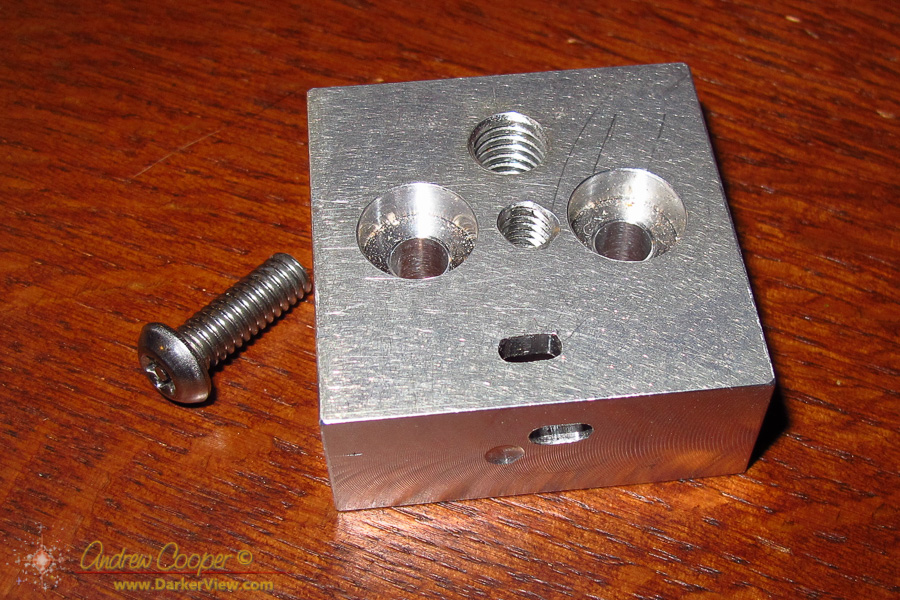
On the mountain is not the only place this risk exists. I have often left a camera operating for hours in my driveway at the front of my house attached to a telescope. In an attempt to make it somewhat more difficult to simply grab and run I designed a simple security device. A little block of aluminum with a slot that accommodates a standard computer cable lock.
Machined from aluminum the block took very little time to make and provides a great deal peace of mind. It is not impervious to a determined attack, but does prevent the camera from simply walking away. In place of aluminum it could probably be 3D printed if you do not have a machine shop available. With a little more patience it could be manufactured with simply hand tools.
Mechanical design for the CamLockBlock
The slot is the standard Kensington security slot, a 3mm x 7mm slot as found in almost all laptop computers. The locks are available from just about anyplace that sells computer accessories.
The screw I use is a tamperproof button head screw, one that requires a special tool to remove. A standard hex button head screw would probably work in most situations, it is unlikely that an opportunistic thief will have a set of allen keys handy.
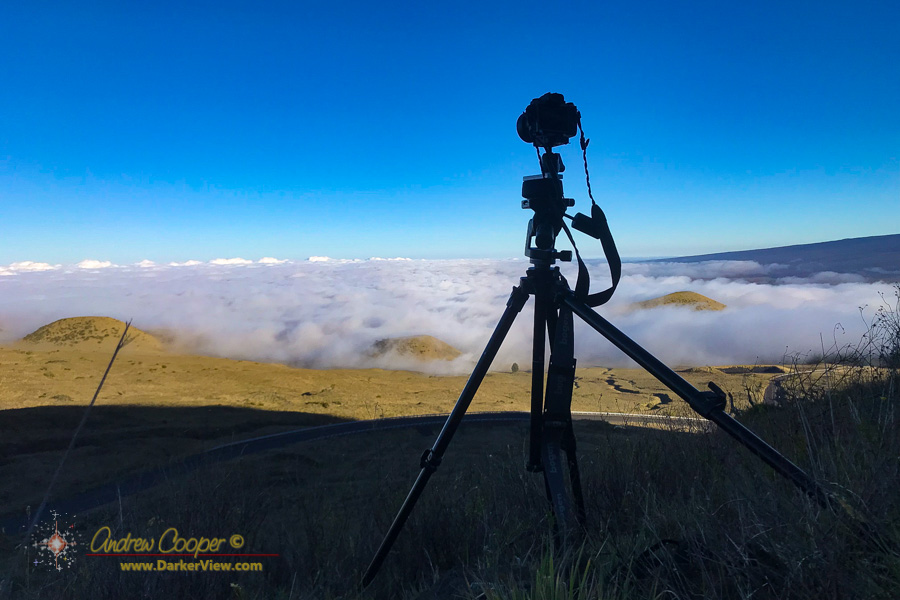
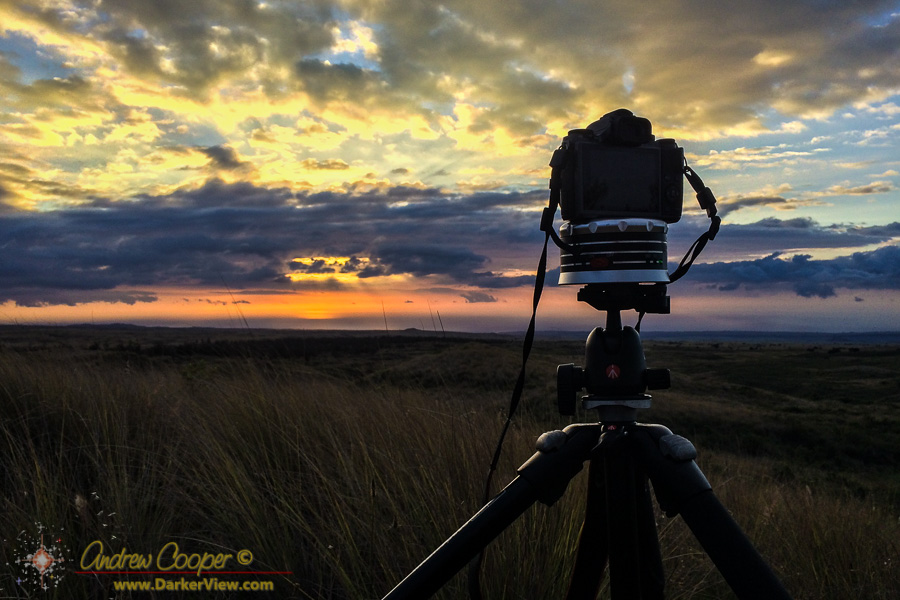
The block can be used on a telescope, with the cable wrapped around a tripod leg. It can also be used on a tripod, a ¼-20 hole is tapped to allow the block to sit between the camera and the tripod head. The security cable can then be secured to anything available. Atop Mauna Kea there are many railings, guardrails and signposts that would provide a solid locking point. In nature there are fewer steel poles, but a tree trunk or something similar would also serve.
The design can be modified to suit ones needs, the mechanical drawing above shows the device in its simplest form. As you can see in the photo my prototype block includes two screw holes for the camera and a 3/8″ threaded hole for larger tripods. I also put a second lock slot on the bottom to have the option of having the lock stick out in a different direction.
Check the dimensions of your camera, tripod head or favorite adapter plate to insure that the lock will fit without interference. You can always adjust the dimensions or the mounting hole positions to accommodate your setup.
You might recall a post from back in May describing a night spent on the summit with Jason Chu. He has been accumulating time lapse material for a significant project, capturing the telescopes of Mauna Kea under the beauty of the night sky.
Jason has published a preview of the work. Nice to see it come to life with a decent soundtrack and good editing…
A photographer needs a guide around Keck for the night? Setup time-lapse cameras throughout the facility? Sounds like fun… Sign me up.
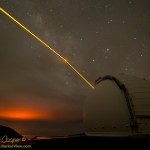
Two lasers, both aimed at the galactic center were on the schedule for the second half of the night. Andrea Ghez and her team having time on both telescopes. The weather looked a bit problematic, thick cirrus covered the sky, but the forecast called for clearing after midnight.
Jason came with a carefully drafted plan, where to set and aim each camera, timer settings, lens choice, all carefully considered. A pretty good plan too, only a few details needed changing as we placed each camera. Four cameras in Keck 1, another two in Keck 2. One camera placement was my idea… Clamped to the Keck 1 dome where it would track with the telescope. I had spent a few minutes in the machine shop putting together a solid camera clamp.
Unfortunately the clouds did not clear as predicted, thin cirrus hanging on through the night. It was clear just to the west, but stubbornly would not give us the clear skies we needed overhead. Several times it looked to clear, but the clouds would thicken again. We did have both lasers on sky for a few minutes, just enough for a few photos and not long enough to do any science.
With high hopes for some dual laser time-lapse I was ready to set up my own camera, but ended up with only a few still photos. Jason got a few nice shots during that short time, having eight cameras helped make the most of those few minutes. I did get a nice video clip of the telescope shot by rotating the dome with a camera.
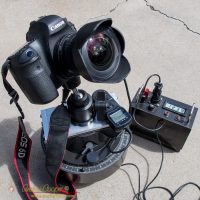
Jason is working on a personal project and will be out shooting more images in the dark. I will certainly feature the results of his effort here on DarkerView when he finishes. For myself? I will have to schedule another opportunity to go up and shoot some laser time-lapse. There is an intriguing night at the beginning of July on the schedule with both Keck lasers. I also need to mail Jason a camera remote, an accomplishment that only one bit of camera gear got left behind.
What to do while waiting for your plane? Fiddle with the camera?
My camera was already in-hand and I had almost an hour to wait for boarding. I may as well explore some of the little used functions and hidden menus the camera has to offer. Thus I took a few photos of a plane debarking and boarding on the open flightline of the Kona airport, playing with the camera settings. I didn’t realize just how much photos of a jet taken in black and white really do conjure up memories of vintage jet travel in the 60’s.
The miniature effect is just a bit of photographic fun. Something that can be used quite creatively in the right circumstance. I have been aware of the effect for some time, recently I had come across the effect in a number of online photos, and some great timelapse videos.