I wanted a smaller, lighter finder ‘scope for the Astrola, and I wanted right angle to stop straining my neck!
3D model of the 40mm finder designed in OpenSCAD
I have been using a big Orion 9x60mm finder on the Astrola, the only telescopic finder ‘scope I have among the Telrads. It is nice, with a bright image that shows many faint fuzzies. It is also huge, and very heavy, it is also straight through, requiring one to crane your neck around to view through it on the Newtonian ‘scope.
The classic Cave Astrola telescope has become my roll-out, quick observing session ‘scope, often found in my driveway. I have also used it a few times at darker sites when I expect the weather to be damp or dewy as a Newtonian is more protected.
The restored 8″ f/6 Cave Astrola under a dark sky at Kaʻohe
While the restoration job was finished some time ago, I never got around to re-coating the optics. Meanwhile the telescope has seen good service on many occasions as I enjoyed this fun-to-use instrument.
The optics did need some attention… The primary mirror from the Astrola appeared to have not been re-coated since it was made in 1978. Thus the aluminum coating was over 40 years old. While the coating looked bad, it was still serviceable, producing reasonable images.
Still, the loss of light due to the old aluminum coating was probably reducing the effectiveness of this 8″ telescope to something more like a 6″ telescope. I had meant to get it re-coated some time ago, but we know how these things work.
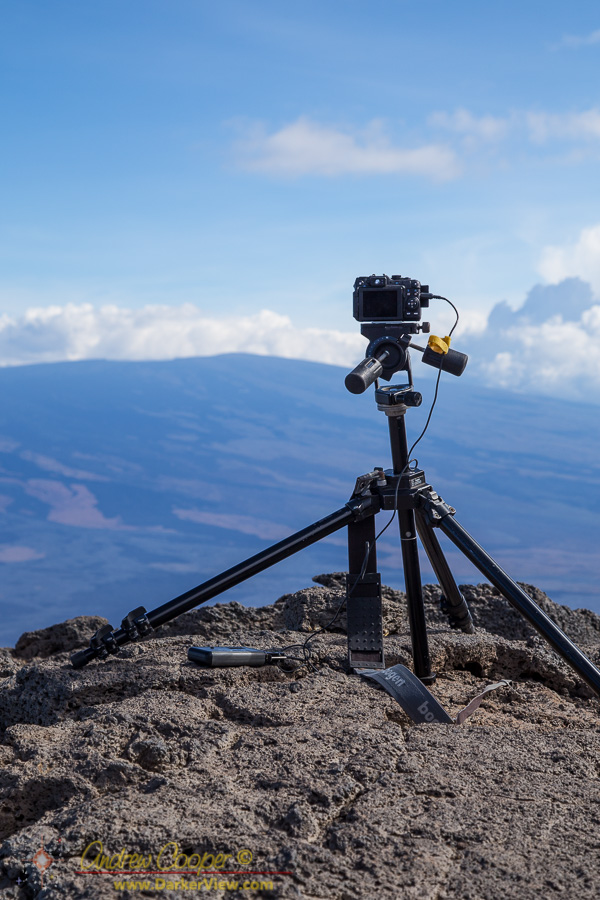
For decades I have used a Bogen 329 tripod head atop a Manfrotto 3221 tripod as my ‘heavy’ setup. This tripod has been carried for miles on hiking trails, over lava flows, and has sat in the cold winds for many a night under the stars of Mauna Kea. Heavy and solid the tripod can hold a camera motionless for hours in strong winds.
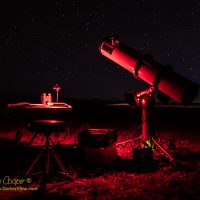
The Canon G12 set up to shoot time lapse video of clouds over Mauna LoaThe tripod has securely held cameras, small telescopes, lights, antennas, and stranger things across the years. It has also been repaired more than once, with a leg replaced a decade back.
This old tripod has also been showing its age, the pan and tilt adjustments becoming difficult to use.
When shopping for a focuser you face a lot of choices. From the cheap eBay Chinese options to the top-of-the-line Moonlights and Feather Touch. I once again perused these options when buying a new focuser for the Cave Astrola.
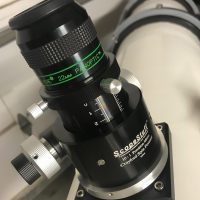
The ScopeStuff 2″ Crayford Focuser mounted to the 8″ Cave AstrolaIt has been a while since I looked at what was out there. So I spent some time shopping and wandering website re-educating myself on what the options were.
I considered the cheapest end of the market, a few options found on eBay, and again at the top-of-the-line, machined works of art that cost as much as some telescopes. This time I was limiting the budget for restoring the Astrola, not wanting to spend much more than a hundred on the focuser to keep the cost of the whole effort down.
Restoring the 8″ Cave Astrola has me again looking at these classic telescopes. Reading the history of Tomas Cave and Cave Optical. Looking at the old advertisements and remembering things long thought forgotten. I may never have owned one before, but the Astrolas still had an impact upon me years ago.
My Astrola is now operational, with final assembly and collimation completed a week ago. So far I have used it for several evening sessions of observing from the driveway. The result is several pages of notes in the observing log, wandering through nebulae, clusters, and binary stars in Orion, Canis Major, and Puppis.
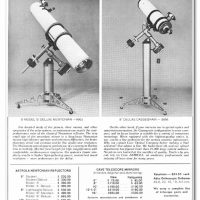
Cave Optical Advertisement 1970, from Phil HarringtonWhen I was just starting my journey in astronomy the Cave Optical advertisement in each month’s Sky and Telescope was something to inspire dreams in a young teenager. In many ways those dreams have never been forgotten.
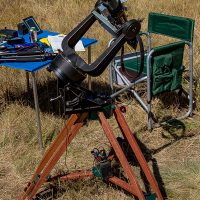
I have previously published a description of Hodgepodge, the mish-mash mount I used for the solar eclipse. While I wrote about the mount, and posted some photos, I did not really cover the construction. Now for some details…
Hodgepodge set up at Grant’s Spring to photograph a total solar eclipse
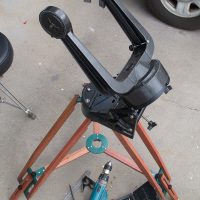
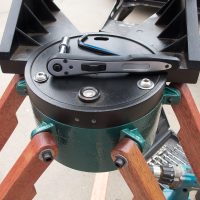
A few months back I rebuilt the drive unit of an old Celestron mount, installing a drive corrector into the base unit in the process. I have used this sidereal drive for time lapse, but it can also be used to mount a telescope again. Better yet, with a few minutes reconfiguration, it can do either.
With the solar eclipse looming on the calendar I realized I needed a tracking mount to allow photography. Tracking would allow me to keep the Sun and Moon in the field without wasting precious seconds framing the image during the eclipse. It would also enable longer exposures without motion blurring the image.
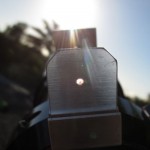
A few years back I posted the design of a Sun finder. With the eclipse looming it is time to highlight that post again. Aiming your telescope or camera at the Sun can be a nuisance. A problem with a really simple solution.
A Sun finder mounted to a TeleVue 76mm ‘scopeThe idea is simple… A pinhole that casts a small dot of light on a target. Line up the dot on the target and the Sun should be neatly in your field of view. Having used these devices many times, it really is that easy, Sun in view in seconds.
A sun finder in use with the projected dot visibleMy version is a custom machined part made from aluminum and plexiglass. In a crush a similar item can be made from cardboard and tape with a pair of scissors, and probably function just as well.
I would suggest light cardboard, the type used in a cereal box, and some masking tape that will peel clean off your telescope or camera. Just line up the telescope once and mark the dot of light’s position with a pen… Done.
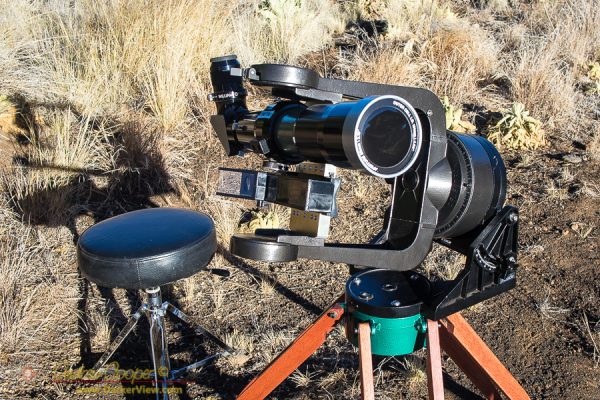
In the end it is a Celestron C8 telescope drive and forks containing custom electronics, a Meade heavy duty wedge from an LX-90, a hand-made tripod, holding a Televue 76mm APO telescope, using a Vixen style dovetail base, with a Baader film solar filter.
It is tempting to call it Frankenscope after the similarities with the classic monster.
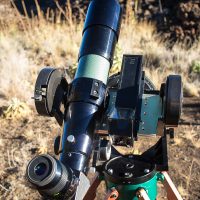
Hodgepodge setup on the side of Mauna Kea with the TV-76mm and Telrad on the plate
To further add the the Mary Shelley plot similarities, much of this was revived from the junk pile. I very nearly decided to toss the drive and fork, they were that bad, peeling paint and rusty bolts. A great deal of work was necessary to re-animate these components.
The wedge came from a telescope that was killed in an unfortunate incident with an aquarium heater. The heater was used to de-humidify the OTA and prevent fungus on the optics. Note: Aquarium heaters are not made to operate out of water.
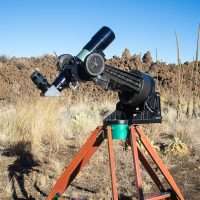
The Hodgepodge mount assembled for the first time
Several new aluminum parts were machined from scraps, some of which were scavenged when the observatory shop was being cleaned out and a lot of metal stock was tossed.
Many of the electronic components used to build the drive corrector were also scavenged parts from dead electronics, this includes the 1.8432MHz crystal that forms it’s beating heart. This heartbeat keeps the mount turning at exactly sidereal rate.
Yeah, you could call it Frankenscope.
But I will call it Hodgepodge.
The Hodgepodge mount assembled for the first time
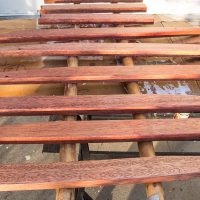
The legs and other parts of the field tripod with a fresh coat of polyurethane
Parts for the Hodgepodge field tripod drying in intense tropical sunlight
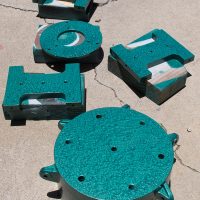
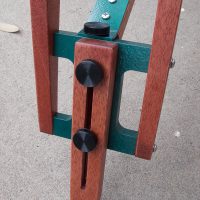
The extendable foot section for the Hodgepodge field tripod
The Meade wedge bolts to a Celestron field tripod head without modification
Hodgepodge setup on the side of Mauna Kea with the TV-76mm and Telrad on the plate
Hodgepodge setup on the side of Mauna Kea with the TV-76mm and Telrad on the plate
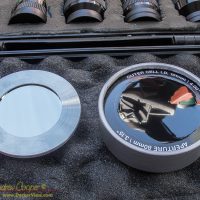
When travelling to an eclipse, one solar filter is not enough. I need a backup!
A Baader film solar filter beside an Orion Safety Film filter, both for the 76mm refractorThis is particularly true as my primary filter is a Baader film filter. While a very nice and effective filter, it is also very thin film, and easily damaged. Thus I have borrowed a second filter (Thanks Chris!), the borrowed filter being an Orion E-Series Safety Film filter.
Having the two filters available for use mean I must choose between them when the moment is critical. Which is better? Some testing is in order to find out.
The two filters appear very different, the thin silver film of the Baader quite different than the thicker black polymer film of the Orion filter. Both filters are safe to use and provide decent solar viewing. Both provided pleasing solar images using my Televue 76mm APO telescope at low and medium power.
Stepping beyond basic use I do find that they perform quite differently. So differently I felt some notes are in order.